
Last updated November 18, 2026
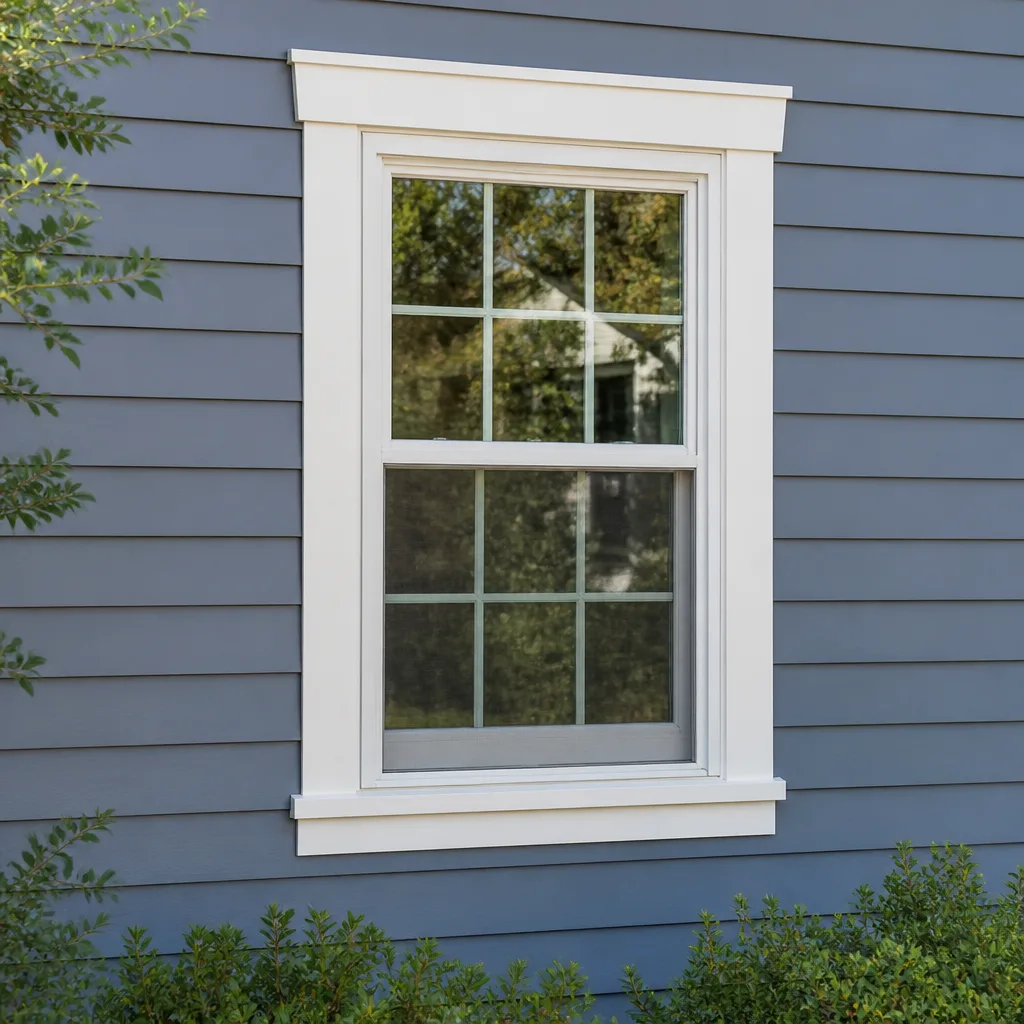 Single hung
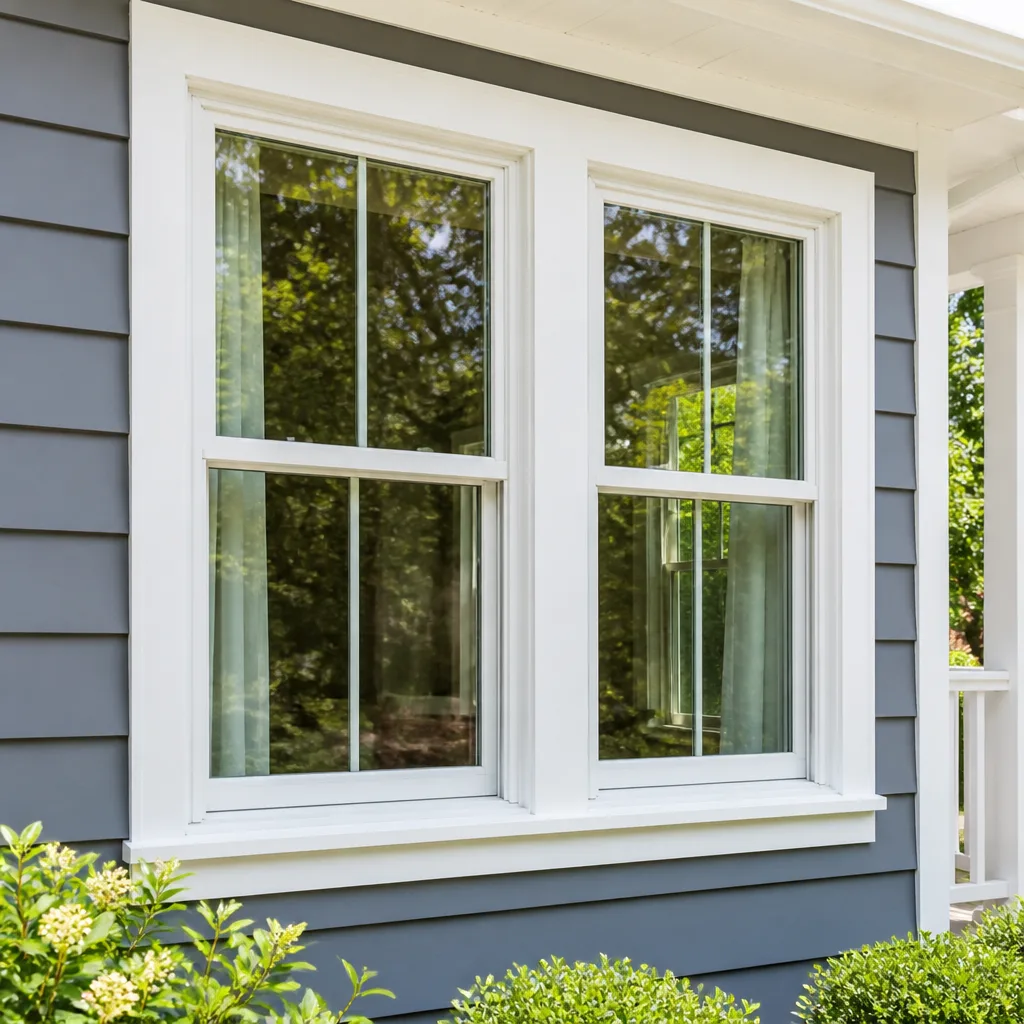 Double hung
 Horizontal roller
 Casement
 Bay & bow
 Sliding glass doors
 Entry doors
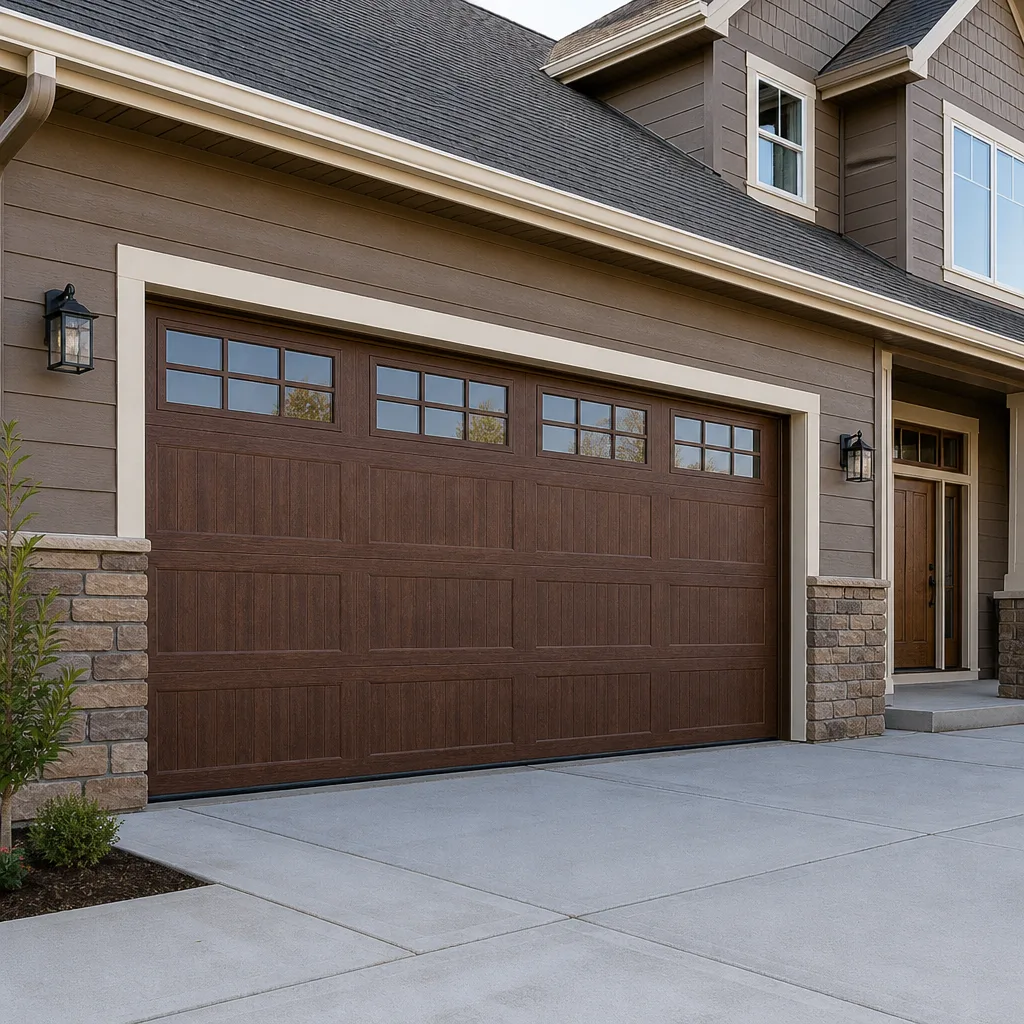 Impact garage doors
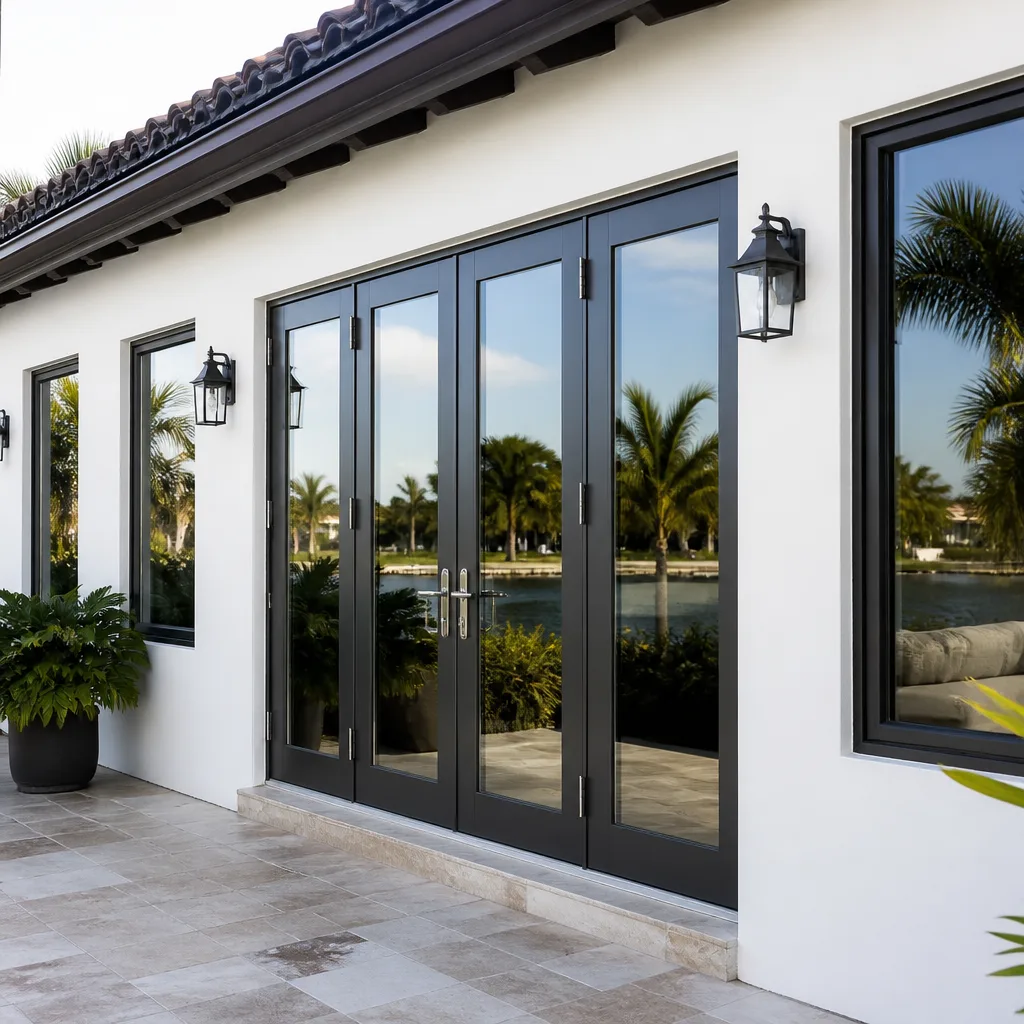 PGT
 CGI
Free in-home measure and quote - PGT, CGI and CWS impact lines compared on your actual openings, style by style
Get your free estimateDoor Installation Warning Signs Every Homeowner Should Know
Most bad door installations don’t announce themselves. They don’t swing off the hinges or fall out of the frame in the first week. They fail quietly – a little stiffness here, a small gap that looks like settling there – until you’re two summers into a swollen threshold and a $60 monthly bump on your power bill you can’t quite explain. The gap between a door that needs two weeks to settle and a door that was installed out of plumb is invisible to the eye. But a $3 carpenter’s level held against the hinge jamb tells the story in 10 seconds. In this guide, we’ll show you what normal post-installation behavior looks like, what the real warning signs are, and the same-day inspection you can run in North Las Vegas before your crew loads their truck.
Quick Answer
Genuine door installation warning signs are visible daylight at the corners, a latch that won’t catch on the strike plate, a door that swings on its own, or a threshold gap that opens in summer heat. Normal post-installation behavior for the first 1-2 weeks is minor stiffness, slight caulk shrinkage, and hardware that needs one small adjustment. If any of the real warning signs show up in the first 90 days, the installation – not the weather – is usually the cause.
Styles & brands we work with
- Single hung
- Double hung
- Horizontal roller
- Casement
- Bay & bow
- Sliding glass doors
- Entry doors
- Impact garage doors
- PGT
- CGI
Table of Contents
- Normal Settling vs. Genuine Warning Signs
- The Same-Day Inspection Protocol
- First 90 Days: North Las Vegas Climate Warning Signs
- Contractor Behaviors That Predict Future Problems
- What Documentation to Keep After Installation
- What a Level Tells You That Your Eye Can’t
- The Warranty Markers to Watch For
Normal Settling vs. Genuine Warning Signs
New doors have a break-in period. It’s short, it’s predictable, and it looks nothing like a failing install – but a lot of North Las Vegas homeowners confuse the two, which either leads to an unnecessary panic call or, worse, to waiting out a real problem until the frame rots.
Here’s the clean line between them.
Normal, expected behavior in the first 1-2 weeks:
- Minor stiffness on operation. The weatherstrip is compressing against the stop for the first time. It loosens up within a week or two of regular use.
- Slight caulk shrinkage at the interior trim. Caulk cures and pulls back a hair. One thin touch-up bead is normal, and any qualified installer will handle it as a courtesy call-back.
- Hardware that needs a slight adjustment. A strike plate nudged a millimeter, a deadbolt that engages easier after one tightening – typical.
- A faint “whoosh” from the weatherstrip when you close the door. That’s actually the seal working. It should feel slightly resistant, not loose.
Genuine warning signs that indicate a problem:
- Visible daylight at any corner – especially top corners on the hinge side, which is where out-of-plumb frames show up first.
- The latch doesn’t catch. If the door swings past the strike plate without engaging, the frame is not square or the strike is set wrong.
- The door moves on its own. If it drifts open or creeps closed when you let go, the jamb isn’t plumb. Doors don’t have a will of their own; gravity is telling you something.
- Consistent drag at the same point on the floor or head jamb, day after day, week after week.
- A gap you can slide a business card through at the top or bottom of the slab once the door is closed and latched.
None of the second list is “settling.” In our experience walking through door installation warranty calls across North Las Vegas – from Aliante to the older single-family blocks off Carey Avenue – the second list almost always traces back to the same three installation shortcuts, which we cover below. If what you’re seeing matches any of these signs, the fix belongs on the installer, not on your to-do list. For a deeper walkthrough of what a properly installed door actually involves, see our Door Installation in North Las Vegas page.
The Same-Day Inspection Protocol
Before your crew loads the truck and drives away, run this four-step inspection on your own. It takes about 10 minutes, it requires only a carpenter’s level and a pencil, and it catches the majority of installation problems while the crew is still standing in your driveway. Doing this once saves the phone calls and the arguments later.
- Plumb check on both jambs. Hold a $3 carpenter’s level vertically against the hinge jamb. Look at the bubble. Then do the same on the lock jamb. On both jambs, the bubble should sit between the lines. If the hinge jamb is plumb and the lock jamb isn’t, the frame is racked – the door was installed with the sides out of alignment and it will progressively bind.
- Level check on the threshold. Lay the level horizontally across the threshold sill. The bubble should center. A threshold that runs downhill to one side will pool water during monsoon season, and pooling water at the sill is the number one cause of bottom-rail rot on exterior doors in North Las Vegas.
- Operation test with the door fully loaded. Open the door to 90 degrees, then push hard on the face of the slab while it’s slowed at the top – pushing sideways as if a gust of wind caught it. Now let it close on its own weight and watch. A well-installed door closes smoothly without needing to be “helped” and without rubbing anywhere along its path. If it needs a hip-check to latch, the frame has a problem.
- Lock engagement test. Close the door, then throw the deadbolt and turn the knob lock without looking at them. If you have to wiggle, pull, or push the door to make the deadbolt engage, the frame-to-slab alignment is off. You should be able to lock it one-handed on the first try, every time.
Take a photo of each step with your phone. If anything fails, point it out while the crew is still on site – it’s faster to shim or adjust on the spot than it is to schedule a warranty call, and it protects you if the fix gets pushed back. Our technicians carry levels on every job for exactly this reason; if they can’t pass this four-step test on their own work, they don’t leave.
First 90 Days: North Las Vegas Climate Warning Signs
North Las Vegas is a specific environment, and it exposes installation flaws on its own schedule. Summer highs regularly push 110°F and above, and the swing between a 112°F July afternoon and a 65°F overnight in late October is exactly the kind of thermal expansion that reveals shortcut work. If you see any of the following in the first 90 days, it’s not the weather – the door wasn’t installed to handle it.
The threshold gap opens in summer heat. Watch the gap between the bottom of the door and the threshold between late June and September. This is UV-driven thermal expansion pushing the jamb and slab around, and on a door that was shimmed correctly at the hinge and latch points, it shouldn’t change by more than a fraction of an inch. A gap you could slide a credit card through in July that was tight in March means the frame has begun to move – usually because structural shims were missing.
Weatherstrip separation at corners from UV exposure. Look at the exterior corners where the weatherstrip meets the jamb. The desert sun destroys low-grade weatherstrip faster than almost anything else. Around month two or three in North Las Vegas, corners will start peeling or curling on cheap product. Quality weatherstrip on a brand like PGT or CGI holds up; the failure is also a signal that the profile was compressed on install or the wrong sealant was used.
Paint bubbling at the bottom rail. This is the one to take seriously. Bubbling paint at the bottom rail of an exterior door usually means moisture is wicking up from the sill through the slab. The two culprits are a missing or incorrectly installed sill pan flashing (which routes water away from the opening) and expanding foam used as the primary structural shim, which traps water instead of draining it. Once moisture is in the bottom rail, the door is on a countdown to rot. This is the exact reason we refuse to install any exterior door without a properly flashed sill pan – the cost of the flashing is a rounding error compared to replacing a door in three years.
On the flip side, a door from Therma-Tru or another brand made with a fiberglass or composite bottom rail will shrug off this failure mode – which is why brand choice, not just installer skill, matters for North Las Vegas sun exposure. That relationship between product selection and local climate is the main reason we recommend matching the door to the house, not to whatever the installer happens to have on hand.
Contractor Behaviors That Predict Future Problems
You don’t have to be on the crew to know whether the installation will hold. A handful of observable behaviors during install predict almost every failure you’ll see in year two or three. Watch for these.
- Shimming only at the top and bottom of the frame. This is the single most common shortcut we’ve seen called out on re-installs throughout North Las Vegas. A door must be shimmed at every hinge location and every lock/strike location – typically four to six shim points per jamb. Shims at only the head and sill leave the middle of the jamb unsupported, and the frame flexes every time the door closes. The result is sagging within a year.
- Skipping the sill pan flashing. The sill pan is the drainage layer under the threshold. If it’s not there – and on cheap installs, it often isn’t – water sits against the framing every time it rains. In a location like North Las Vegas where monsoon season can dump more rain in an hour than a typical spring month, this is the fastest path to a rotted sub-sill.
- Using expanding foam as the primary structural shim. Expanding foam is a great air-seal and a terrible structural support. If you see the crew spraying a thick bead of foam and calling it shimmed, ask them to add actual shims. Foam compresses over time under the door’s weight, and the frame starts to shift – usually slowly, and always in the direction of your latch not lining up.
- Skipping the level check on the threshold. A threshold that runs even half a degree off is a threshold that pools water. Watch to make sure the crew lays a level on the sill before setting the door.
- No drop cloths or shoe covers. This isn’t just a cleanliness issue – it’s a signal about their process. A crew that respects your floors is a crew that’s paying attention to details you can’t see. Every Lightwell visit includes shoe covers and drop cloths on every visit, and a photo of the clean-up before the crew leaves. If a crew doesn’t bother protecting your floors, they probably don’t bother flashing your sill pan.
When you’re seeing a door installed on an exterior opening in North Las Vegas, ask your installer upfront where they’ll shim and whether the sill pan flashing is included in the quote. It’s a fair question, and any contractor worth the job will answer it directly. To understand the interior-side of a windows-and-doors install as well, see our Window Installation in North Las Vegas page.
What Documentation to Keep After Installation
Most warranty claims fail for lack of documentation, not lack of merit. Whether you’re running a future claim or selling the house and the buyer’s inspector wants to know when the door was installed, having the file ready turns a two-week debate into a one-email fix. Here’s exactly what to keep.
- Photos of the rough opening before the new door goes in. Take these yourself the morning of the install. Confirm the framing, the existing sill pan (if any), and the state of the sheathing around the opening. If you see old rot that wasn’t addressed, photograph it before the new door covers it – this is your evidence if the same rot resurfaces.
- Photos of the installed door before trim goes on. Especially the shim locations at the hinge and lock points, and the sill pan flashing. Once trim is installed, these are hidden and you’ve lost the record. Two minutes of pictures protects you for years.
- A copy of the written warranty and the manufacturer’s product warranty. Two documents, both kept. The installer warranty covers workmanship; the manufacturer warranty covers product. They’re separate, and both matter if a claim ever comes up.
- The written price and scope of work. This is what a written price before any work starts gives you – a clean reference for what was promised. Keep the copy in the same file as the warranty.
- A note of who was on the crew. Not for a name-and-shame – for continuity when you call for warranty service. Background-checked, uniformed technicians should sign off on the job so your service call gets routed correctly. If the company can’t tell you who came out, that’s its own warning sign about their recordkeeping.
- A dated record of any issues and when they appeared. If a threshold gap opens in mid-July, write down the date and take a photo. If a weatherstrip separation appears in September, do the same. A dated timeline is what turns “it’s been happening since we got the door” into a documented claim.
Every job we run in North Las Vegas is covered by the 365-Day Done Right Promise – if the finished work is not right, we make it right. But that promise only works if you know what was installed and when, which is why we hand over the paperwork as a matter of course. It’s the kind of thing a careful contractor does without being asked.
What a Level Tells You That Your Eye Can’t
Your eye is remarkably bad at detecting out-of-plumb surfaces. It’s very good at detecting “off.” That’s an important distinction. A door can look perfectly fine while its hinge jamb is leaning 3/16 of an inch over its height, and a hinge jamb leaning 3/16 of an inch is enough to make the door bind within a season. The eye can’t see 3/16, but the carpenter’s level will show it as a bubble outside the lines, and the door operation test will show it as a slow drift.
The three levels that matter:
- Plumb on both jambs. Hinge side and lock side. Both must show a centered bubble. The most common North Las Vegas install failure we see is a hinge jamb that’s plumb and a lock jamb that’s out, which is a racked frame – the two sides aren’t parallel to each other.
- Level on the threshold. Horizontal. This is what determines whether water drains toward the exterior, sits flat, or worse, runs toward the interior.
- Square of the opening (diagonals). Tape measure from top-left corner of the frame to bottom-right, then top-right to bottom-left. The two numbers should be within an eighth of an inch. If they’re not, the frame is a parallelogram, not a rectangle – and no amount of hinge adjustment will fix a parallelogram.
If you don’t own a level, buy one. It’s the cheapest inspection tool you’ll ever use, and it will save you hundreds on a re-install if you catch a problem in the first week. In our eight-brand lineup (PGT, CGI, CWS, ViewLux, ES Windows, ECO Window Systems, Mr-Glass, and Therma-Tru), every one of our installers carries a level on the truck – because the check has to happen on the install, not the call-back.
The Warranty Markers to Watch For
Not every door problem is a warranty problem, and one of the skills that saves a homeowner the most money is learning where the line is. The most common dispute we see in North Las Vegas comes from owners who waited nearly a year to report a warning sign – and by then, some warranty windows have narrowed.
Here’s the warranty rule of thumb:
- First 90 days: Almost every genuine installation defect is covered, no questions. Visible daylight, latch misalignment, threshold pooling, and hardware adjustments all fall here. Report them the week you see them.
- Months 3-12: Age-related product failures (weatherstrip separation, sealant cracking on a low-grade product) should still be covered, but “installation defect” and “normal wear” start becoming arguable. Document everything with a photo and a date.
- Beyond 12 months: The burden shifts to you to prove the problem traces back to install. The 365-Day Done Right Promise is exactly why we make it a priority to fix issues within the first year – a proud install shouldn’t need a second crew to set it right.
One thing we always recommend: when you call for warranty service, ask the company to tell you exactly what their process is, in writing, and when you can expect a technician. No-hassle upfront pricing applies to warranty calls too – if a service charge is coming, you should know the dollar figure before the tech walks in the door. That’s just fair.
Common Mistakes to Avoid
- Waiting for “settling” to resolve itself. A door that’s stiff at week one and still stiff at week six isn’t settling – the frame is distorting. Every week you wait narrows the warranty window a little.
- Skipping the level check because the door “looks fine.” The eye can’t see 3/16 of an inch. Use a level, especially on the hinge jamb, on every install, before the crew leaves.
- Letting the crew install over old rot at the sill. In older North Las Vegas neighborhoods – especially on pre-1980 blocks – sub-sill rot is common and easy to miss. Look at the rough opening yourself before the new door is set; if you see soft wood, stop the install and address it.
- Not asking about sill pan flashing. If it’s not on the quote, it’s not in the install. Ask specifically. In a monsoon climate like North Las Vegas, a missing sill pan is a two-year door.
- Letting expanding foam be used as a structural shim. Foam is a sealant, not a support. If you see it filling in for missing shims, ask for actual shims.
- Skipping the photos. No photos of the rough opening, no photos of the shims, no photos of the sill pan. If anything fails later, you have nothing to point at.
- Calling the warranty too late. Most homeowner warranty denials trace back to the claim filing date, not the actual problem. Report the issue the week you see it.
See the difference
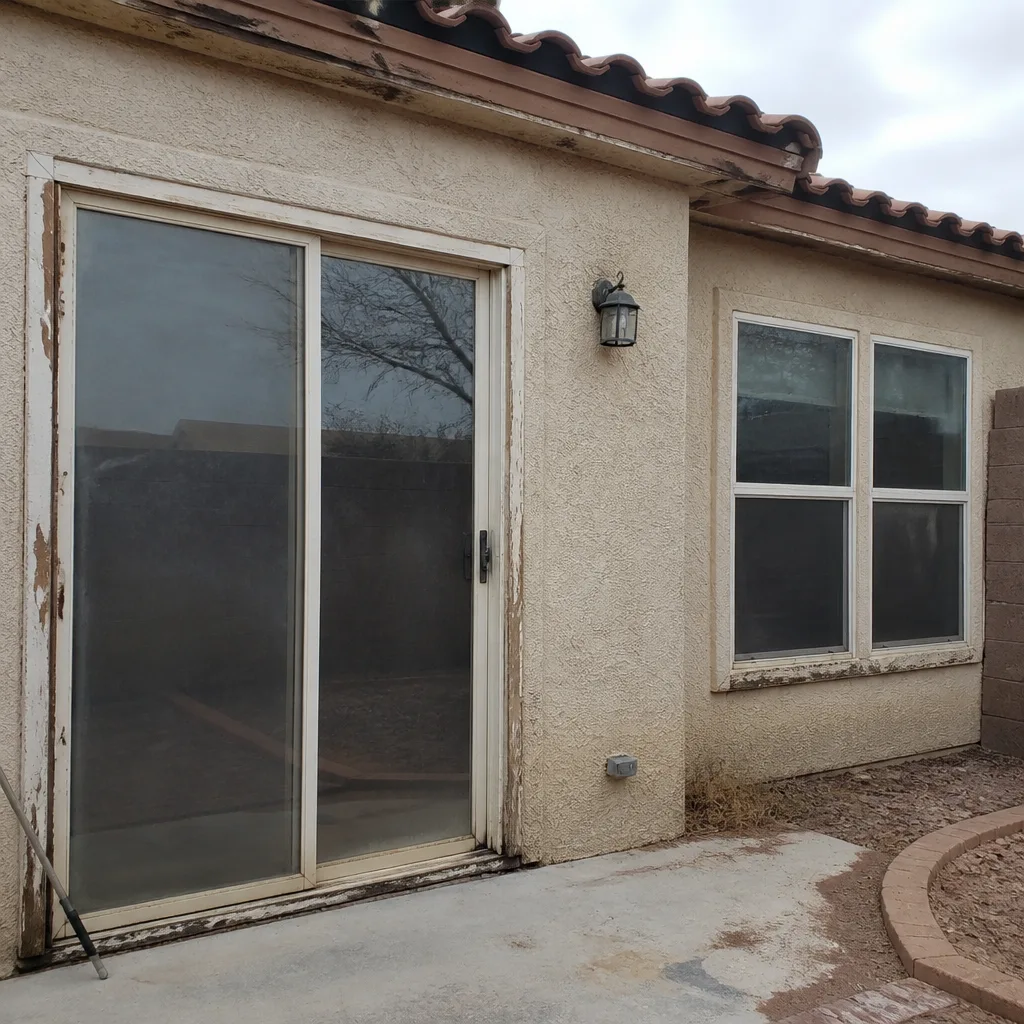 Before
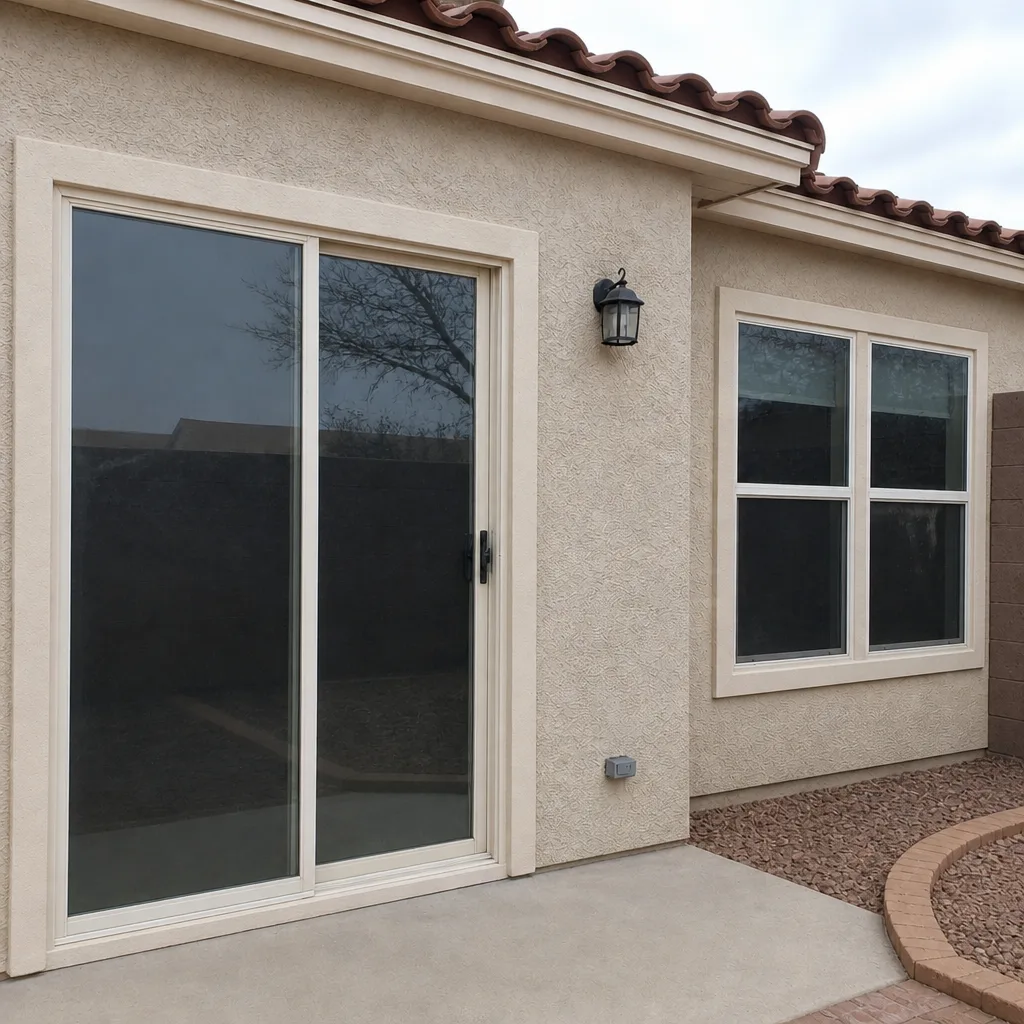 After
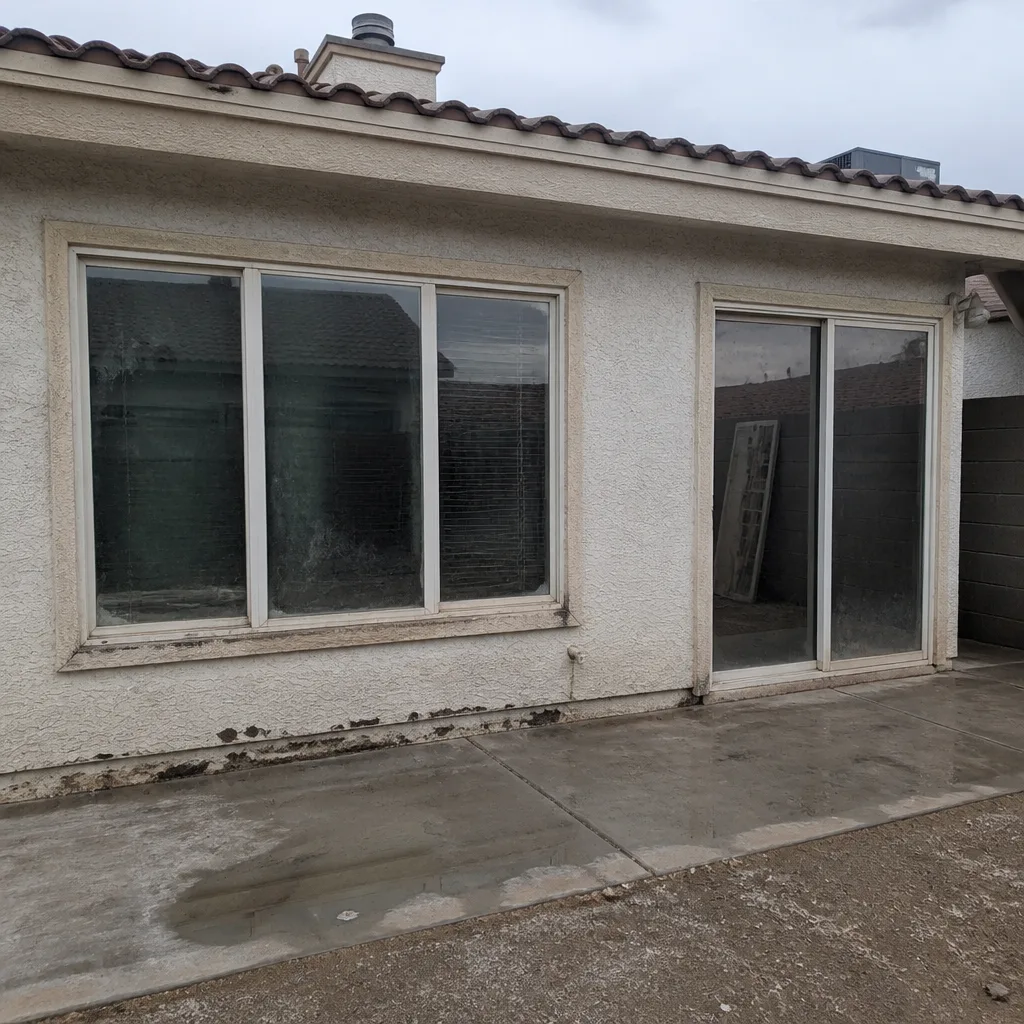 Before
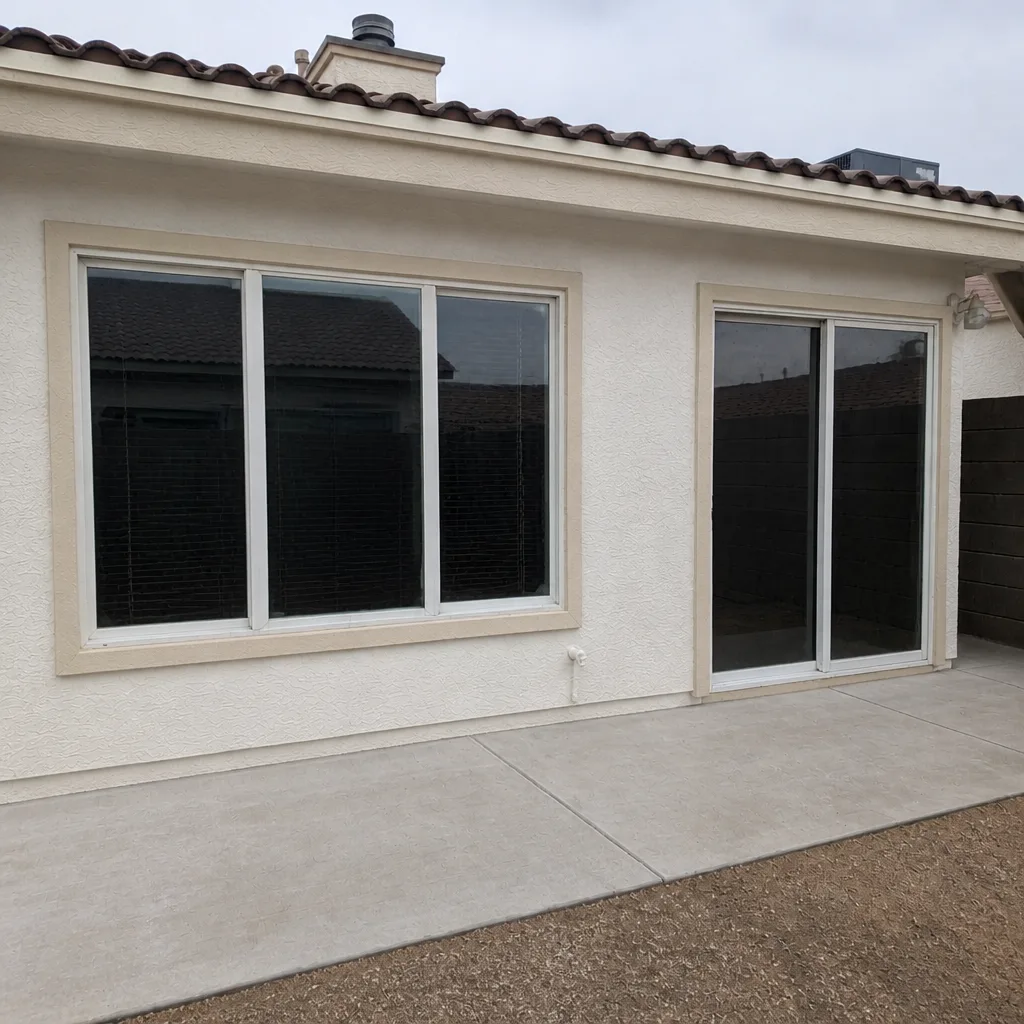 After
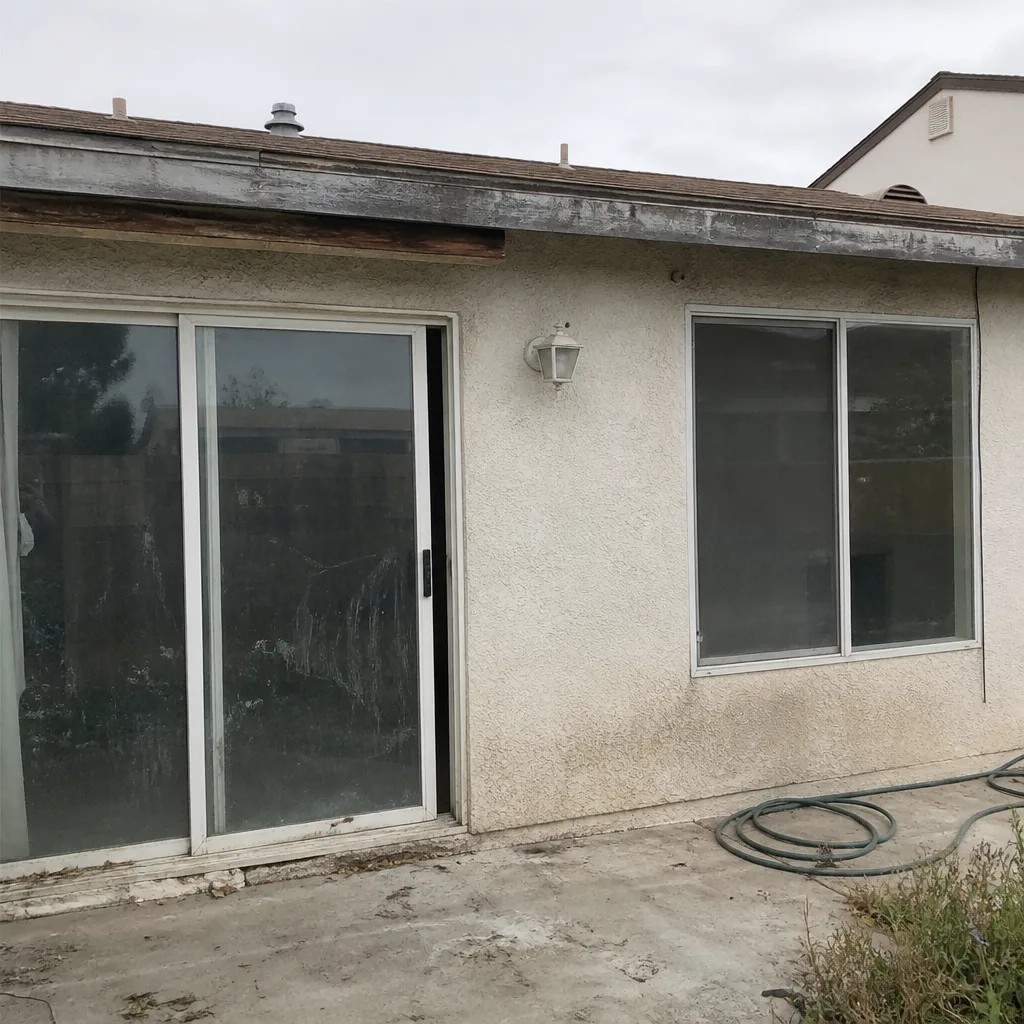 Before
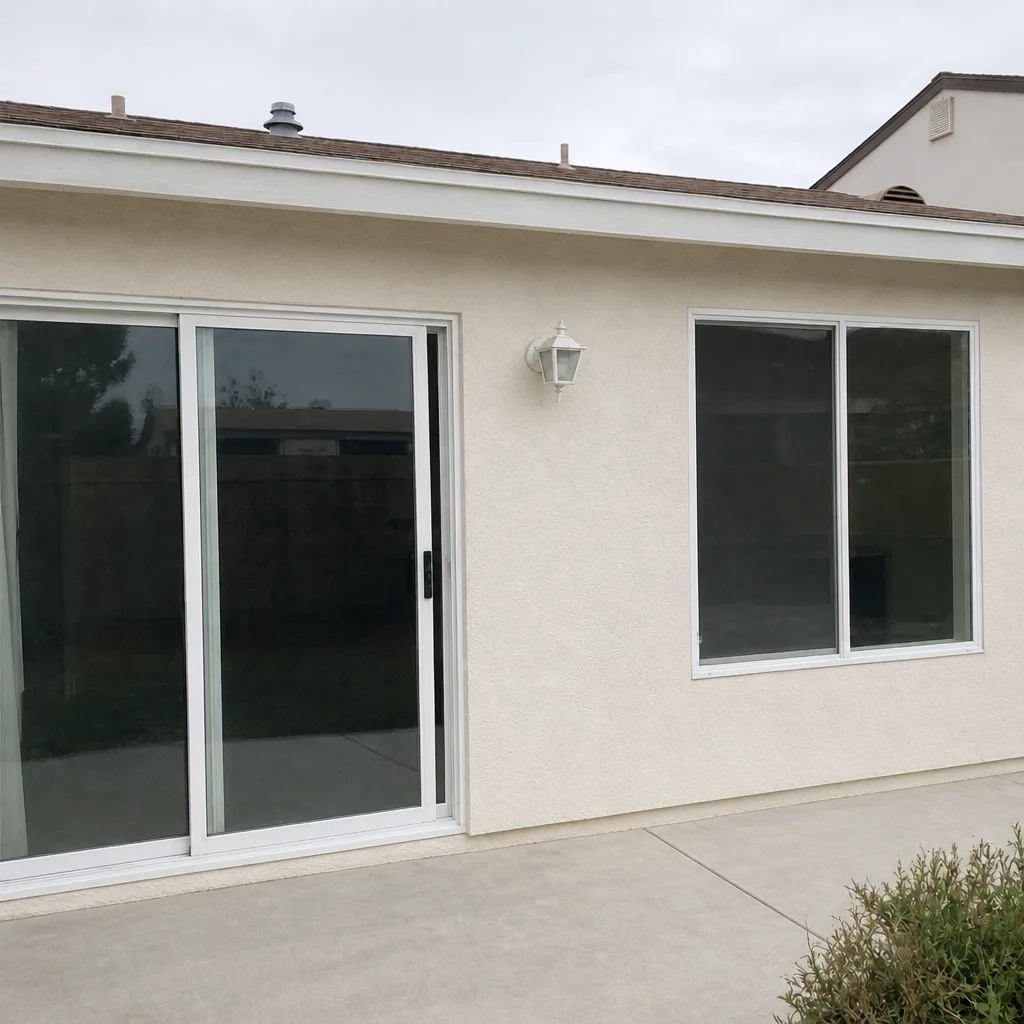 After
When to Call a Professional
If the same-day inspection turns up a single failed check – visible daylight at a corner, a deadbolt that won’t throw cleanly, a threshold that runs downhill – that’s the moment to call the installer back, not to pull out a screwdriver and “fix” it yourself. Door frames are part of your home’s envelope; adjusting a shim in the wrong place can crack a seal, and opening up the frame to look for rot is a job for someone with the training to put it back together correctly. Beyond the first 90 days, call if you see any of the three climate warning signs: a threshold gap that opens in summer heat, weatherstrip separation at the corners, or paint bubbling at the bottom rail. Any of those means the frame is losing its seal, and each week of delay makes the eventual repair more expensive. Lightwell Windows & Doors North Las Vegas offers free estimates in North Las Vegas – call (877) 317-4920 to talk through what you’re seeing. If you’re also noticing window issues, our Window Replacement in North Las Vegas page covers the parallel set of signs to watch.
Frequently Asked Questions
The clearest signs are visible daylight at any corner with the door closed, a deadbolt or latch that won’t engage without wiggling, and a door that drifts open or closed on its own. Run a same-day level check on both jambs and the threshold; a bubble outside the lines means the frame is out of plumb. If you see any of these, call the installer while the warranty window is still open – in North Las Vegas we typically start those conversations within a day or two of being asked.
Yes, for the first week or two while the weatherstrip compresses. A new door should feel slightly resistant because the seal is working. What’s not normal is a door that needs a shoulder-check to latch after two weeks – that’s a frame issue, not a settling-in period. The right benchmark is “slightly firm” through week two, “smooth and one-handed” by week three, and never “getting harder.”
Summer heat in North Las Vegas pushes temperatures past 110°F, and that thermal expansion can expose an installation that was already out of tolerance – especially if the frame was shimmed only at the top and bottom. A door that sticks or shows a widening threshold gap specifically in July and August usually wasn’t plumb at install. Call for an inspection before fall.
Yes, every exterior door in the Southwest should be installed with sill pan flashing under the threshold to drain water away from the framing. This is especially important in North Las Vegas, where monsoon season can deliver more rain in an afternoon than the framing can shed if the sill isn’t flashed. If the quote doesn’t specifically list sill pan flashing, ask before the install begins.
Door installation pricing in North Las Vegas typically runs in the low-to-mid four figures for a standard exterior door including the slab, frame, flashing, and labor – interior doors are less, and full patio or French doors land above that range. The exact number depends on brand (PGT, CGI, CWS, and ViewLux all differ), size, and whether the rough opening needs repair. Call (877) 317-4920 for a free written estimate before any work starts.
Document it the week you see it: photo with a date, written note of what you observed, and a phone call to the installer. Keep the original photos of the rough opening and installed shims, your written price, and the manufacturer warranty in one file. A dated record is what turns a “we’ll look at it” into a covered repair.
The Bottom Line
A door that fails on install, rather than one that needs a settling-in period, shows itself in the same handful of signals: daylight at the corners, a deadbolt that won’t throw, a frame out of plumb. The inspection that catches all three takes 10 minutes with a $3 level, and running it before your crew loads the truck is the single most valuable half-hour in the entire installation. In North Las Vegas, watch specifically for the 90-day signs – threshold gaps in summer heat, peeling weatherstrip at the corners, paint bubbling at the bottom rail – because they tell you whether the job was installed to handle desert uv and monsoon rain, or just to look good on install day. Keep the photos, keep the written price, and call the installer the week you see a problem. Fixing a bad install in month one is cheap; fixing one in month 24 is not. If you’re planning a door replacement in North Las Vegas, start with our Lightwell Windows & Doors North Las Vegas home page for a full picture of how we work.
Call (877) 317-4920 for a free estimate. A live person answers the phone 24/7, and every price is written before any work starts – no exceptions. Whether you’re inspecting a recent install or booking a new one, our background-checked, uniformed technicians will walk your home, name exactly what needs to happen, and put it in writing.
Written by the team at Lightwell Windows & Doors North Las Vegas.
Six Reasons Homeowners Choose Lightwell Windows & Doors North Las Vegas
Laminated glass and reinforced frames hold up to wind-driven rain, hail and flying debris, so your openings stay sealed when the weather turns.
Low-E insulated impact glass from our manufacturer lines commonly cuts monthly cooling bills 20-30%.
Laminated impact glass shuts out up to 40% of outside noise - traffic, neighbors, weather.
Monitoring services run $30-90 a month. Laminated impact glass resists forced entry around the clock, with no subscription.
Tighter seals and insulated glass even out hot and cold rooms and stop the drafts at the frame.
A full impact package upgrades curb appeal, buyer confidence and appraised value in one project.