
Last updated November 18, 2026
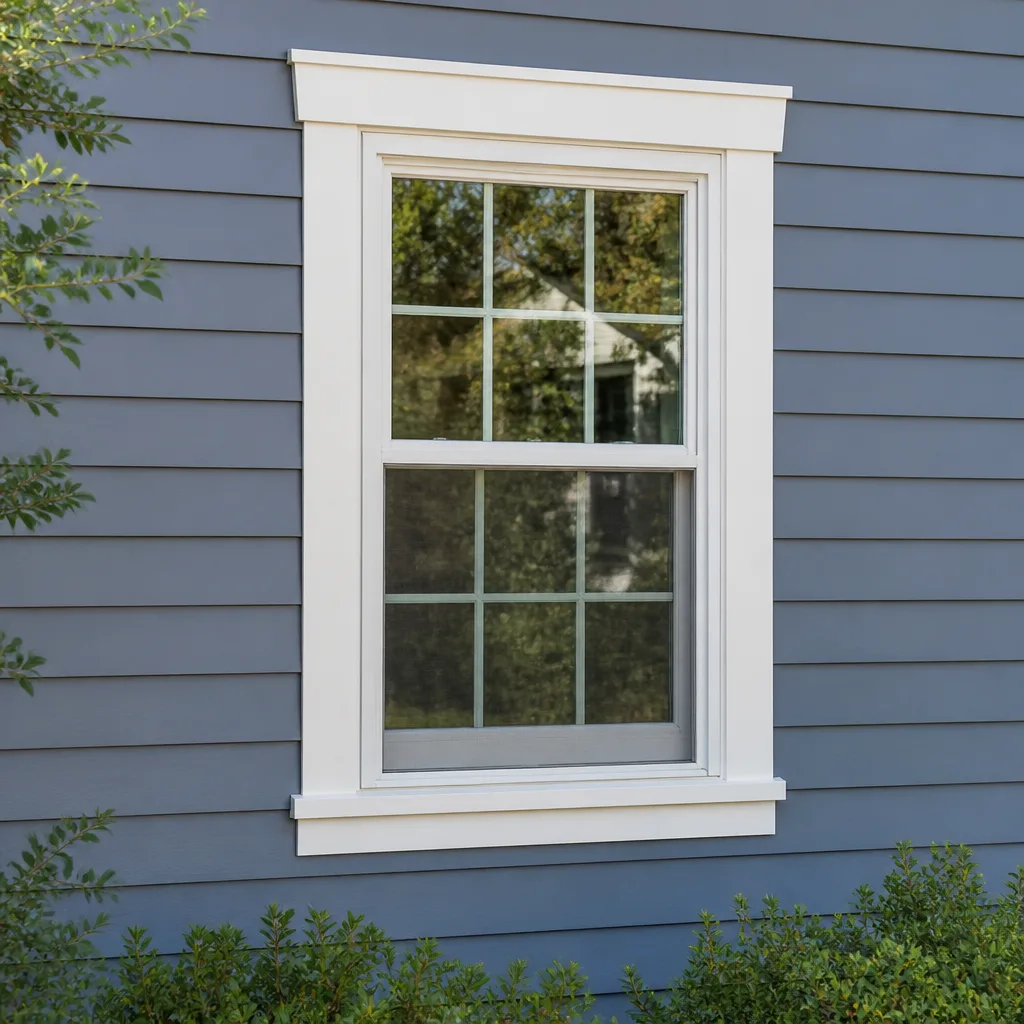 Single hung
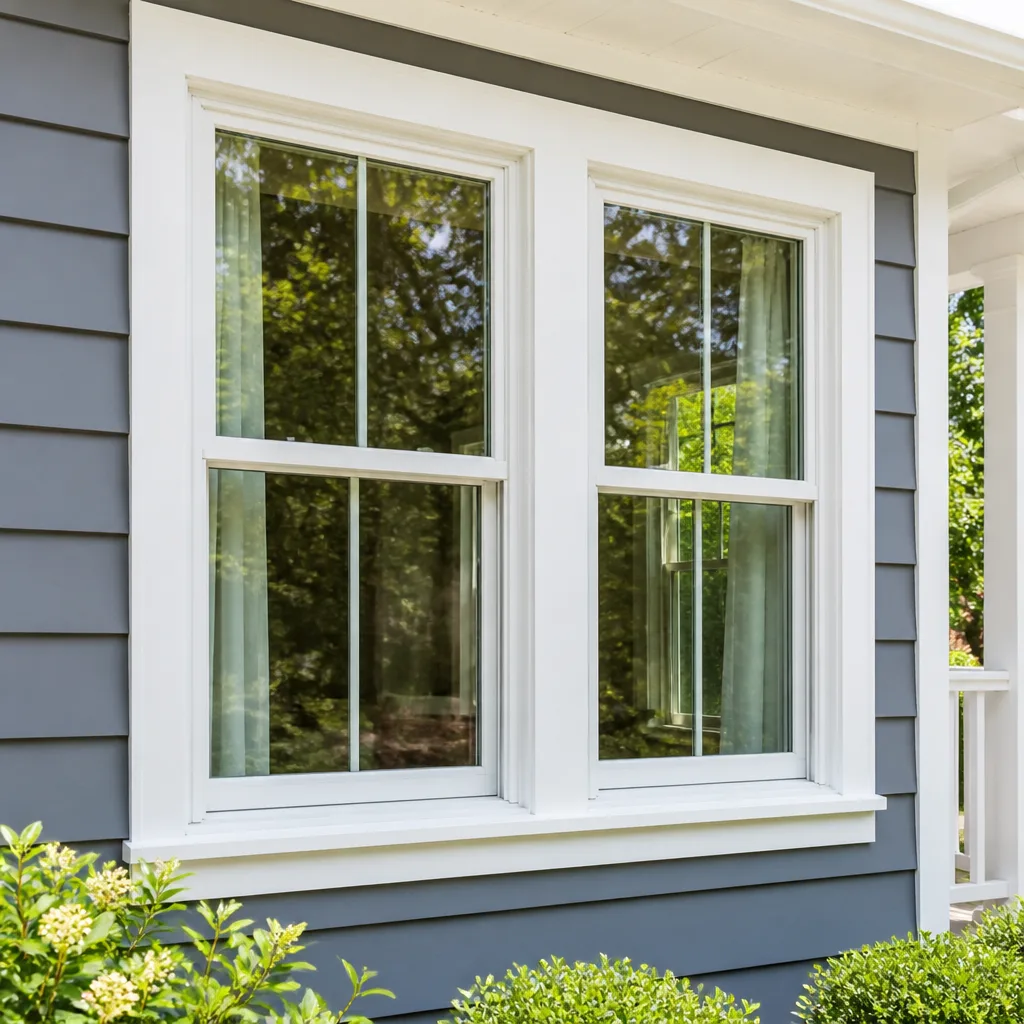 Double hung
 Horizontal roller
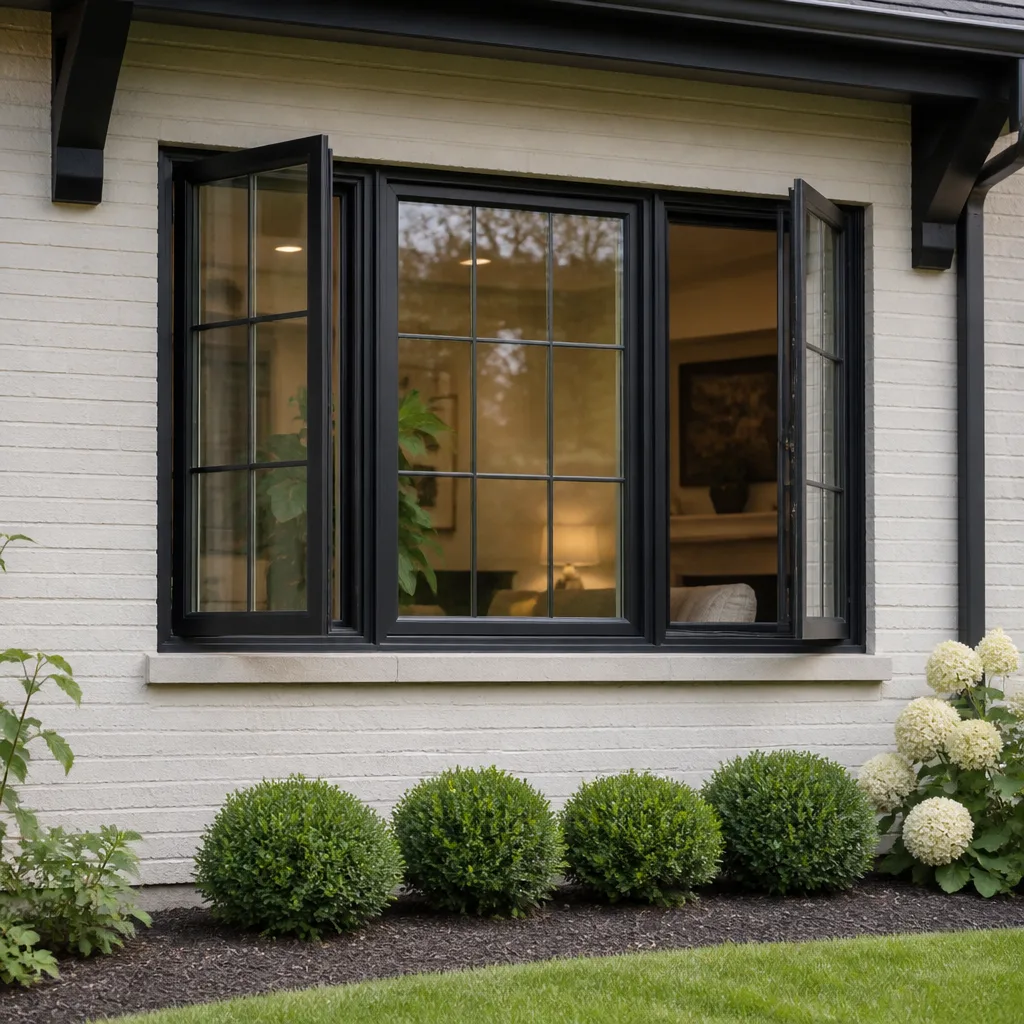 Casement
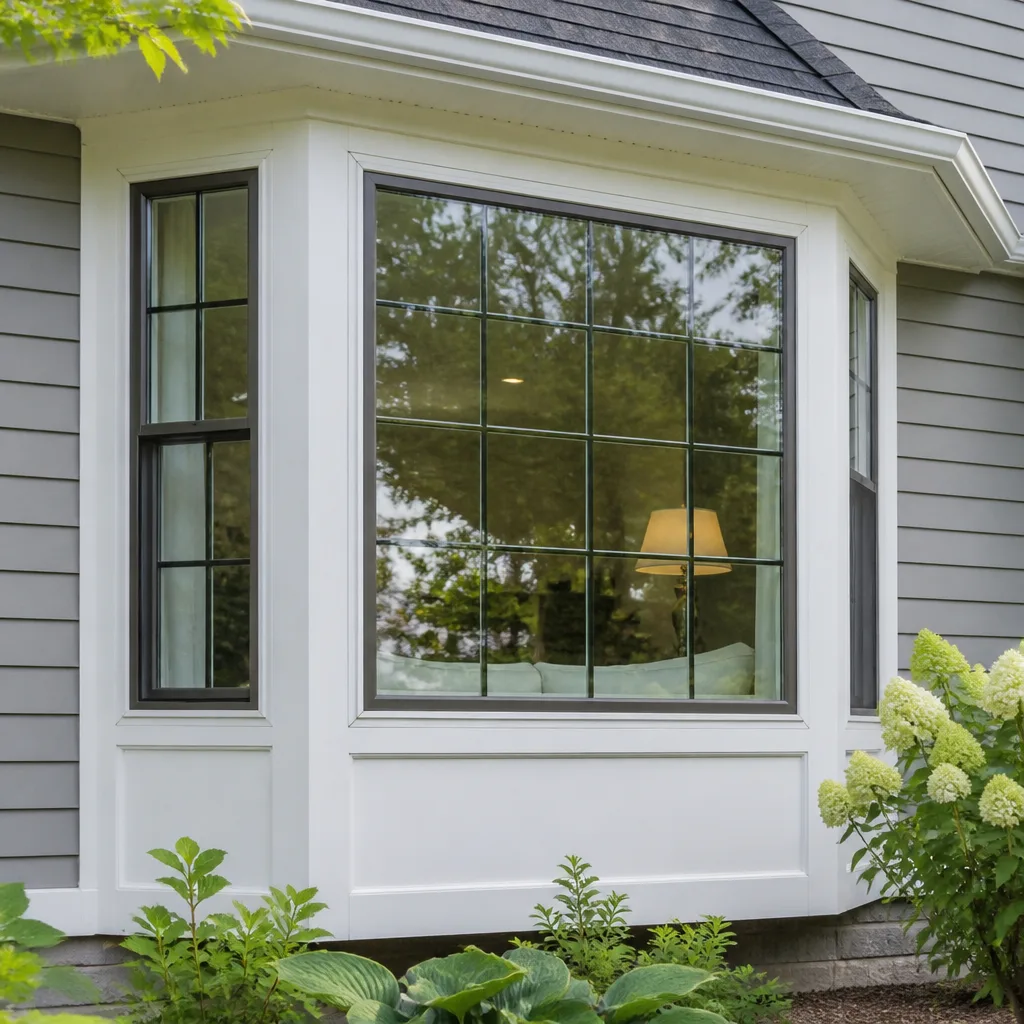 Bay & bow
 Sliding glass doors
 Entry doors
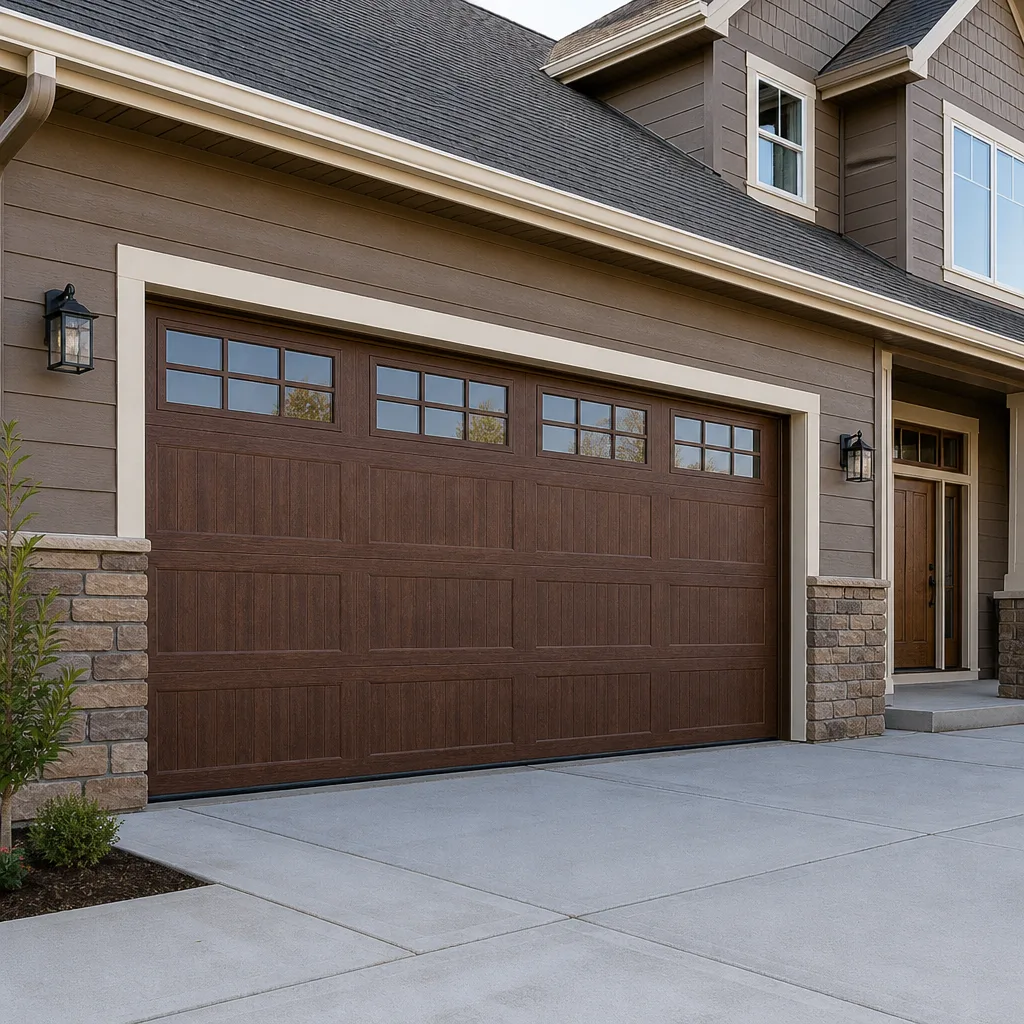 Impact garage doors
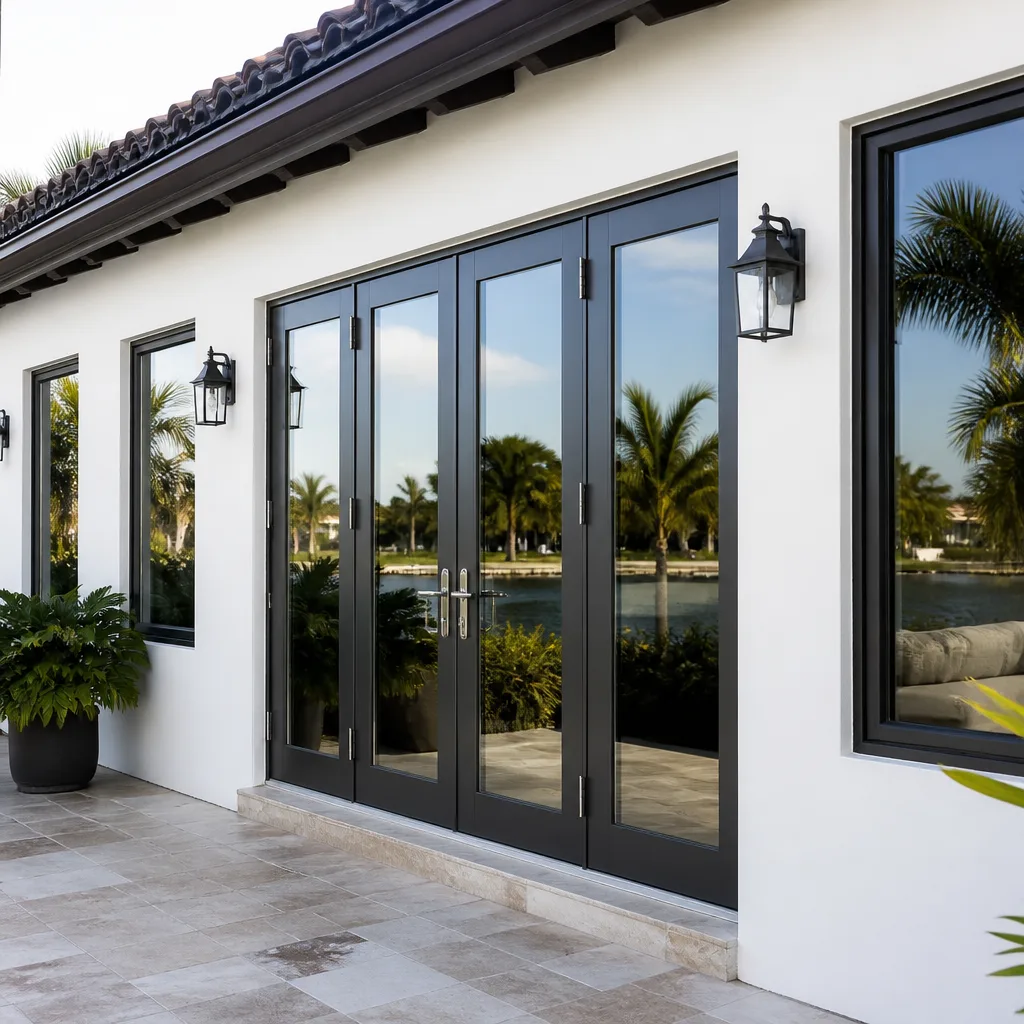 PGT
 CGI
Free in-home measure and quote - PGT, CGI and CWS impact lines compared on your actual openings, style by style
Get your free estimateWindow Installation Troubleshooting: Common Problems and How to Fix Them
A window that leaks after installation isn’t a warranty call. It’s a callback, and that distinction is the whole game. The installation warranty belongs to the contractor who set the unit; the product warranty belongs to the manufacturer who made the sash or the glass. Mixing them up is how a legitimate claim sits unresolved for months while everyone points at everyone else. North Las Vegas homeowners deal with a specific version of this because our wind, dust, and summer heat put installation details under real stress. What follows is a way to figure out which of four installation steps failed, gather the evidence that proves it, and start a callback conversation that actually resolves something.
Quick Answer
Most post-installation window problems come from one of four failures: missing or reversed sill pan flashing (water on the floor below the window), improper head flashing (water on the drywall above), bad shimming (the window drags, sticks, or the reveal looks crooked), or failed exterior caulk (drafts and moisture staining outside). Identify the symptom, hose-test to confirm whether the water is entering the unit or the interface, then submit a written callback request that ties the symptom to the line in your original scope of work.
Styles & brands we work with
- Single hung
- Double hung
- Horizontal roller
- Casement
- Bay & bow
- Sliding glass doors
- Entry doors
- Impact garage doors
- PGT
- CGI
Table of Contents
- The Four Installation Steps That Cause Most Callbacks
- Matching the Symptom to the Step That Failed
- How to Run a Hose Test Without Making Things Worse
- Manufacturer Defect vs. Installation Defect: Which Warranty You Invoke
- What a Written Callback Request Should Include
- How the Cedarwell Care Promise Structures Accountability
- Common Mistakes to Avoid
- When to Call a Professional
The Four Installation Steps That Cause Most Callbacks
Nearly every window problem we’re asked about after an install traces back to one of these four details. They’re boring. They’re also the difference between a window that holds for twenty years and one that starts weeping in its second monsoon season.
- Sill pan flashing. The pan sits under the window and channels water out to the exterior. If it’s missing, sloped the wrong way, or the corners aren’t sealed, water ends up on the floor or the wall below the window. In North Las Vegas, this is the hidden one: the water shows up inside a bedroom, not on the exterior, so homeowners assume the window itself is leaking.
- Head flashing. The flashing above the window sheds water away from the opening. Fail here and you get moisture on the drywall above the frame, often showing as a soft spot, a paint bubble, or a stain that grows after a rain event.
- Shimming. The shims set the window square and hold it there while the foam and fasteners cure. Bad shimming shows up as a sash that sticks, a reveal that’s wider on one side than the other, or a unit that rubs at the top when it’s hot.
- Exterior caulk and sealant. The exterior bead keeps air and driven rain out of the wall cavity. Failed caulk shows as drafts, dust intrusion, or staining on the exterior stucco or paint near the frame.
Rooms where families have kids and pets get the worst of it. A failed sill pan means wet carpet or a damp child’s bed before anyone spots the problem. When we install a window in North Las Vegas, we photograph each of these four stages before the exterior is closed up – so the conversation later has a floor plan, not a guess. Fixed pricing means these steps are never the corner that gets cut; the written price covers them before the crew touches anything.
Matching the Symptom to the Step That Failed
Start with what you’re looking at. Symptoms are the map to the step that failed. Use this as a checklist:
- Water on the floor or the wall below the window: suspect the sill pan. Check the interior sill first. A damp carpet edge or a water ring on the sill nose points there.
- Water on the drywall above the window: suspect the head flashing. Look for a soft spot or a paint bubble at the top of the trim. This is sometimes a roof or adjacent-wall issue, so rule those out before you blame the window.
- A sash that drags, sticks, or shows an uneven reveal: suspect the shimming. Run your hand along the reveal; if the gap on one side is measurably wider than the other, the window is out of square.
- Drafts, dust accumulation, or exterior staining: suspect the exterior caulk or sealant. Stand inside on a windy day. If you feel air at the frame, note where.
- Condensation between the panes: this is usually a product issue (seal failure), not an installation issue. Flag it as a warranty claim, not a callback.
We’ve seen two North Las Vegas patterns worth knowing. First, homes facing open desert get wind-driven dust pushed at the exterior bead – failed caulk there shows up as grey staining before it shows as a leak. Second, west-facing units take the full afternoon sun, so heat expansion exaggerates shimming problems. A window that opened fine in January can stick in July. That’s not the product being substandard. That’s an install that didn’t account for thermal movement.
How to Run a Hose Test Without Making Things Worse
The hose test is a contractor-standard way to isolate where water is coming from. It doesn’t damage anything if it’s done correctly, and it produces evidence a contractor takes seriously. Here’s the process:
- Pick a dry, mild afternoon with no rain forecast for at least 24 hours.
- Choose a hose with a gentle spray head. You’re not power-washing. You want the equivalent of a steady rain at low pressure.
- Have a second person inside the home, watching the window frame and the wall below and above it.
- Start below the window, on the exterior, and move the spray slowly upward along the sill and lower frame. Watch for any interior showing.
- Move up to the sides, then to the head of the window. Pause at each stage for a few minutes – water takes time to show up inside.
- If water appears at any stage, stop. Note the exact stage where it started. That’s your isolation point.
- If nothing shows after a full pass on the exterior, the leak likely isn’t the window at all. Look at the roof or adjacent siding before calling the installer.
Do not hose test a window with a newly installed unit before the exterior sealant has cured – check with your contractor on the right timeline. Also, never use a pressure washer. And if you live in a North Las Vegas neighborhood with HOA rules about water use or exterior work, review those before you spray. The hose test is diagnostic, not a DIY repair. The information it produces is what makes the callback productive; the fix itself belongs to a trained installer.
Manufacturer Defect vs. Installation Defect: Which Warranty You Invoke
This is the single most important distinction on the page. It decides who pays, who repairs, and how long the process takes. Getting it wrong is what stretches a real claim into a six-month standoff.
Manufacturer defect examples:
- Fogging or moisture between the glass panes (seal failure).
- A sash that warps or delaminates on its own, not from force.
- A failed lock, latch, or balance mechanism that wasn’t installed wrong.
- Visible damage to the frame or glass that arrived on the pallet.
Installation defect examples:
- Water on the interior after a rain test, tied to sill pan or flashing.
- Sash out of square and sticking, tied to shimming.
- Drafts at the frame, tied to foam or caulk.
- Air infiltration between the window and the wall cavity, tied to the rough opening prep.
These require different evidence. A manufacturer claim needs the unit’s serial or order number, photos of the defect, the install date, and a copy of the product warranty. An installation callback needs photos of the symptom, the date of installation, and the section of the original written scope that covers the failed detail. Ask yourself which one your symptom fits before you pick up the phone. If a contractor shows up to a “leaking window” call and finds fogged glass, they’re going to send you to the manufacturer. Save everyone the trip.
The brands we carry – PGT, ViewLux, Mr-Glass, and others across our eight-brand lineup – all have different warranty terms. When we recommend a window in North Las Vegas, we walk through what each brand covers and what it doesn’t, so the homeowner already knows which warranty applies before an issue ever comes up. That’s not a sales pitch. It’s the reason we don’t push every home toward the same product.
What a Written Callback Request Should Include
Verbal complaints drift. Written requests get resolved. Here’s what a callback request should have to be taken seriously:
- Date of installation. Not the date you noticed the problem. The installation date establishes the warranty window.
- Specific symptom with photo documentation. A photo of the water stain on the drywall above the window, taken with a tape measure next to it, is worth more than three paragraphs of description.
- The section of the original written scope that covers the failed detail. If the scope says “sill pan flashing installed to manufacturer spec,” quote that line. Now it’s a documented standard, not a disagreement.
- Hose-test results, if you ran one. “Water appeared inside at stage 4, head of frame, exterior spray” is an objectively useful note.
- Photos of the exterior detail, if you can safely take them. Don’t climb a ladder to get them if the window is upstairs.
- A requested resolution in plain language. “Please inspect the sill pan and reseal to original spec” is a specific ask. “Please fix” is not.
Send it in an email or through a written contact channel, and keep a copy. In North Las Vegas, our calls are answered by a live person 24/7, so a callback request is acknowledged the day it arrives. But documented in writing means it exists for the record if the issue recurs. The Cedarwell Care Promise makes written price before work a standing operating rule, and the same discipline applies to written documentation after the work.
How the Cedarwell Care Promise Structures Accountability
Most contractor disputes aren’t disputes about the work. They’re disputes about what was agreed. One side remembers “reseal the sill,” the other remembers “check the window.” The Cedarwell Care Promise removes that guesswork by putting the scope, the price, and the contact in writing before the crew ever touches the home.
Here’s what that looks like in practice:
- Written price before any work starts. Every job, every time. No invoice at the end with a bigger number than the one you signed off on at the beginning.
- Documented scope. The four stages (sill pan, head flashing, shimming, caulk) are named in the scope. If one of them fails later, the conversation starts from a shared document.
- A named contact. Not a generic email. A real person who tracks the callback from start to finish.
- The 365-Day Done Right Promise. If the finished work isn’t right, we make it right – no debate, no countdown. That’s the standard, and it applies to the callback conversation too.
- Clean-up verified by photo. Every visit ends with a photo of the clean-up before the crew leaves. On a callback, that photo becomes the baseline for what changed after the fix.
- Shoe covers and drop cloths on every visit. Including callbacks. Callbacks are often the visit where families are most frayed. Floors, furniture, and pet areas get protected first.
Lightwell Windows & Doors North Las Vegas is part of the Cedarwell network, operating to the Cedarwell Care Promise. Each location is independently owned and operated, which matters when you’re having a callback conversation: the person on the phone is a neighbor, not a corporate desk. Our technicians have up to 16 years of experience, and they’re background-checked and uniformed – you’ll know who’s at the door before they knock. Live phone answered around the clock when a new install has you worried at 9 p.m. on a Saturday.
Common Mistakes to Avoid
- Calling the manufacturer first. Manufacturers can’t fix installation mistakes. Start with the contractor who installed the unit. If it turns out to be a product issue, they’ll route you correctly.
- Caulking over a failed sill pan. A bead of exterior caulk will stop the water for a week and make the real problem worse. The pan is under the window. No amount of exterior sealant reaches it.
- Reporting “the window is leaking” without a symptom location. Installers triage based on symptom. Water below the window and water above the window are different jobs. Name the symptom.
- Skipping the hose test. It’s thirty minutes of work and it produces a documentable result. In a North Las Vegas summer, a hose test on a dry afternoon costs you nothing and settles arguments.
- Assuming a stuck sash is a defective window. In our heat, west-facing units expand and a slightly out-of-square install will stick. That’s a shim problem, not a product problem.
- Not keeping the original written scope. It’s the single most useful document in a callback. Keep it with the warranty paperwork.
- Letting a small drip go because “it’s just a little.” A drip today is a rotted sill or a mold issue next season. The install has to be corrected either way.
When to Call a Professional
Some fixes are diagnostics. Others are the real repair, and the real repair is where training matters. Call a professional if water is reaching drywall, flooring, or the wall cavity – especially on a second story where the exterior detail is hard to reach safely. Call if the sash won’t close or lock, which is a security and weather-tightness issue at the same time. Call if you see any of the following: mold or soft wood at the trim, a stain that grows after each rain, drafts you can feel at the frame, or condensation that appears between the panes.
If the hose test isolates the entry point to the window unit itself, that’s a manufacturer conversation – we can help you identify which warranty applies. If the entry point is the flashing, the shim, or the seal, that’s rework, and it belongs to the installer. Don’t climb a ladder to fix second-story exterior caulk. Don’t try to shim a window from inside. Both are jobs that look easy on a video and end up on a contractor’s punch list when they go wrong.
Lightwell Windows & Doors North Las Vegas offers free estimates in North Las Vegas – call (877) 317-4920. If your install was done by someone else and something went wrong, we’ll walk you through what to check before you commit to rework. Callbacks are part of the job, not an admission of failure. Every contractor has them. The difference is what happens next. If you’re pricing a fix or a full replacement, our team can put the scope and the price in writing before anything starts. If you’d like to read more about how the install itself is done right the first time, our Window Installation in North Las Vegas page walks through the process step by step.
See the difference
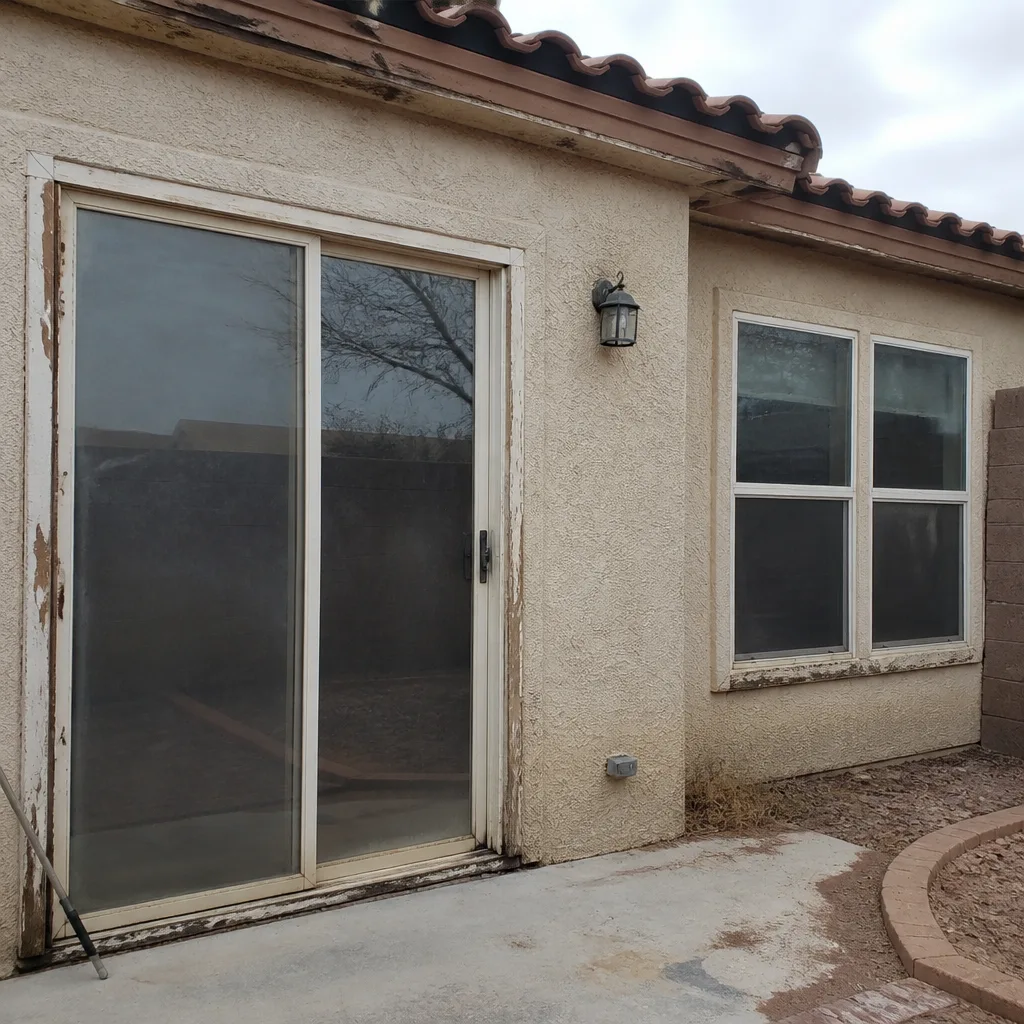 Before
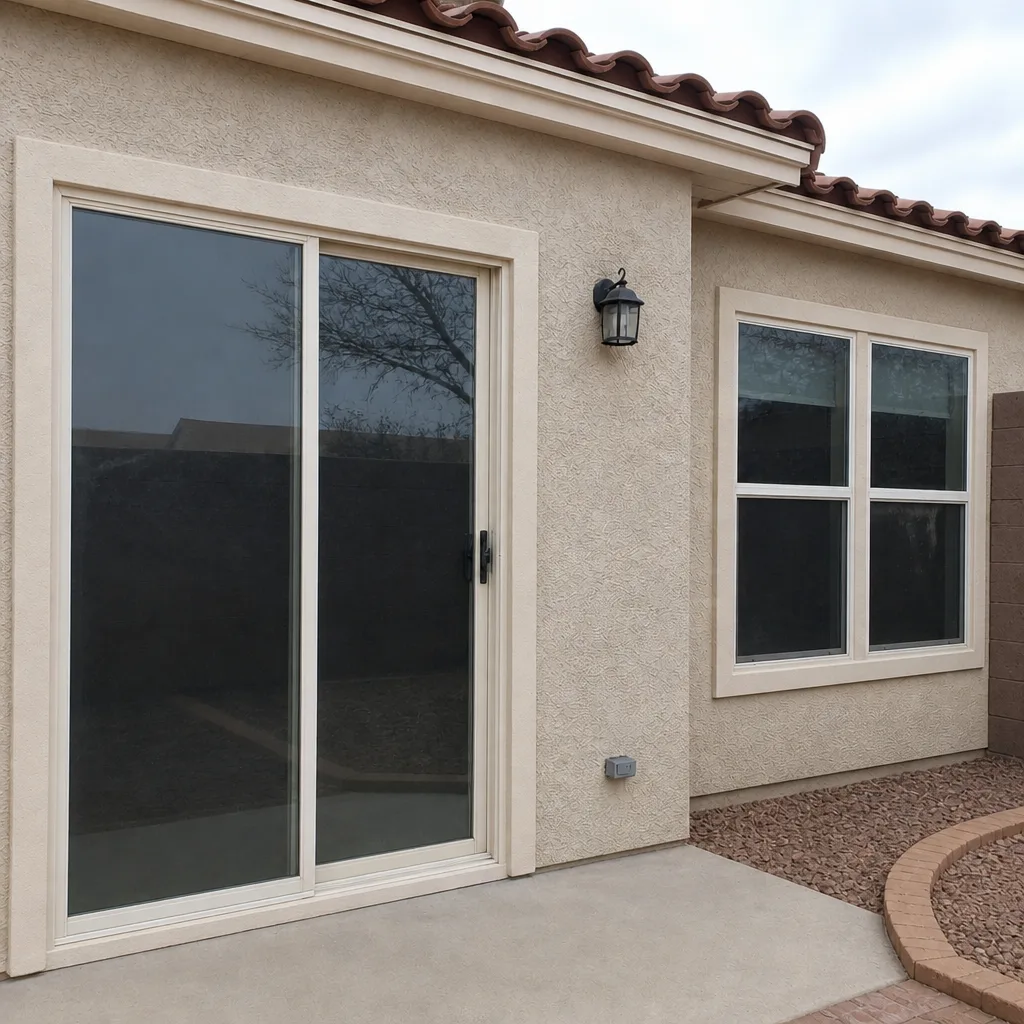 After
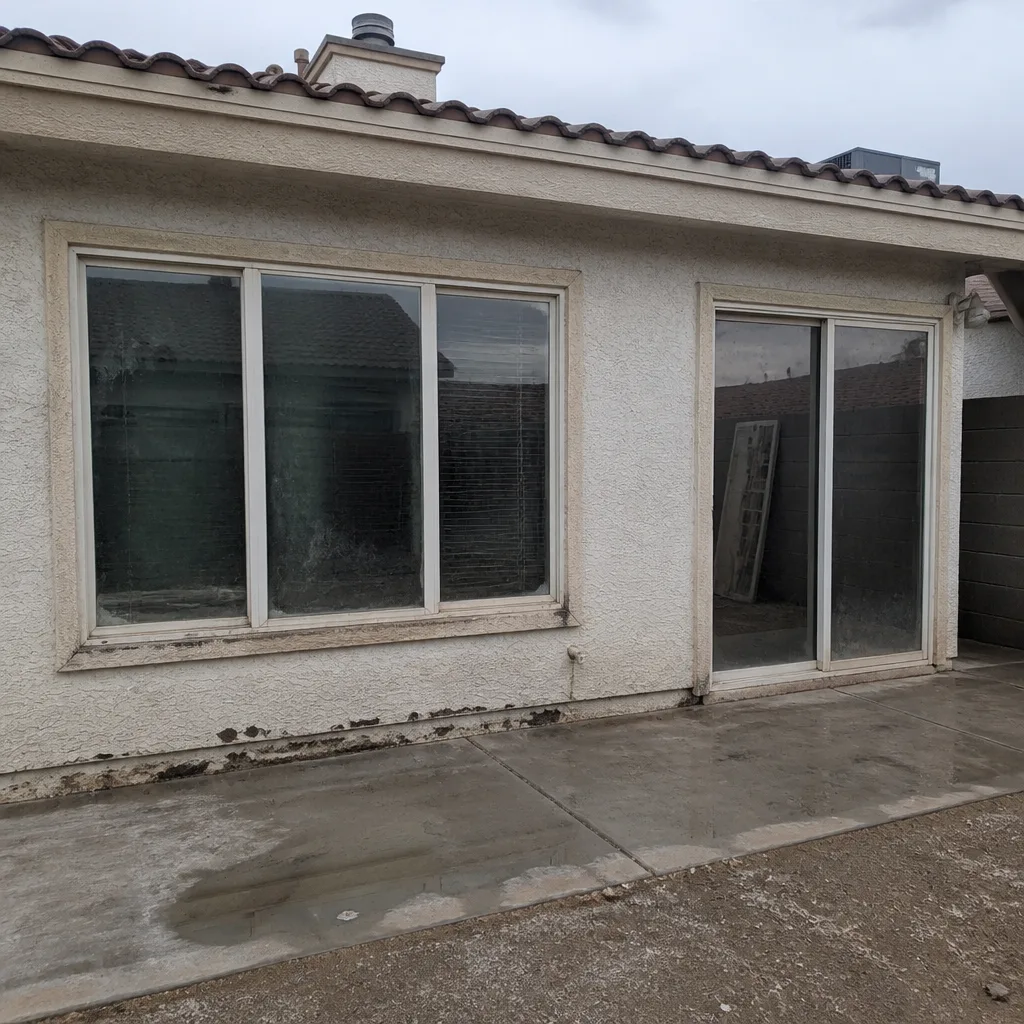 Before
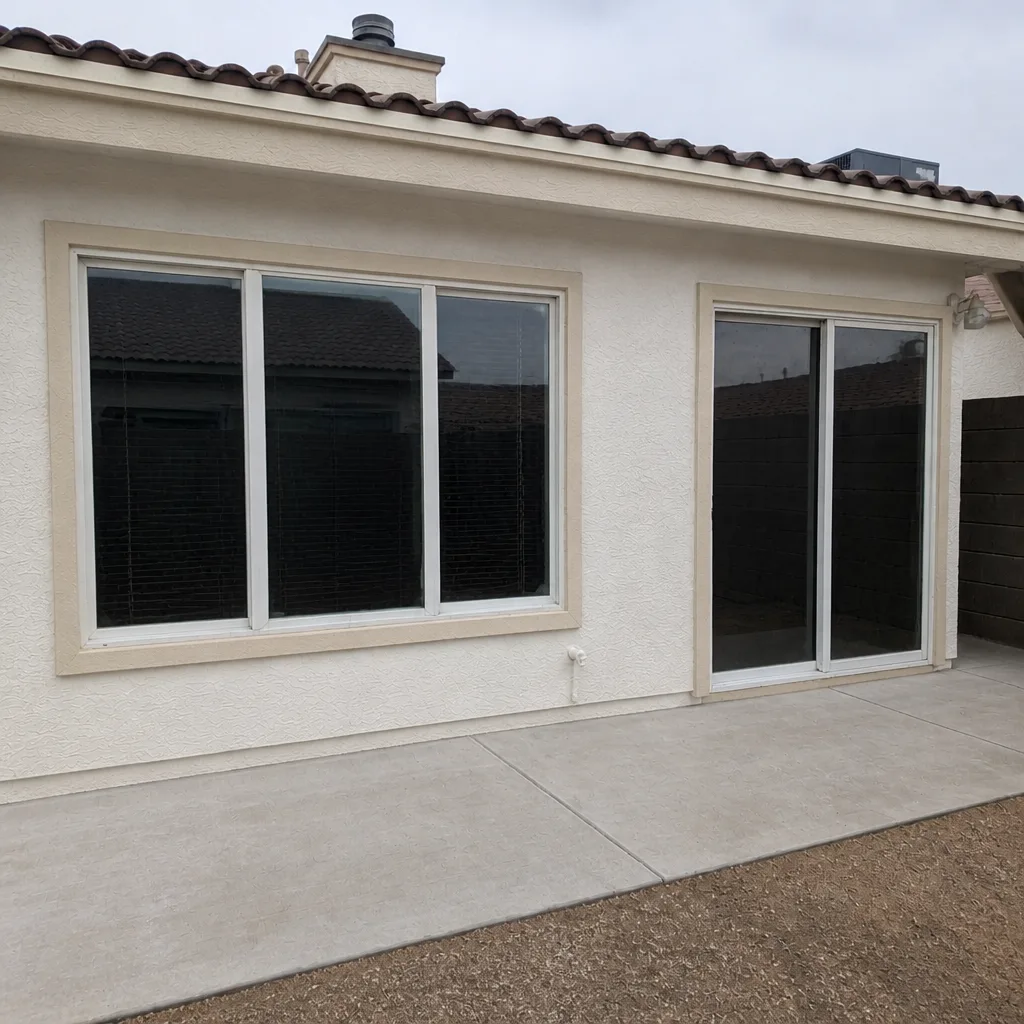 After
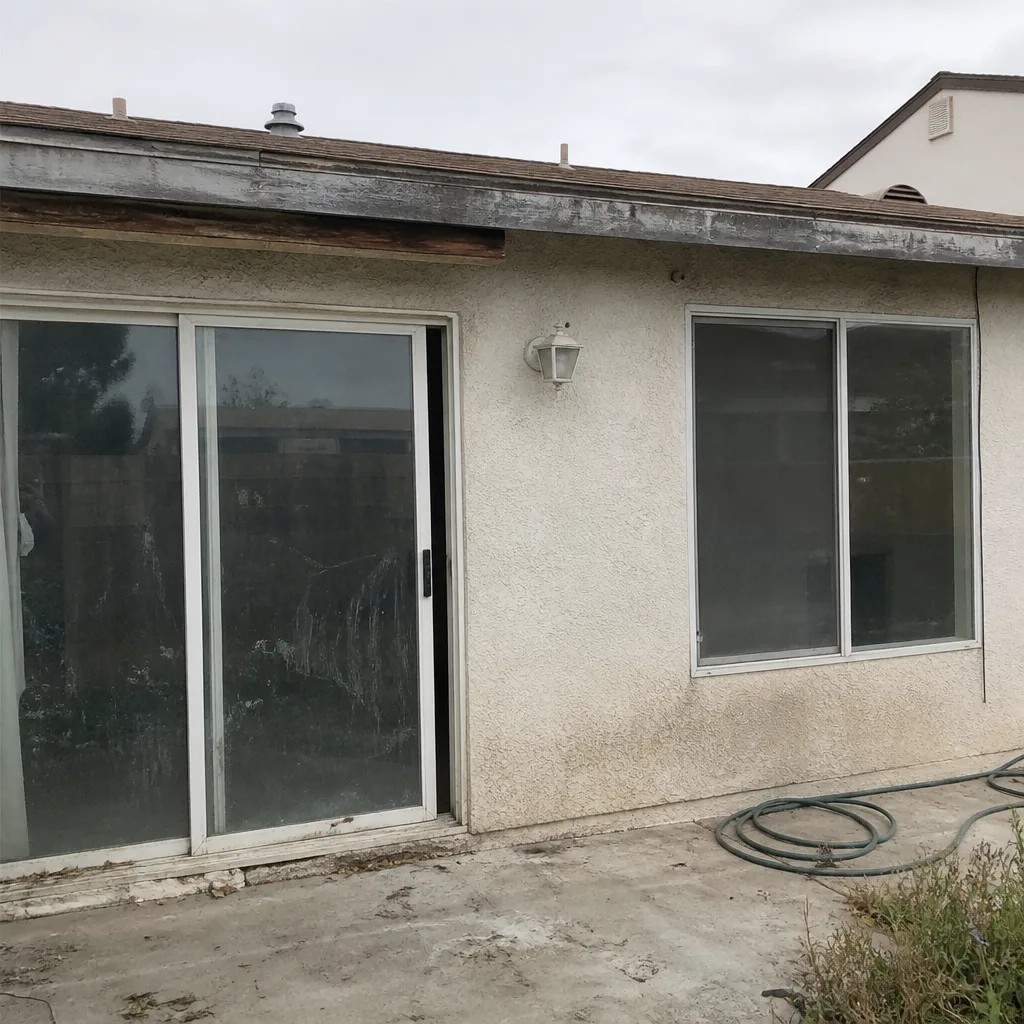 Before
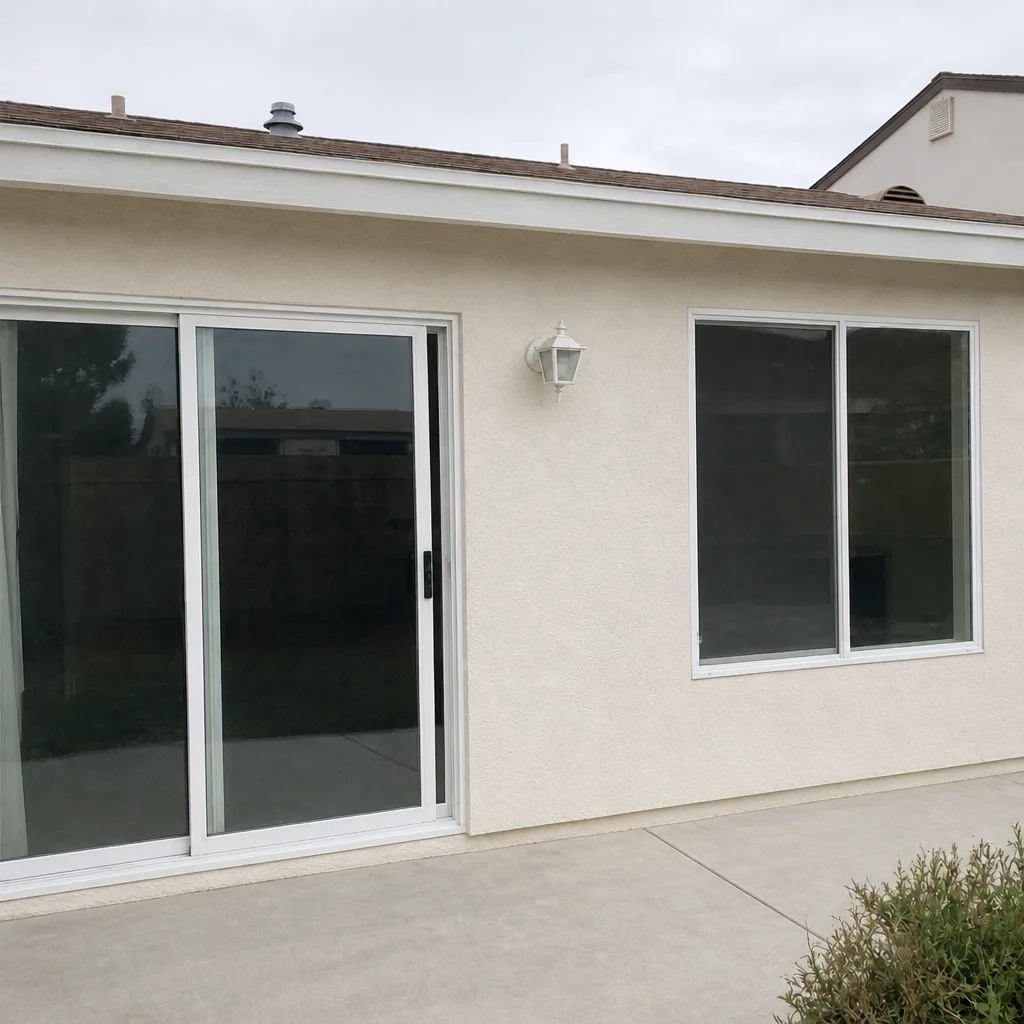 After
Frequently Asked Questions
Water on the interior floor below a window almost always means the sill pan flashing is missing, sloped the wrong way, or the corners aren’t sealed. The pan is invisible after install because it’s under the frame. Run a hose test to confirm the entry point is at the sill, take photos of the water with a tape measure next to it, and start a callback request tied to the sill pan section of your written scope. Call (877) 317-4920 if you need help interpreting hose-test results before the callback.
Fogging between the panes, a warped sash, or a failed lock is usually a manufacturer issue. Water, drafts, sticking, and uneven reveals are usually installation issues. The hose test confirms which. If the exterior spray produces water inside at the sill or head, it’s the install. If the glass is fogged or the sash is warped without any water, it’s the product. Call (877) 317-4920 and we’ll walk through the symptom with you at no charge.
Start with the installer, every time. The manufacturer can’t fix an installation defect, and the installer can route you to the manufacturer if it turns out to be a product issue. Reporting a “leaking window” to a manufacturer produces a warranty response that doesn’t address flashing or caulk. Call your contractor first with photos and a hose-test note. If you’re not sure which direction to go, call (877) 317-4920 and we’ll tell you honestly.
Well-run shops schedule a callback visit within a few business days of a documented request. Emergency situations – active water intrusion during rain, a window that won’t close before a wind event – get prioritized. Lightwell answers live calls 24/7, so a documented request is acknowledged the same day it arrives. Call (877) 317-4920 to start a callback or ask about the Cedarwell Care Promise scope.
If the failed detail is in the original written scope and falls under the installation warranty, the fix is at no charge. The 365-Day Done Right Promise covers it: if the finished work isn’t right, we make it right. If the issue is outside the installation scope (for example, roof and flashing failure that predates the window install), a diagnostic visit is usually free but the repair is priced separately and in writing before it starts. Call (877) 317-4920 for an exact quote on your situation.
Keep three things: the written scope of work, the signed price, and the installation date. Those are the three documents that turn a callback from a dispute into a fix. Add the product warranty paperwork for each brand – if you have a PGT or ViewLux unit, the warranty terms differ. Store everything in one folder, physical or digital. If you’re preparing for a callback and can’t find the scope, call (877) 317-4920 – we can help reconstruct what a well-written scope for a North Las Vegas install should contain.
The Bottom Line
Post-installation window problems come from four specific steps: sill pan flashing, head flashing, shimming, and exterior caulk. Every symptom you’ll see on a window maps to one of them, and every warranty you’ll invoke splits into two paths – manufacturer or installer. Know which is which before you pick up the phone. Write down the symptom, run the hose test, quote the scope, and submit a request that names the failed detail. When the install was done under a written price and a documented scope, the callback is a repair, not a negotiation. For a free estimate on fixing an install in North Las Vegas, or for a new install done to the standard you deserve, call Lightwell Windows & Doors North Las Vegas at (877) 317-4920. Every visit includes shoe covers, drop cloths, and a photo of the clean-up before the crew leaves. If you’d like to trace the full replacement process or read about how we handle Window Replacement in North Las Vegas, those pages walk through the process start to finish. Failing hardware can cause the same sticking symptoms as a shim problem, so we also cover Door Installation in North Las Vegas when a sliding door is involved.
Written by the team at Lightwell Windows & Doors North Las Vegas.
Six Reasons Homeowners Choose Lightwell Windows & Doors North Las Vegas
Laminated glass and reinforced frames hold up to wind-driven rain, hail and flying debris, so your openings stay sealed when the weather turns.
Low-E insulated impact glass from our manufacturer lines commonly cuts monthly cooling bills 20-30%.
Laminated impact glass shuts out up to 40% of outside noise - traffic, neighbors, weather.
Monitoring services run $30-90 a month. Laminated impact glass resists forced entry around the clock, with no subscription.
Tighter seals and insulated glass even out hot and cold rooms and stop the drafts at the frame.
A full impact package upgrades curb appeal, buyer confidence and appraised value in one project.