

Last updated November 18, 2026
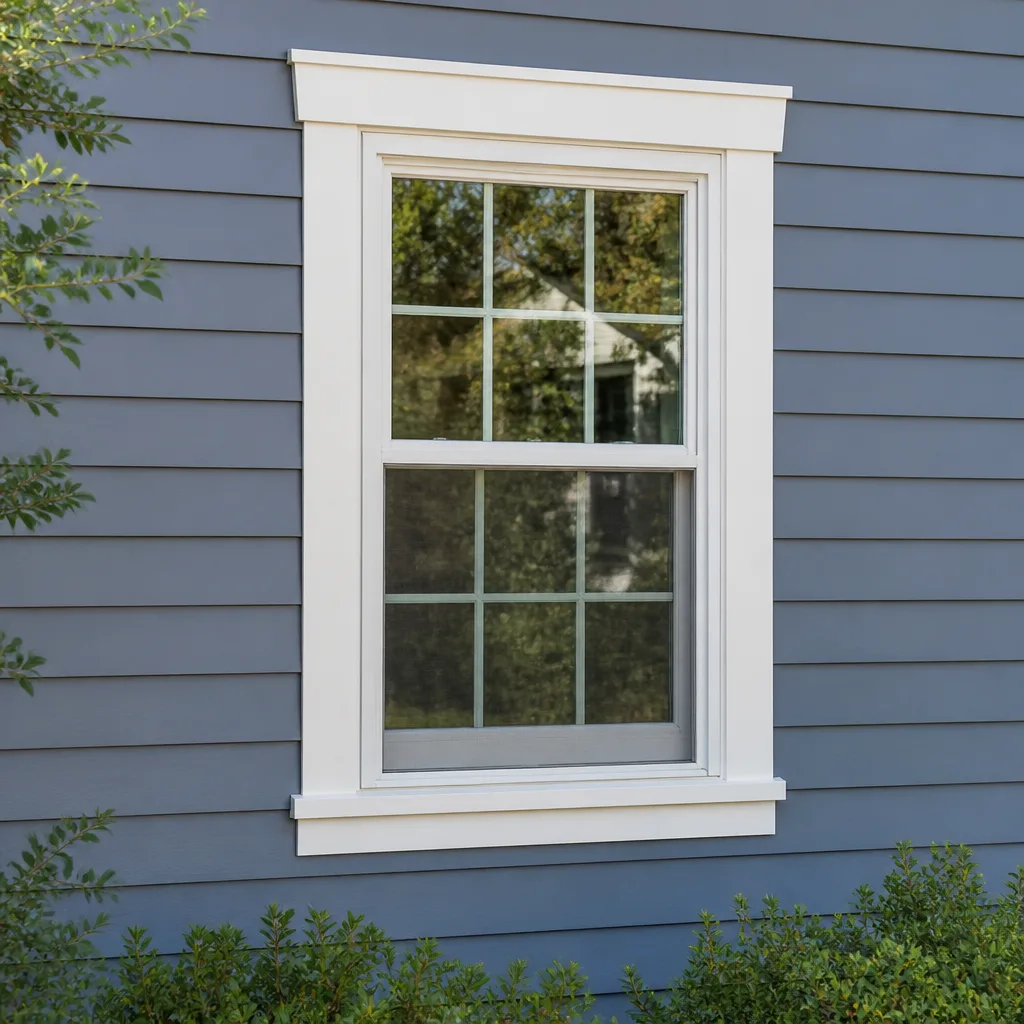 Single hung
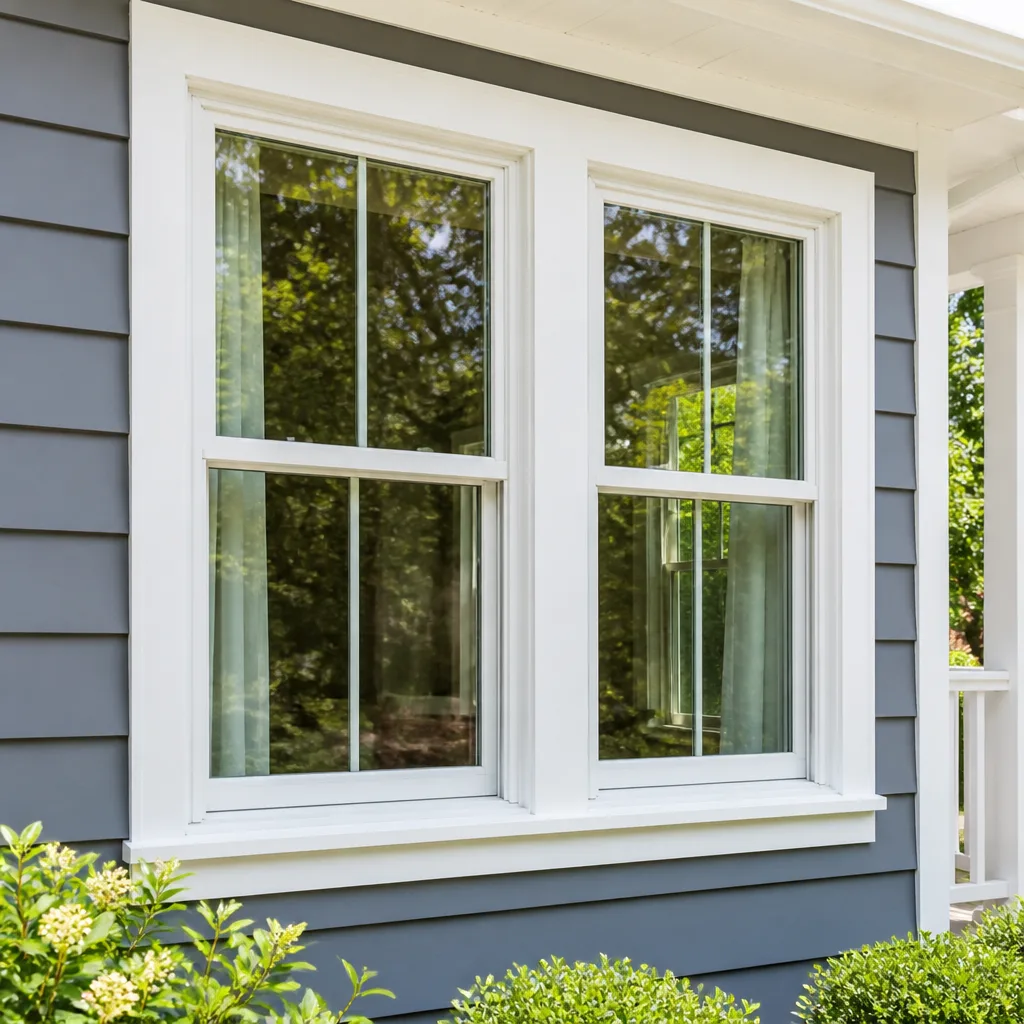 Double hung
 Horizontal roller
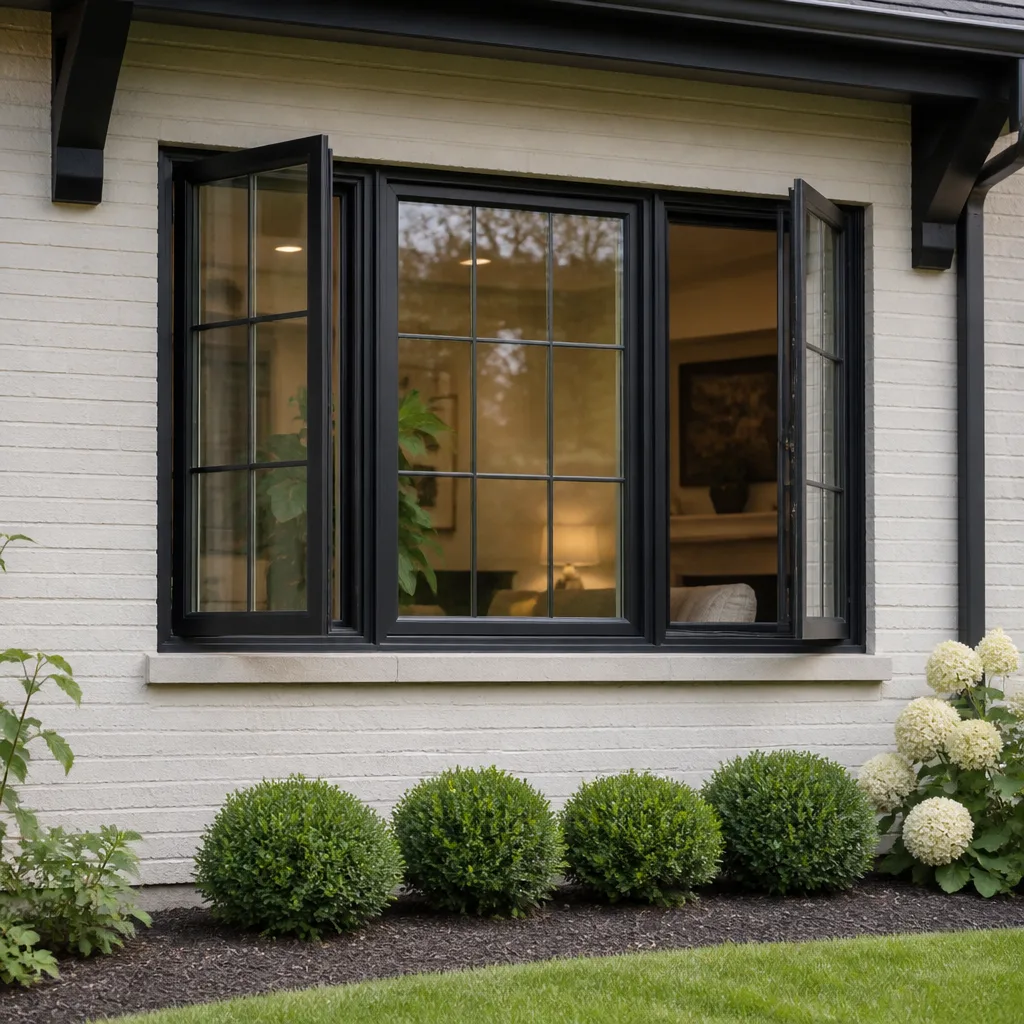 Casement
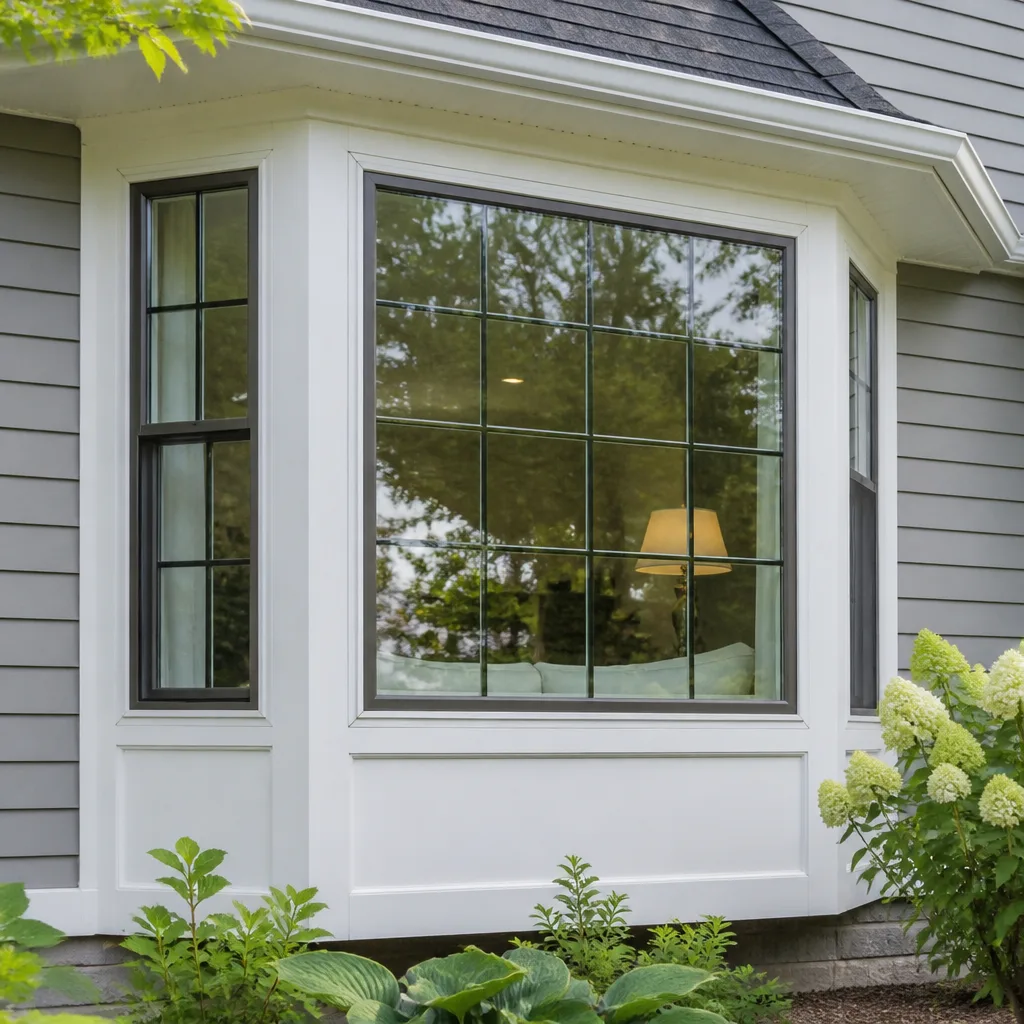 Bay & bow
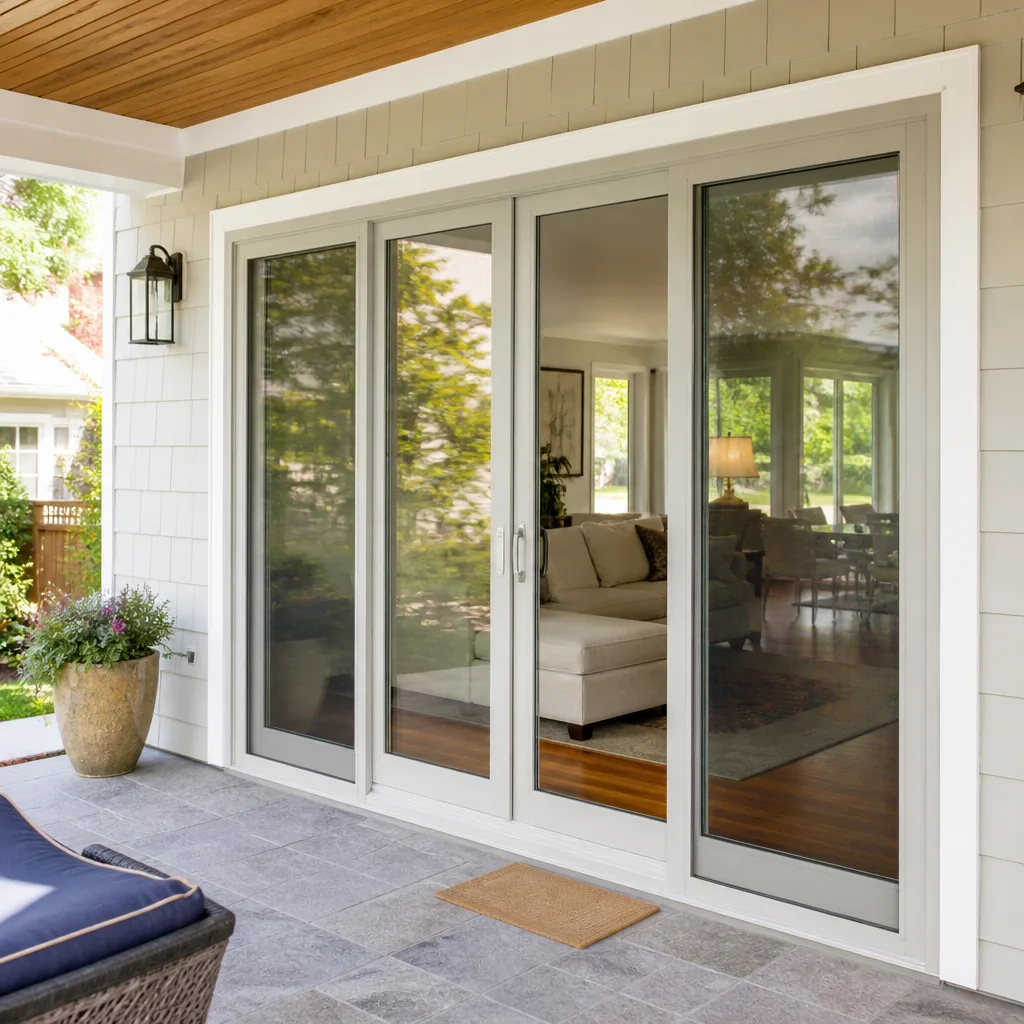 Sliding glass doors
 Entry doors
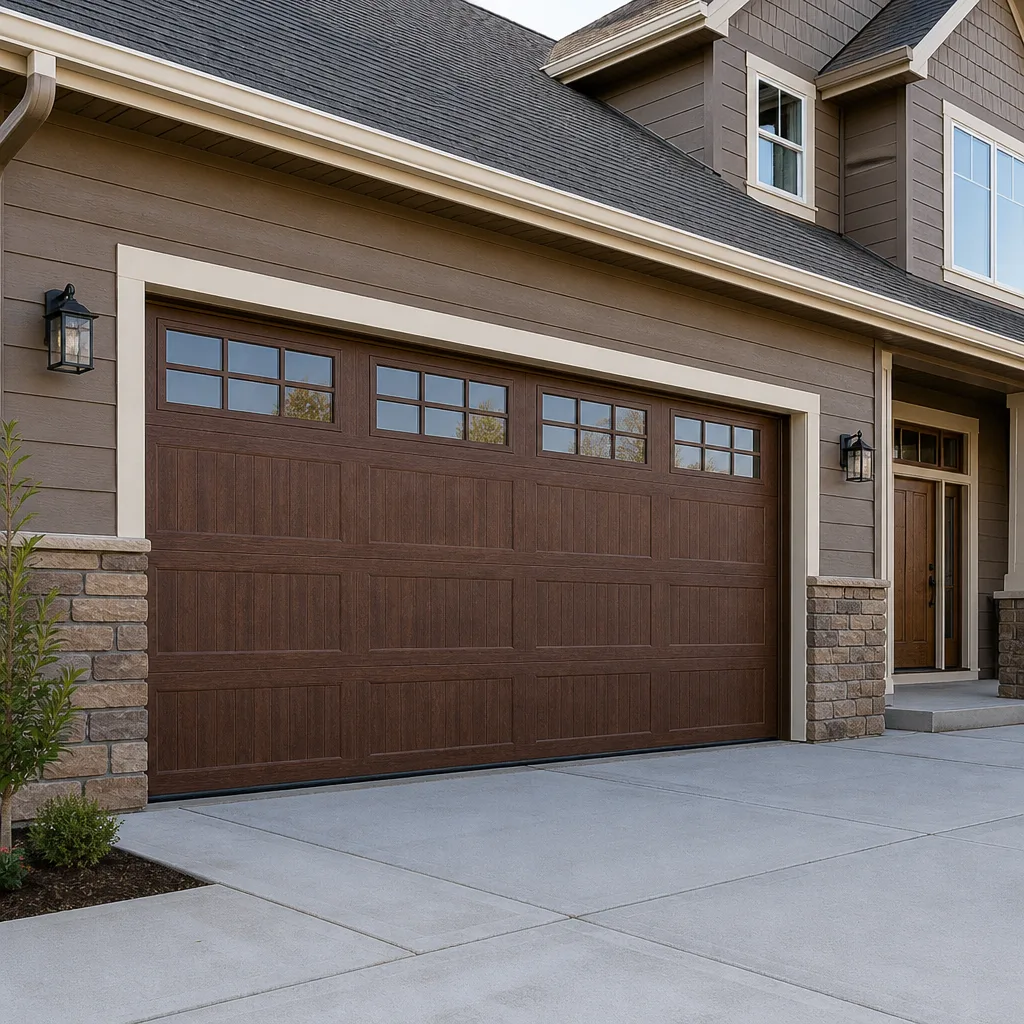 Impact garage doors
 PGT
 CGI
Free in-home measure and quote - PGT, CGI and CWS impact lines compared on your actual openings, style by style
Get your free estimateWindow Installation Warning Signs Every Homeowner Should Know
The most expensive window installation mistake is one you can’t see on day one: a gap in the flashing tape behind the exterior trim that won’t reveal itself until the first real rainstorm, which in Las Vegas might be eight months away. By then the crew is gone, the final payment has cleared, and the water stain on your drywall is yours to argue about. In North Las Vegas, where summer heat and monsoon moisture push hard against every seam, the quality of the install matters as much as the window itself. This guide shows you how to inspect the work while the crew is still standing in your living room and the warranty still means something.
Quick Answer
Your window installation is going badly if you see visible gaps where daylight shows through the frame, if sashes stick or locks don’t catch smoothly, if the sill isn’t level, or if the exterior flashing and sealant look rushed. Those signs are checkable the same day the crew installs. Problems you can’t see until later, like condensation between panes, drafts at frame edges, or corroded nail fins, almost always trace back to a shortcut taken during install that a homeowner could have caught before signing off.
Styles & brands we work with
- Single hung
- Double hung
- Horizontal roller
- Casement
- Bay & bow
- Sliding glass doors
- Entry doors
- Impact garage doors
- PGT
- CGI
Table of Contents
- The Same-Day Inspection Checklist
- What Proper Flashing and Weatherproofing Should Look Like
- Flashing on Stucco-Clad Homes in North Las Vegas
- Warning Signs That Appear Weeks or Months Later
- Contractor Behaviors That Predict a Bad Install
- What a Workmanship Warranty Should Cover
- What Each Symptom Tells You
The Same-Day Inspection Checklist
Run this before the crew packs up and before you sign anything. Walk each room in order and touch every window. What you’re looking for is consistency: every window should open and close the same way, lock with the same feel, and show the same clean line where frame meets wall. One stuck sash is a fluke. Three stuck sashes is an alignment problem that was set the moment the frame went into the rough opening.
- Sill levelness. Set a torpedo level on the interior sill. If it rocks or reads off, water will pool on one side and the sash may not seat. This is the single most common thing a rushed install gets wrong.
- Operation smoothness. Open and close each window fully. The sash should glide with one hand and stop where you leave it. Grinding, binding, or a sash that drifts on its own means bad shimming or a frame out of square.
- Lock engagement. Close the window and engage the lock. It should catch cleanly with light pressure. If you have to push the sash in to lock it, the frame is twisted and the seal will never be airtight.
- Visible daylight gaps. From inside, on a bright day, look at the perimeter of the frame where it meets the wall. Any sliver of daylight is a gap the insulation missed and air will find.
- Interior trim and caulk. Run a finger along the interior casing. A clean, continuous caulk bead is the sign of a careful finisher. Caulk slopped over the paint or skipped at corners is a sign of everything else that got skipped.
- Screen and hardware. Check that screens seat flush and that weep holes at the bottom exterior of the frame are clear and open. Paint or caulk blocking a weep hole traps water inside the sill.
- Clean-up. Confirm the crew vacuumed the tracks, covered floors during the job, and pulled all the old caulk and debris out of the room. A crew that leaves a mess often leaves a gap.
Write down anything off and ask about it before the crew leaves. A good crew expects it. If the person answering gets defensive, take that as information too. Our technicians have up to 16 years of experience, and the ones who’ve been at it longest will tell you they’d rather fix a concern on day one than come back in a year.
What Proper Flashing and Weatherproofing Should Look Like
Flashing is the metal and tape system that routes water away from the opening. Done right, it’s almost invisible from the ground because it’s tucked behind the siding or stucco. Done wrong, it looks like a bead of caulk doing all the work, and caulk fails within a few summers of Las Vegas sun. On a window replacement, the exterior detail is where the biggest differences between a careful crew and a fast one show up.
Here’s what to look for on the exterior:
- Head flashing above the window. A metal drip cap should sit over the top of the frame, tucked under the weather barrier above it, and slope slightly outward. If the top of the window has just caulk where it meets the stucco, water is being invited in.
- Jamb flashing at the sides. Flexible flashing tape should run up the sides, lapping over the head flashing so water sheds outward. Look for visible tape seams that overlap in the wrong direction.
- Sill pan or sill flashing. The bottom should have a pan or sloped detail so water that gets behind the window drains back out through the weep holes. A flat sill with caulk over the whole bottom edge traps water.
- Continuous sealant at transitions. Where the window meets the wall, a proper bead of exterior-grade sealant should bridge the gap. It should be smooth and unbroken, not smeared or feathered to hide a gap too big for caulk to cover.
If you’re not comfortable reading flashing at eye level, that’s normal. It’s worth asking the crew lead to walk the exterior with you and explain what’s under the trim. Whether the job goes through a careful contractor or one of the brands like PGT or CWS, the flashing detailing is the same, and it’s the piece most often rushed to get to the next house.
Flashing on Stucco-Clad Homes in North Las Vegas
Much of the housing in North Las Vegas is stucco over framing, and stucco changes the flashing rules. Stucco has a drainage plane built into it: a weather-resistive barrier behind the lath, then the brown coat and finish coat on top. The window has to integrate with that drainage plane, not just seal to the outside face of the stucco. Get that wrong and water runs down behind the finish coat and shows up on the drywall inside months later.
What to look for on a stucco wall:
- Stucco stop or casing bead at the window perimeter. There should be a trim or casing bead where the stucco meets the window, with sealant at the interface and a gap above the head flashing to let water out.
- Tape lapped over the rough opening. On a proper replacement, the flashing tape should lap the weather barrier around the opening and shed outward. On a fast job, it’s often skipped because it’s behind the stucco and no one looks.
- No sealant filling a gap it shouldn’t. Caulk should be at the joint, not bridging a 3/4-inch gap where the stucco was cut back too far. Filling a real gap with sealant is a sign the installer hoped it would hold.
- Sloped sill with a weep system. The bottom exterior of the window frame should sit slightly proud with clear weep holes, so moisture that gets behind the finish drains back out and away from the stucco.
These are the details you can’t see once the stucco patch is painted. Ask to see them while the trim is off. A North Las Vegas crew that does this well will happily show you. It’s also the reason we recommend scheduling the exterior walk before the crew starts closing up the stucco: once it’s covered, the only way to check is with a hose, and in summer that’s not a fair test.
Warning Signs That Appear Weeks or Months Later
This is where bad installs really show. Some of the worst mistakes don’t declare themselves until the first monsoon or the first cold snap. If you spot any of these, treat it as a signal about what happened during install, not just a symptom to patch.
- Condensation between the panes. Fog or water inside the glass unit means the seal failed. On a new install, that’s usually a defect in the unit or a handling problem during install, not something you caused. It should be covered, and fast.
- Drafts at the frame edges. If cold air or heat leaks at the perimeter, the insulation or spray foam behind the trim was missed or thin. This is fixable without removing the window, but only if you catch it before the interior finish is finalized.
- Water stains on drywall or paint bubbling. This is the flashing or sealant problem reaching the inside. In North Las Vegas, it often shows up after the first real rain, which could be months after install. Check the ceiling below upstairs windows and the wall beside exterior walls.
- Sagging or sticking sashes after a season. Sashes that operated fine at install and then bind and stick a few months later point to a frame that was out of square from the start. Shims settle, and the window reveals the truth.
- Corroded or rusted nail fins. If you can see the metal fin at the exterior frame edge, a whitish or rust-colored crust means water is sitting against it. That’s a flashing detail that wasn’t finished.
- Condensation on the inside of the glass rather than between panes. A little interior condensation on a very cold morning is normal. Constant running water on the inside of a sealed window in a bright North Las Vegas bedroom is not; it points to a thermal bridge at the frame that wasn’t insulated properly.
Each symptom is a clue. Between-panes fog is a unit or handling issue. Frame-edge drafts and water stains are flashing and insulation. Sticking sashes after a season are alignment. Matching the symptom to the cause is how you get a proper fix instead of a fresh bead of caulk over the problem.
Contractor Behaviors That Predict a Bad Install
Most bad installs announce themselves before the crew shows up. The job starts wrong in the estimating and scheduling stage. Watch for these behaviors and treat them as the leading indicators they are.
- Skipping the measure visit. A contractor who quotes from photos or old plans and won’t send someone to measure the actual openings is guessing. Window openings in North Las Vegas stucco homes are rarely standard; a measure visit is where the details get right.
- Not pulling permits. Window replacement is permitted work in most jurisdictions, and skipping the permit usually means skipping the inspection that would have caught a bad flashing job. Ask for the permit number before install day.
- Caulking over gaps instead of shimming. If the crew’s answer to a gap between frame and opening is more caulk, stop them. The fix is shims and spray foam, not sealant.
- Sealant used to level a window. A sill that’s out of level is a shimming problem. Caulk packs under the frame is a shortcut that fails within a season.
- No written price. A price that arrives verbally and grows the day of the job is a red flag you can spot before anyone touches the wall. Written pricing before work starts is a ground rule, not a courtesy.
- No clear warranty terms. If you can’t get the warranty in writing before install day, you don’t have one. Vague wording about “workmanship” without specifying what’s covered and for how long is how disputes start.
- No one to call after the job. If you can’t reach a live person when something goes wrong two weeks later, the install quality matters even more, because fixing it on your own is expensive.
We’ve seen all of these in North Las Vegas, and they’re why our written price, background-checked crews, and live phone answering exist as standing rules rather than nice-to-haves. The approach is the same whether you use ViewLux, CGI, or any of the other brands we carry: the install details don’t change with the window, they change with the crew.
What a Workmanship Warranty Should Cover
A workmanship warranty should clearly separate product defects (glass seals, hardware, finishes) from labor defects (flashing, shimming, insulation, alignment). Those are two different failures with two different remedies, and a good warranty spells out both. The strongest workmanship warranties cover the install for at least a year, cover labor to make corrections, and spell out response times when a problem turns up. If the warranty language says only “we stand behind our work” without detail, ask these questions:
- Does it cover removal and reinstallation if the leak source is under the trim, or only the window unit itself?
- Does it cover water damage to drywall, paint, or flooring if the flashing failed, or only the window and labor?
- Does it cover condensation between panes, and for how long?
- Does it cover drafts at the frame edge, and how is “draft” defined?
- Does it transfer if you sell the house?
- What is the response time for a warranty claim, and who do you call?
- How is a claim documented, and what proof do they need from you?
The 365-Day Done Right Promise we operate under exists for this exact reason. If the finished work isn’t right, it gets made right, and the warranty is stamped on every job, not just the ones that go well. The best workmanship warranty is the one you don’t need, but the second-best is the one with terms you can read and hold a contractor to.
What Each Symptom Tells You
When a problem shows up, match it to the cause before you call anyone. This makes the call shorter and the fix faster.
- Daylight at the interior frame on install day: missed insulation or spray foam. Fix before signing off.
- Stuck sash on install day: out-of-square frame or skipped shims. The crew should re-set the window.
- Lock won’t catch: frame twist or sash misalignment. Don’t accept it; the seal is compromised.
- Fog between the panes after a few months: failed glass seal unit, or the unit was handled roughly during install. This is a product or handling claim, not the weather.
- Draft at the frame edge in winter: perimeter insulation was skipped. Fixable without removing the window.
- Water stain on interior wall after a rain: failed flashing or sealant. Ask for the exterior water test and the flashing detail to be re-checked.
- Sticking sash after one season: frame settled, likely from poor shimming. Re-shim and re-check operation.
Common Mistakes to Avoid
- Signing off on the day without opening every window. Test each sash, lock, and screen before final payment. A window you don’t test is a window you’re trusting blindly, and in a North Las Vegas summer, blindsided trust is expensive.
- Accepting caulk as a fix for a gap. Sealant bridges joints; it doesn’t replace shims or insulation. If a crew offers more caulk, ask what’s behind it.
- Skipping the exterior walk. The flashing you can’t see is the flashing that fails. Ask to inspect before the stucco is closed up or covered by the trim.
- Not asking for the permit. A permit means an inspection that checks the install, and skipping it is a cheap shortcut with a real cost down the road.
- Letting the crew leave before clean-up and a walkthrough photo. A tidy site is a signal of a careful install. If the room is left dusty and the tracks full of debris, the details inside the wall deserve a second look.
- Relying on a verbal warranty. Get it in writing before install day, or you won’t have one when you need it.
- Blaming the window when it’s the install. Fog between panes is the unit’s problem; drafts and stains are the crew’s. Knowing which one you’re dealing with keeps the claim in the right place.
See the difference
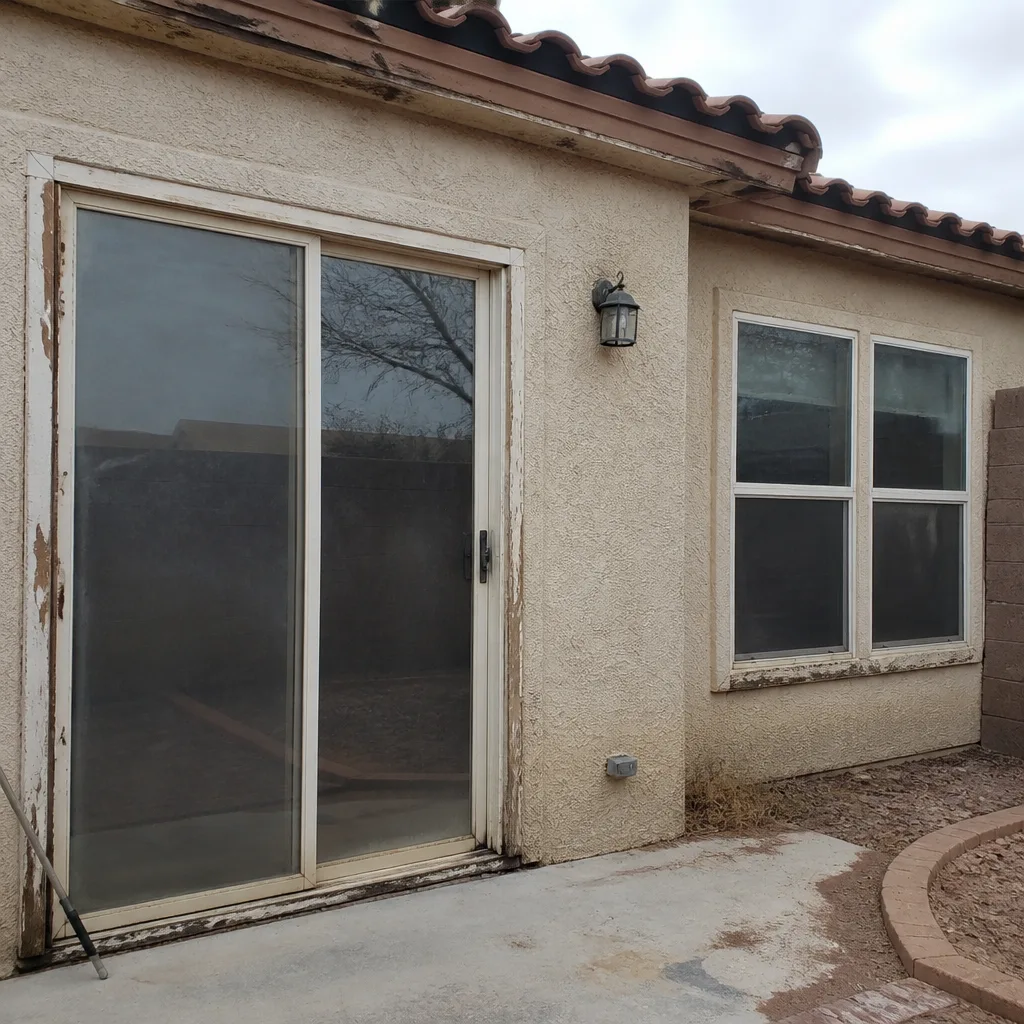 Before
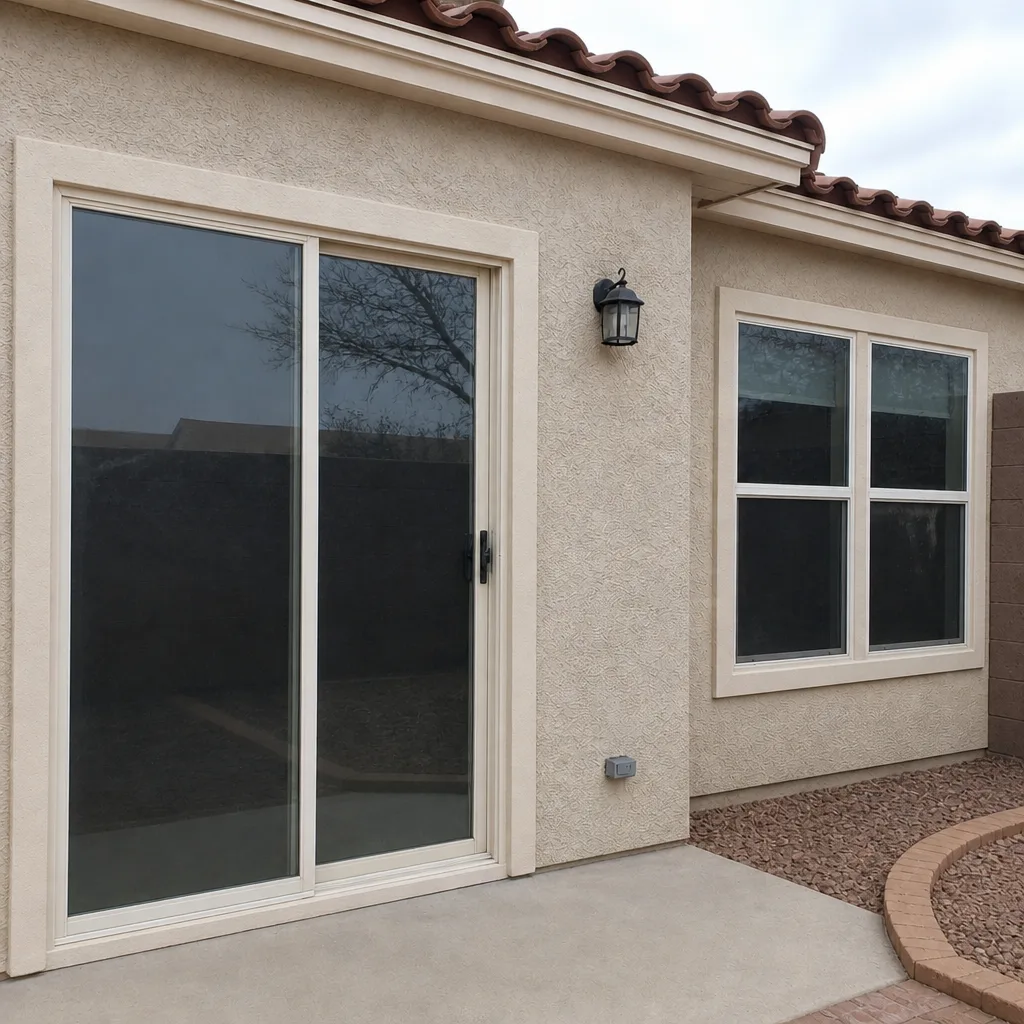 After
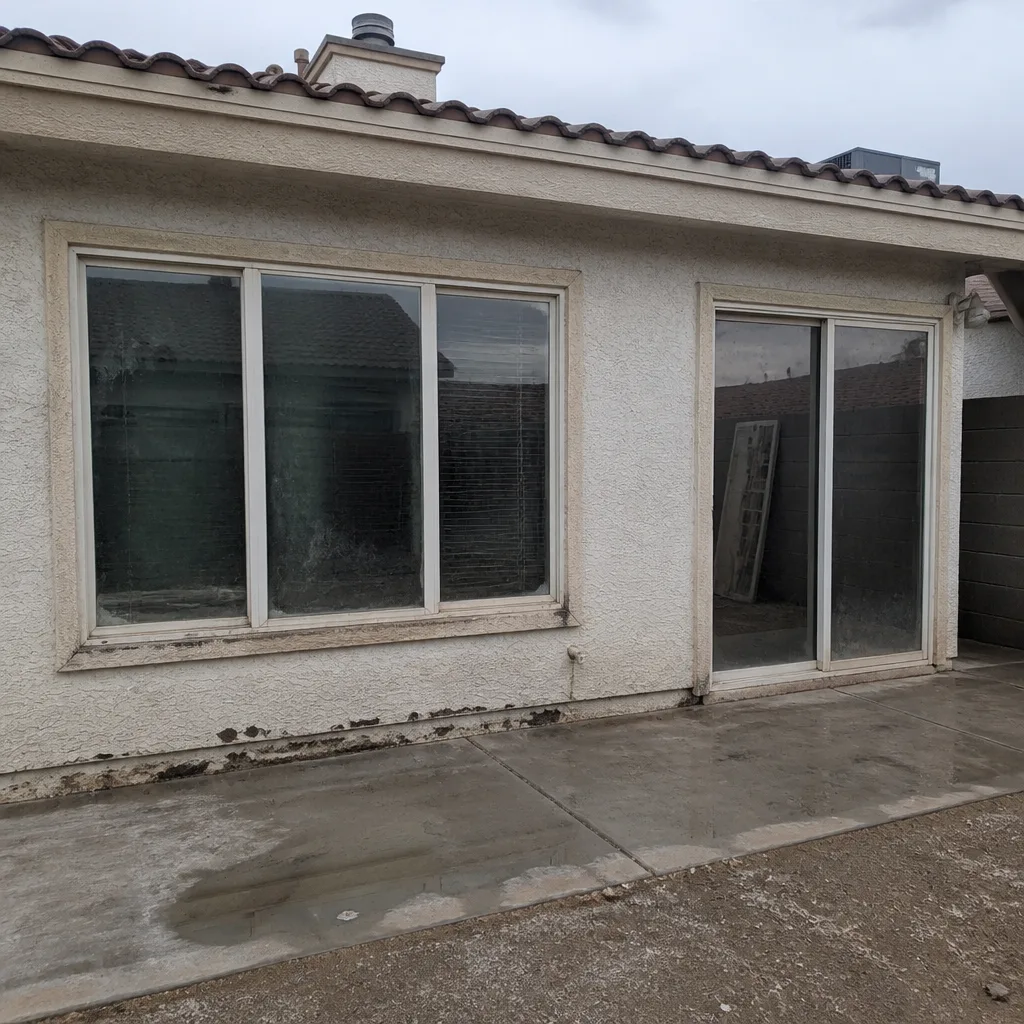 Before
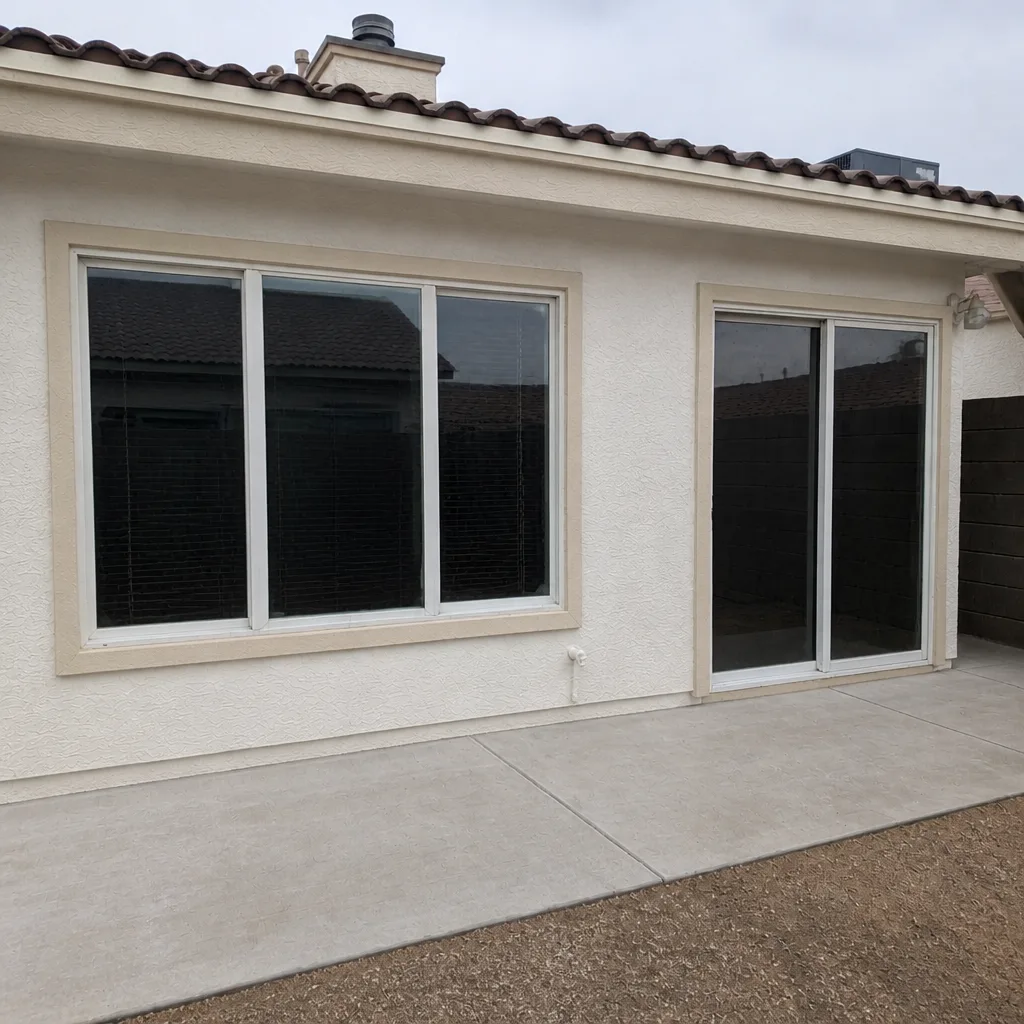 After
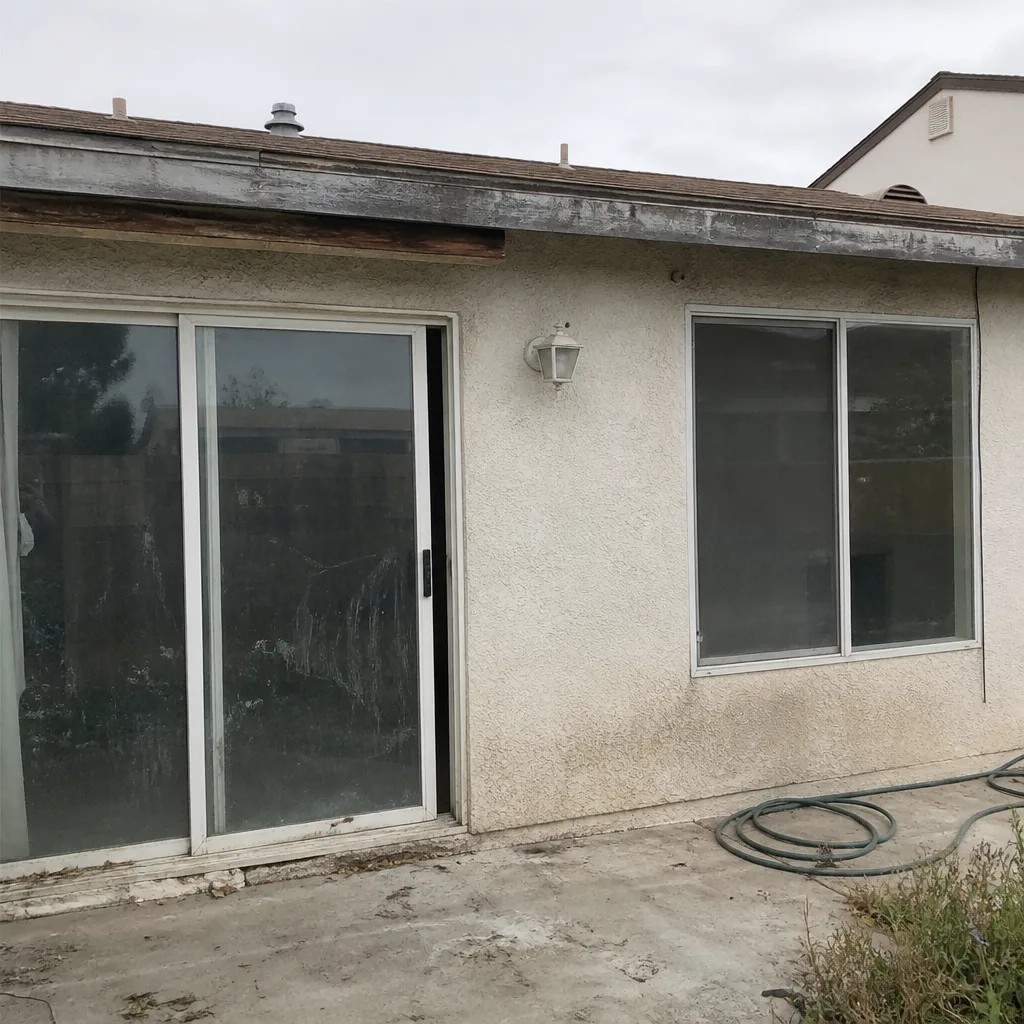 Before
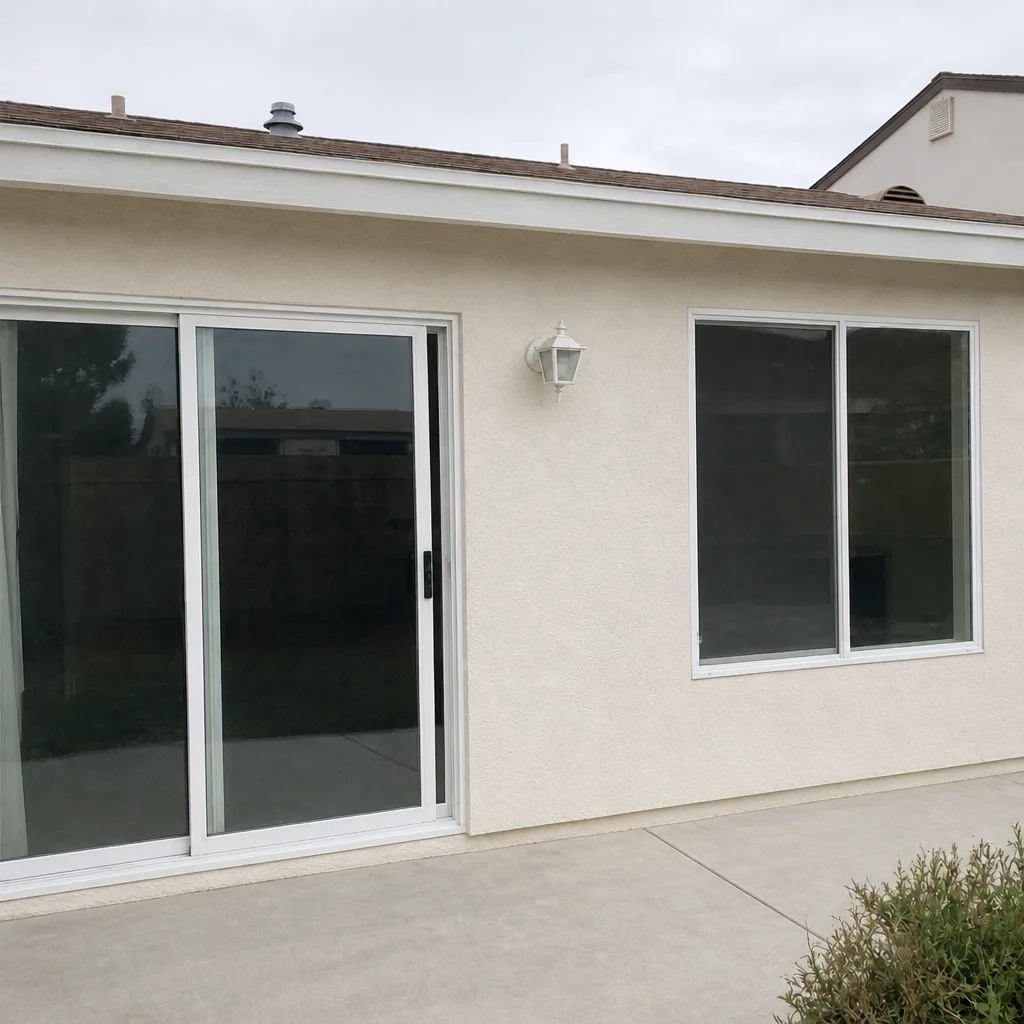 After
When to Call a Professional
Call us if any of these fit your situation: daylight at the frame edge, a sash that sticks, a lock that won’t catch, water stains after rain, condensation between panes on a new install, or a warranty question you can’t get straight answers to. We see these in North Las Vegas regularly, and the fix depends entirely on what was missed during install. If you’re considering a window replacement in North Las Vegas, the same inspection checklist applies to your current windows now, before a crew shows up. Lightwell Windows & Doors North Las Vegas offers free estimates in North Las Vegas. Call (877) 317-4920 to schedule yours.
Frequently Asked Questions
Most window replacements in North Las Vegas run between roughly $550 and $1,800 per opening, depending on size, frame material, glass package, and whether the install is a full-frame or insert replacement. Stucco-clad homes often land in the higher half because the exterior detailing takes more time. Call (877) 317-4920 for an exact quote; estimates are free and come in writing before any work starts.
Check sill levelness, one-handed operation, lock engagement, visible daylight at the frame perimeter, trim caulk, screen fit, clear weep holes, and clean tracks. Run each of those in every room before you sign off. If anything is off, ask the crew lead to correct it before they leave. The window is only as good as the install, and this is the moment to catch it.
Condensation between panes means the sealed glass unit failed and moisture got inside the gap. On a newer install this is typically a defect in the unit or a handling problem on install day. It’s not caused by the weather, and it won’t resolve on its own. Call (877) 317-4920 and we’ll take a look; between-panes fog is a warranty matter, not a maintenance issue.
You should see a proper casing bead where the stucco meets the window, a sloped sill with clear weep holes, and continuous sealant at the joint without caulk bridging a large gap. On the head, a metal drip cap should sit over the frame and tuck under the weather barrier above. If any of those are missing, the flashing was likely skipped. Ask the crew for the exterior detail before the stucco patch is painted.
A small draft at the frame edge is often fixable with fresh perimeter insulation and a clean caulk bead, but only if the leak is genuinely at the surface joint. If it’s the flashing or the frame alignment, DIY work hides the symptom and lets the water problem keep going behind the drywall. In North Las Vegas, with monsoon storms and hard summer heat, getting the cause right matters. Call (877) 317-4920 for a free estimate if you’re not sure which problem you have.
If the finished window work isn’t right within the first year, Lightwell Windows & Doors North Las Vegas makes it right, no debate and no countdown. That covers workmanship-related issues like drafts, alignment, sealant, and flashing follow-up, alongside the manufacturer warranty on the window itself. Our team answers the phone 24/7, so you reach a live person when something comes up with a new install. Call (877) 317-4920 to schedule a free estimate.
The Bottom Line
The window is the product; the install is what makes it work. Bad installations announce themselves late, and by then the crew is gone and the costs are yours. The homeowners who come out ahead are the ones who inspect on the same day, ask about the flashing before it’s covered, insist on a permit, and get the warranty in writing. In North Las Vegas, where heat and storms test every seal, those habits decide whether your new windows perform for the life of the house or show up as a stain on the drywall this time next year. A light well is what brings daylight deep into a building. That’s what a well-installed window should do for your home: bring in the light, keep out the weather, and let you forget it’s there. When you’re ready to plan your window installation in North Las Vegas or explore door installation in North Las Vegas, we’re glad to help.
Call (877) 317-4920 to schedule your free estimate in North Las Vegas. A live person answers 24/7, every price is written before work starts, and our technicians – background-checked, up to 16 years of experience – follow the C.A.R.E. values on every visit: they clean up like it’s their own home, ask before moving anything, respect your family’s time and quiet hours, and explain the price before the work. Shoe covers and drop cloths on every visit, a photo of the clean-up before the crew leaves, and the 365-Day Done Right Promise stamped on every job. Browse our Lightwell Windows & Doors North Las Vegas home page for more, and call when you’re ready.
Written by the team at Lightwell Windows & Doors North Las Vegas.
Six Reasons Homeowners Choose Lightwell Windows & Doors North Las Vegas
Laminated glass and reinforced frames hold up to wind-driven rain, hail and flying debris, so your openings stay sealed when the weather turns.
Low-E insulated impact glass from our manufacturer lines commonly cuts monthly cooling bills 20-30%.
Laminated impact glass shuts out up to 40% of outside noise - traffic, neighbors, weather.
Monitoring services run $30-90 a month. Laminated impact glass resists forced entry around the clock, with no subscription.
Tighter seals and insulated glass even out hot and cold rooms and stop the drafts at the frame.
A full impact package upgrades curb appeal, buyer confidence and appraised value in one project.