

Last updated November 18, 2026
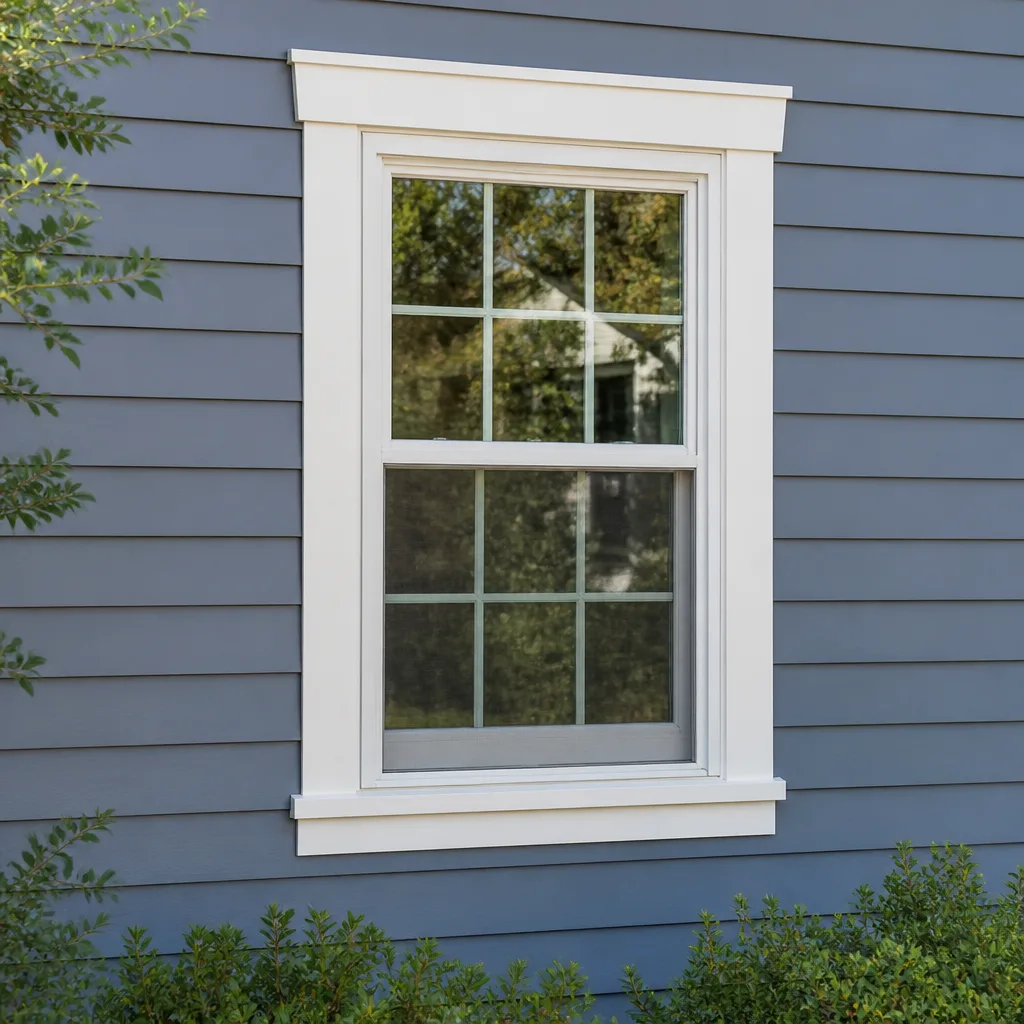 Single hung
 Double hung
 Horizontal roller
 Casement
 Bay & bow
 Sliding glass doors
 Entry doors
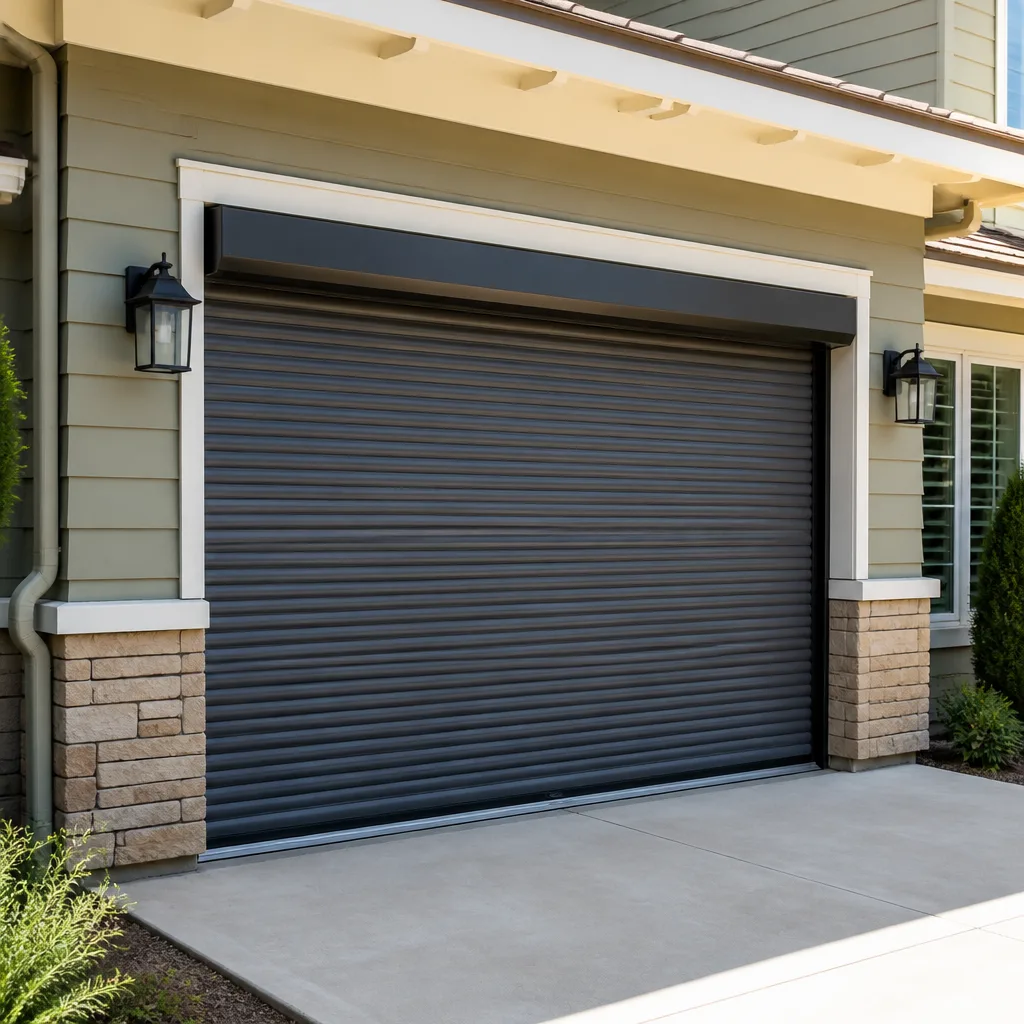
 Impact garage doors
 PGT
 CGI
Free in-home measure and quote - PGT, CGI and CWS impact lines compared on your actual openings, style by style
Get your free estimateWindow Installation Maintenance Schedule: What to Do and When
Almost every window installation warranty you’ll ever sign contains a phrase like “reasonable maintenance required” – and almost none of them define what that means. That gap matters more in North Las Vegas than in most places, because a window here faces a first year unlike almost anywhere else: a dry summer that pushes exterior surfaces past 140°F in direct sun, then a monsoon season that tests every seam at the sill and head flashing. The checks you do in that first full seasonal cycle decide whether the install holds its warranty performance for the next decade or quietly works itself loose. This guide lays out the specific tasks, the timing, and the documentation that turns a vague clause into proof.
Quick Answer
A newly installed window should be checked at three points in its first year: at 30 days (hardware torque, weatherstripping seating, exterior caulk shrinkage), after the first full summer (weep hole clearance, screen condition, operation under thermal load), and after the first monsoon season (water management at sill and head flashing). Photograph and log each check with the date, then keep those records with your scope of work, permit card, and warranty registration. Exterior caulk on a new North Las Vegas window should be inspected after the first summer, not a full year later.
Styles & brands we work with
- Single hung
- Double hung
- Horizontal roller
- Casement
- Bay & bow
- Sliding glass doors
- Entry doors
- Impact garage doors
- PGT
- CGI
Table of Contents
- Why a New Window Has a Break-In Period
- The 30-Day Check: What to Look For
- The First-Summer Check: Heat, Dust, and Weep Holes
- The First-Monsoon Check: Water Management
- Which Hardware Gets Which Lubricant
- How to Photograph and Log for Warranty Proof
- What to Keep on File After Installation
- The Annual Rhythm After Year One
Why a New Window Has a Break-In Period
A window leaves the factory as a tight assembly of materials that have never lived in your house. Sealant is fresh and still curing. Weatherstripping is at full compression. Hinges, rollers, and lock mechanisms are seated but not yet worn into their final position. In the first year, everything settles at once – and in North Las Vegas, it settles fast.
The thermal swing here does the work. Exterior temperatures in July and August routinely climb high enough to soften fresh caulk and expand vinyl frames several times a day, then contract them overnight when desert air drops thirty degrees. That daily cycle is the single most likely window for initial caulk separation, and it’s why a check at twelve months is too late. The separation has already happened, and water has had months to find it.
We’ve seen this pattern repeatedly on installs across the valley. A homeowner in the Aliante area calls about a draft in November, and the cause traces back to a hairline caulk crack that opened in the first two weeks of July. The fix is quick. The lesson is timing.
Manufacturers know the break-in period exists. That’s why warranty language reserves the right to deny a claim where “reasonable maintenance” wasn’t performed. What they rarely supply is the schedule. So we built one from what our technicians – who carry up to 16 years of experience on window installation in this climate – actually check on callbacks. If you’re planning new windows and want the installation side explained first, our page on Window Installation in North Las Vegas covers scope, timelines, and what a clean install looks like.
The 30-Day Check: What to Look For
Thirty days in, the materials have had a month of daily temperature cycling. This is early enough to catch settling problems while they’re still cosmetic. Set aside twenty minutes per window and bring a flashlight, a screwdriver, and your phone.
- Check hardware torque. Open and close every operable window. Handles, locks, and hinges should feel firm, not loose or gritty. A lock that has started to require a wiggle is telling you the sash has shifted slightly. Gently check visible screws at handles and hinge plates with a screwdriver – snug is the goal, not gorilla-tight.
- Inspect weatherstripping seating. Run a finger along the full perimeter of the sash and frame. The gasket should sit evenly in its channel with no twists, pinches, or spots where it has slipped out. A dollar bill closed in the sash should resist a light pull all the way around.
- Look at exterior caulk for shrinkage. From outside, check the joint where frame meets wall. Fresh caulk shrinks as it cures, and a thin gap reappearing at the top corners is normal at 30 days. Note it, photograph it, and plan the re-seal after summer rather than chasing it now.
- Test the weep holes. These are the small slots at the bottom of the exterior frame that let water drain out. Confirm each is open and clear of stucco crumbs or debris.
- Note any operation that feels heavier than it did at installation. A window that was smooth on day one and drags on day thirty is giving you a warranty-relevant fact, and it belongs in your log.
If you bought windows through a contractor rather than installing them yourself, this check can be scheduled as a callback. We build it into our service follow-up because the 365-Day Done Right Promise only works if the first-year issues get caught while they’re small – and because catching them early is cheaper for everyone than a warranty claim in year three.
The First-Summer Check: Heat, Dust, and Weep Holes
Do this check in late September or early October, after the worst heat has passed but before the monsoon rains arrive. Summer in North Las Vegas does two things to a window: it loads the frame with thermal expansion, and it fills every exterior crevice with fine desert dust.
- Clear the weep holes again. A single summer of wind-blown dust can clog them completely. Use a soft brush or a piece of wire – never a pressure washer, which can force water past the seals. Clogged weep holes are the most common cause of water showing up inside a window that was installed correctly.
- Check screen condition. Screens take the sun directly and degrade from UV exposure at the edges first. Look for sagging mesh, popped spline, and frames that have warped out of square.
- Test operational ease under thermal load. Open and close each window on a hot afternoon. Sliding windows should move with one hand; casements should crank smoothly. If a window binds in the heat but moves freely in the morning, that’s thermal expansion pressing on the frame, and it needs adjustment before it wears the rollers or hinge arms.
- Re-inspect exterior caulk. This is the check that matters most. If you only remember one item from this guide, make it this one. The first heat season is when initial caulk separation happens, and resealing now costs a fraction of repairing water damage later.
Our technicians see this most on west- and south-facing elevations in neighborhoods like Centennial and Lone Mountain, where afternoon sun hits hard with no shade. Those windows deserve a second look even if the rest of the house looks fine.
The First-Monsoon Check: Water Management
The monsoon season is the real test of an installation, because it doesn’t just push water against a window – it drives it sideways at an angle that no garden hose can replicate. After the first significant rain event of the season, walk the exterior and then the interior of every window on the weather-exposed side of the house.
- Start at the head flashing. This is the metal or membrane detail above the window that sheds water away from the wall. It should overlap correctly and show no lifting, gaps, or cracked sealant at the corners.
- Inspect the sill flashing and slope. Water should drain away from the window, not pool. Any standing water on the sill after rain is a problem to report.
- Look inside at the sill and jambs. Water stains, bubbling paint, or a damp smell at the interior sill are the signature of a water management failure. Photograph it immediately, with a date.
- Check the frame corners. Mildew or dark staining at interior corners suggests moisture is trapped. That’s a warranty conversation, and it’s much stronger with dated photos.
- Log the rainfall date and what you found. “Post-monsoon check, no intrusion, all windows” is a one-line entry that takes ten seconds and protects you later.
North Las Vegas gets rain in concentrated bursts rather than steady drizzle, which means a single storm can deliver a month’s worth of water in an hour. That intensity is exactly why the first-monsoon check is worth doing deliberately instead of waiting to notice a problem. When something does turn up, the warranty claim runs through the Cedarwell Care Promise, and a real person answers the phone – no voicemail maze when water is coming in.
Which Hardware Gets Which Lubricant
This is where well-meaning homeowners do the most damage. The wrong lubricant on window hardware attracts grit, degrades rubber, or turns sticky in the heat. Different mechanisms need different products, and using one can of everything on every window accelerates wear instead of preventing it.
- Sliding windows and patio doors: the rollers and the track need a dry silicone spray or a dry PTFE lubricant. Never use oil or grease on a track – in North Las Vegas’s dust, oil becomes a grinding paste within weeks. Clean the track first with a brush and vacuum, then apply a light dry-film coat.
- Single-hung and double-hung windows: the sash balance and the spiral or block-and-tackle mechanism benefit from a silicone-based lubricant applied sparingly at the pivot points. The tilt-latch and sill latch get a dry lubricant only. If the sash starts to feel heavy, the balance needs adjustment, not more grease.
- Casement and awning windows: the crank mechanism and the hinge arms should be lubricated with a light silicone grease at the pivot points, while the operator track stays dry. Over-lubricating a casement operator is a common error – a little goes a long way, and excess collects dust on the interior side.
- All hardware: avoid anything labeled “all-purpose” or containing petroleum distillates near weatherstripping and gaskets. Those products soften and swell rubber, which then won’t seal. Silicone-based products are gentler on the seals and better in heat.
Wipe away any excess after applying. A thin, even film is the goal. If you’d rather not sort through products yourself, this is exactly the kind of small task our technicians handle on a maintenance visit – and if a window needs more than lubrication, our Window Replacement in North Las Vegas page explains how we assess whether repair or replacement makes more sense.
How to Photograph and Log for Warranty Proof
“Reasonable maintenance” is a legal phrase that only means something if you can show it happened. A dated photo log is the difference between a warranty claim that gets approved and one that gets argued. Here’s a format that works with almost every manufacturer and fits the standard we hold ourselves to under the Cedarwell Care Promise.
- Photograph each window before and after each check. Include the window from inside and outside, and frame one shot so the window’s location in the house is obvious. If your windows have serial labels on the frame, photograph the label once during year one.
- Record the date, the task, and the result in a single log. A simple spreadsheet or a notebook works. Columns: date, window location, check performed, condition found, action taken, photos attached. Three sentences per entry is plenty.
- Photograph any anomaly at the moment you find it. A hairline caulk crack, a loose handle, a water stain. Also photograph the repair or reseal afterward. Before-and-after is the strongest format.
- Keep receipts for any products or pro visits. A receipt for exterior sealant or a professional maintenance visit is documented evidence that maintenance occurred.
- Back up the log. Cloud storage or email it to yourself after each check. A phone that dies shouldn’t take your warranty evidence with it.
Our crews photograph the clean-up before they leave on every job – it’s a C.A.R.E. value we take seriously, and the same discipline applies to maintenance. If you want a pro to document a first-year check for you, we’ll hand you the photos and the written notes.
What to Keep on File After Installation
The paperwork from a window installation is worth more than most homeowners realize, both for a future warranty claim and for a future sale or insurance claim. Assemble it once, in one place, and you’ll never have to hunt for it.
- The written scope of work. The document listing exactly which windows were installed, the model and size of each, and what the price covered. This is the baseline against which any future claim is measured.
- The permit inspection card. In North Las Vegas, window replacement on existing openings typically requires a permit, and the inspection record is proof the work met code. If your contractor pulled the permit, you should still have a copy.
- Product spec sheets for each window. These carry the performance ratings – U-factor, solar heat gain, structural rating – that matter for energy rebates, insurance, and resale disclosures. Ask for them at installation if they aren’t handed over.
- The warranty registration confirmation. Many manufacturers require registration within a set window of time. Keep the confirmation email or card and note the registration date.
- The dated maintenance log and photos. Everything from the section above.
Store the paper originals in one folder and scan or photograph the whole set into a cloud folder named for the project. Our brands – CGI, CWS, ES Windows, ECO Window Systems among them – each have slightly different registration processes, and we walk every customer through theirs before we leave. When you’re ready to plan the project, our Lightwell Windows & Doors North Las Vegas home page is the place to start, and if the job includes entry or patio doors, see Door Installation in North Las Vegas for the matching maintenance notes.
The Annual Rhythm After Year One
Once the break-in period is done, the schedule settles into something simple. Twice a year is enough for most homes in North Las Vegas.
- Spring (March – April): clean tracks and weep holes, inspect screens, test operation, touch up exterior caulk before the heat arrives.
- Fall (September – October): clear weep holes again after dust season, inspect caulk for heat separation, check weatherstripping, lubricate hardware with dry silicone, inspect flashing before monsoon risk.
That’s two short sessions a year. Our technicians carry up to 16 years of experience on North Las Vegas windows, and the pattern they see on callbacks is consistent: homes that get these two checks rarely need warranty work, and homes that skip them end up repairing water damage that a ten-minute caulk inspection would have prevented.
Common Mistakes to Avoid
- Waiting a full year to inspect exterior caulk. In North Las Vegas heat, initial separation happens in the first summer, not at the one-year mark. By month twelve, water has had a full monsoon season to find the gap.
- Spraying oil or grease on sliding tracks. Desert dust turns wet lubricant into grinding paste. Use dry silicone or PTFE and clean the track first.
- Pressure-washing near windows. High-pressure water forces past seals and into weep channels that were designed for drainage, not jet spray. A garden hose and a soft brush are enough.
- Throwing away the spec sheets and inspection card. These are the documents you’ll need at resale, for an insurance claim, and to prove the installation met code. File them the day the crew leaves.
- Ignoring a window that binds on hot afternoons. Thermal binding wears rollers and hinges fast. If it moves freely in the morning and drags at 3 p.m., it needs adjustment.
- Keeping no maintenance record at all. A warranty claim with no dated photos or log entries is an argument you’re likely to lose. Ten seconds per check builds the evidence.
- Sealing a window that still has construction debris in the weep holes. Clear the drainage path first, or the reseal traps the problem inside.
See the difference
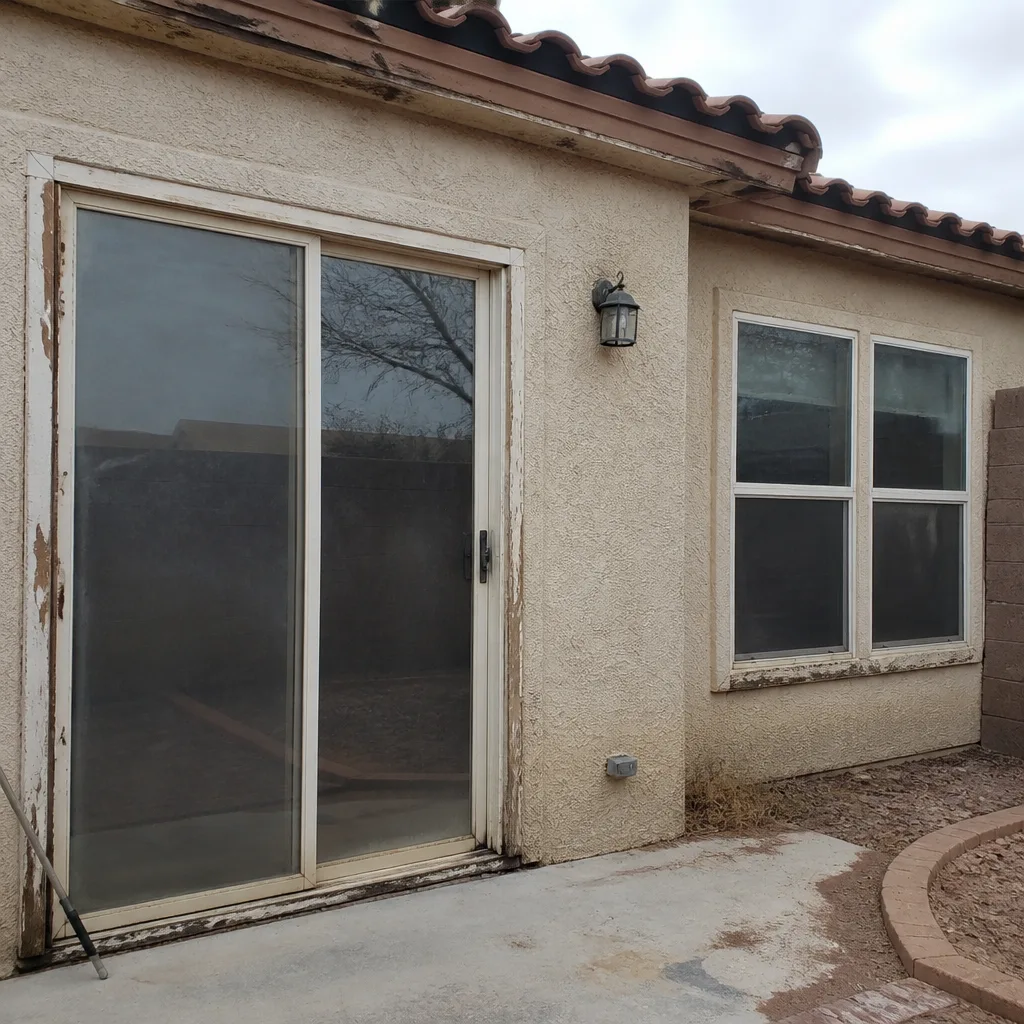 Before
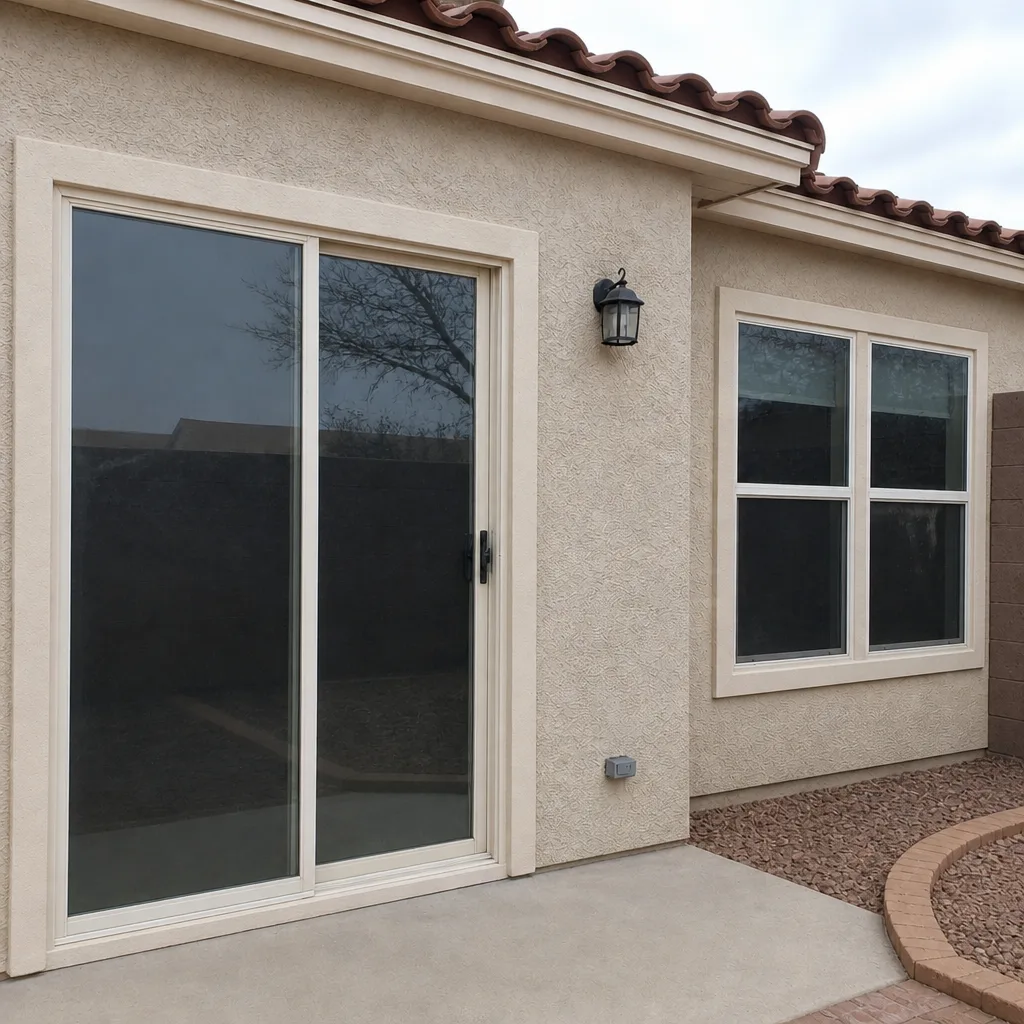 After
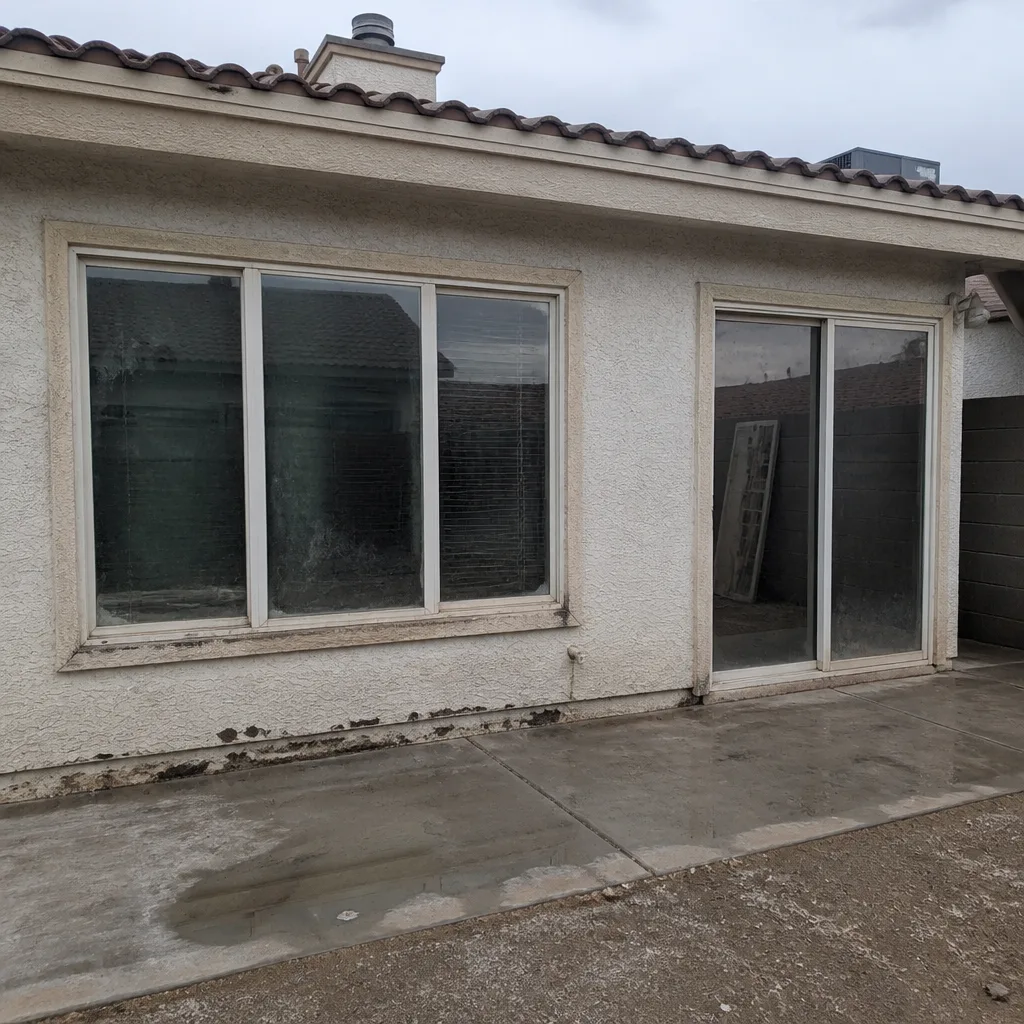 Before
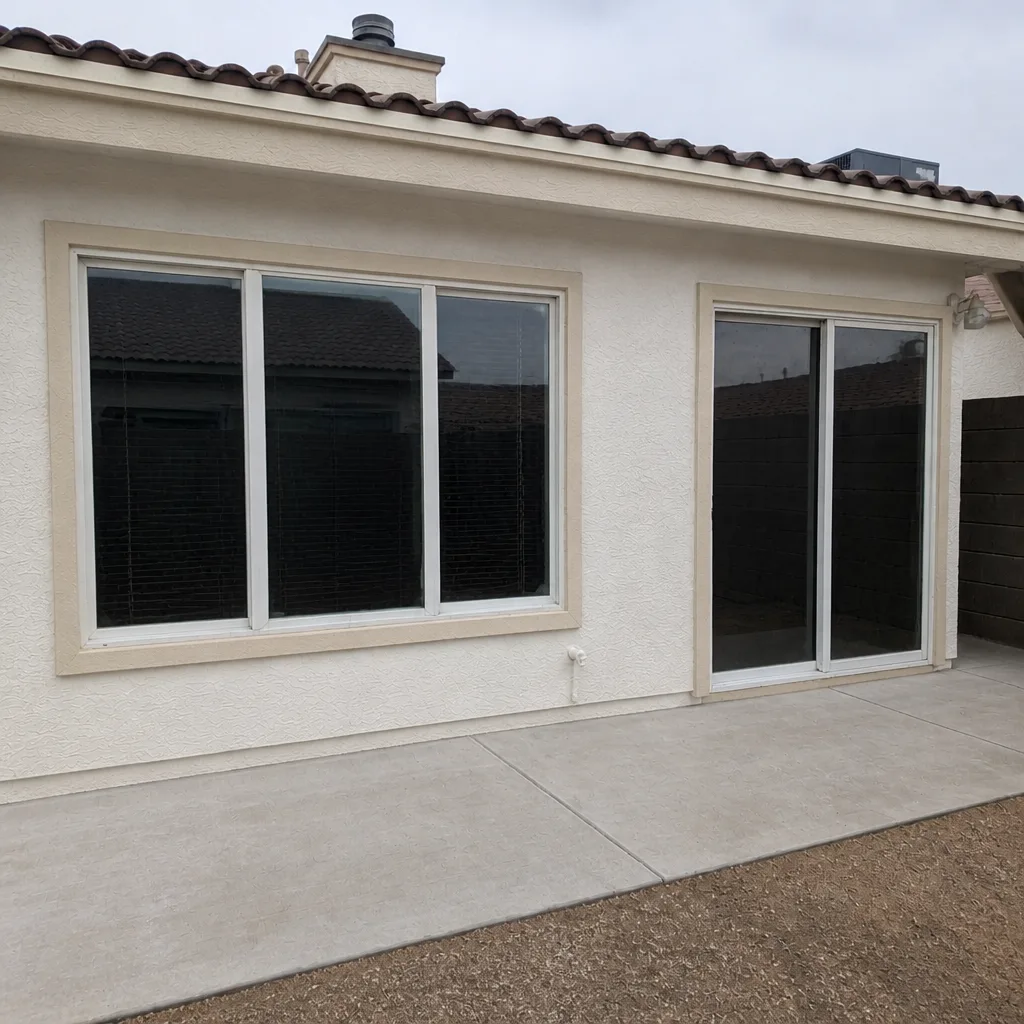 After
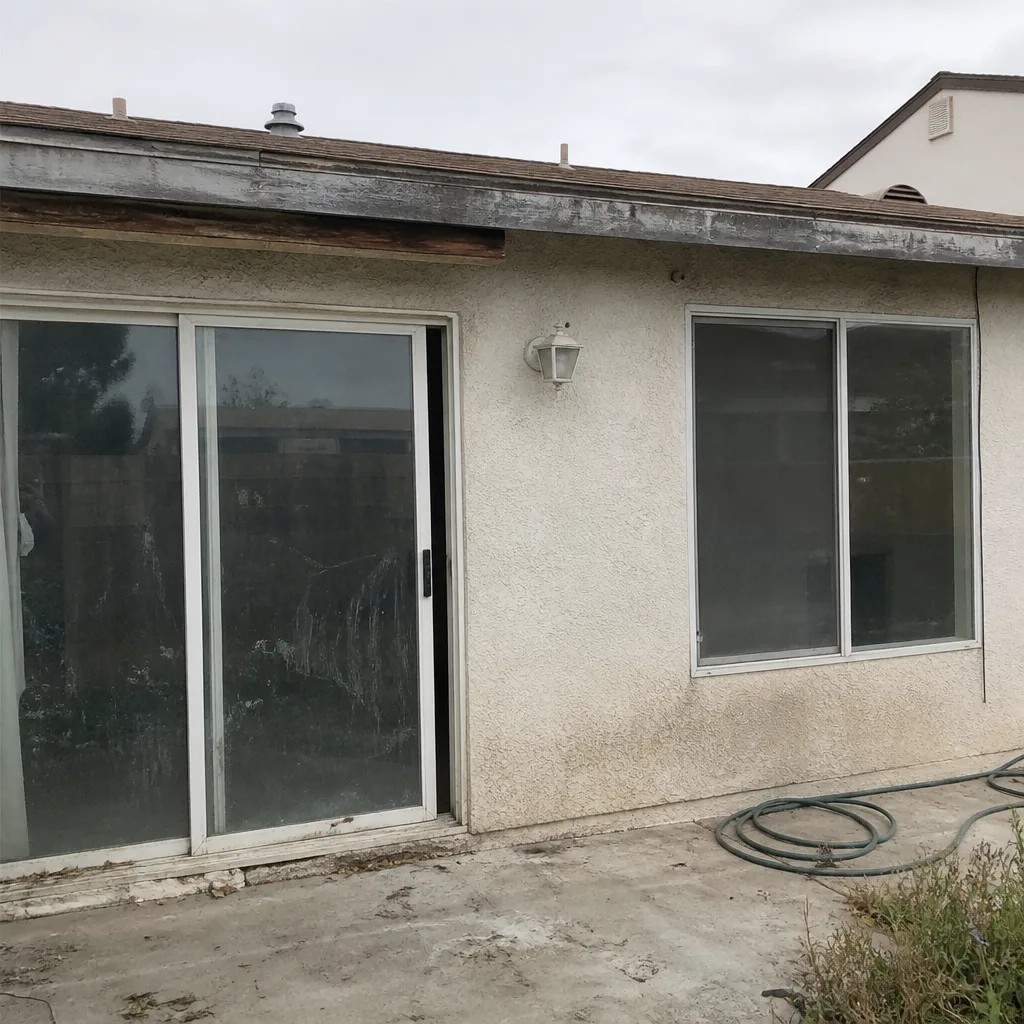 Before
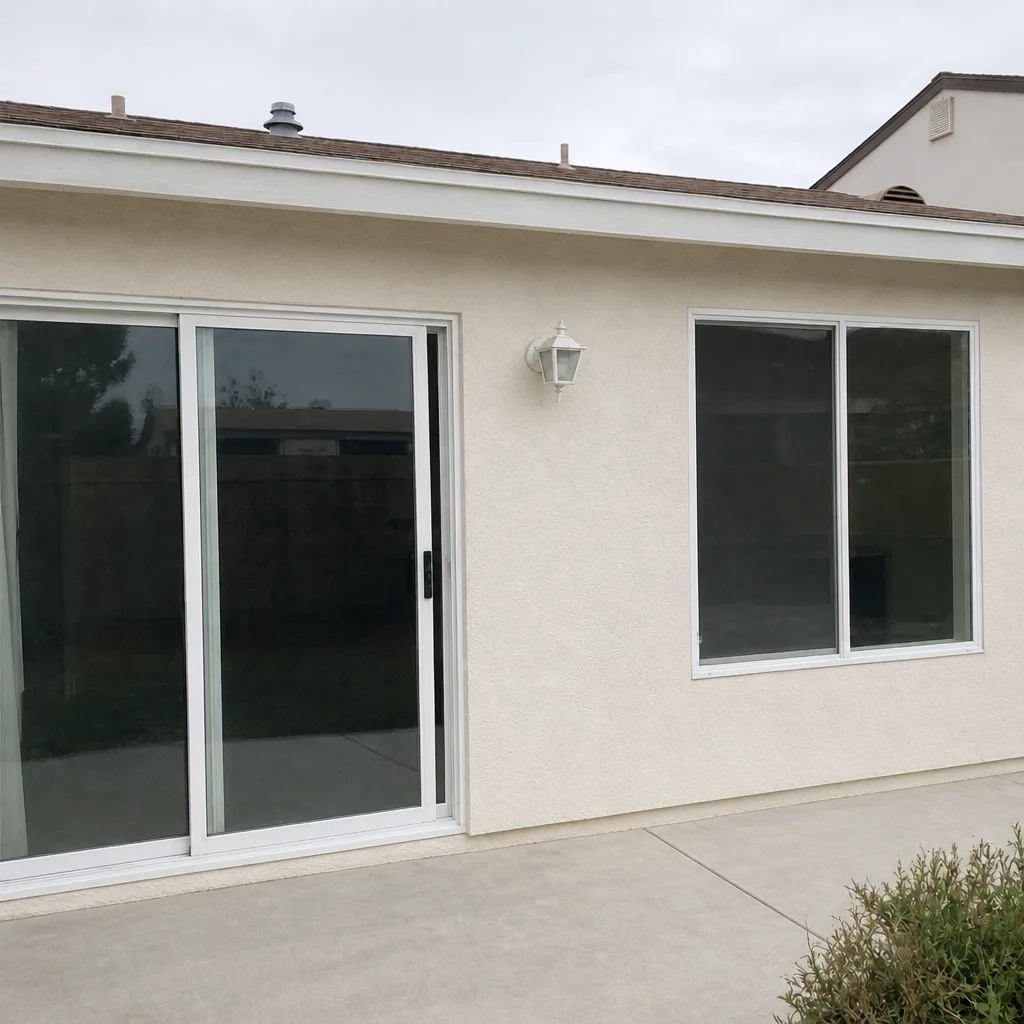 After
When to Call a Professional
Some first-year issues are within reach of a screwdriver and a tube of silicone. Others shouldn’t be a homeowner’s job. Call a professional when you see water staining at the interior sill or jambs, when flashing shows lifting or gaps at the head, when a sash binds even after adjustment, when a crank mechanism fails, or when you’re unsure whether the issue is cosmetic or structural. On windows set above the first story, or any window where the repair requires working from a ladder, don’t attempt it yourself – height work is a leading cause of serious injury for homeowners, and the warranty implications of a bad repair make it worse.
Lightwell Windows & Doors North Las Vegas offers free estimates in North Las Vegas – call (877) 317-4920. A real person answers around the clock, we put the price in writing before any work starts, and every job is covered by the 365-Day Done Right Promise. Our technicians arrive background-checked and uniformed, lay drop cloths, and photograph the clean-up before leaving. If you’re comparing estimates or planning a full project, our Window Replacement in North Las Vegas guide covers what a fair price looks like.
Frequently Asked Questions
Three times in the first year, then twice a year after that. Do a 30-day check, a post-summer check in early fall, and a post-monsoon check after the first significant rain. From year two on, a spring and fall inspection covers everything for most North Las Vegas homes.
Because materials settle in the first year regardless of installation quality. Fresh caulk shrinks as it cures, weatherstripping compresses, and hardware seats into its final position. A correct installation gives you the warranty; the first-year checks are what keep the warranty valid and catch small issues before they become damage.
Generally, evidence of routine checks and prompt repair of minor issues. In practice that means a dated log of inspections, photos of each window’s condition over time, receipts for resealing or professional visits, and the original scope and warranty registration. Photograph everything and keep it in one place. Call (877) 317-4920 if you want help documenting a first-year check – estimates are free.
A hairline caulk crack at the top exterior corners after the first summer, or a window that binds on hot afternoons but moves freely in the morning. Both are early, cheap to fix, and easy to miss if you’re not looking.
Ground-floor windows with small cracks are within reach of most homeowners – use exterior-grade silicone sealant rated for high heat. Anything above the first story, any window showing interior water staining, or any gap at the flashing should go to a professional. If you’re unsure which it is, our written price before any work starts takes the guesswork out of it.
Yes, mainly in the hardware. Sliding windows need dry lubricant on rollers and clean tracks. Casements need light silicone grease at the crank and hinge pivots, with the operator track kept dry. Single-hungs need silicone at the balance and dry lubricant at the latches. Using the wrong product accelerates wear instead of preventing it.
The Bottom Line
Your installation warranty asks for “reasonable maintenance” and doesn’t define it. This schedule does: a 30-day hardware and caulk check, a post-summer weep hole and operation check in early fall, and a post-monsoon water management inspection after the first big rain. Photograph each one, log it, and file it with your scope, permit card, spec sheets, and warranty registration. From year two, two short sessions a year – spring and fall – keep the whole system sound. In North Las Vegas’s climate, that first-year rhythm is the difference between a window that performs for a decade and one that quietly lets water in.
Written by the team at Lightwell Windows & Doors North Las Vegas.
Six Reasons Homeowners Choose Lightwell Windows & Doors North Las Vegas
Laminated glass and reinforced frames hold up to wind-driven rain, hail and flying debris, so your openings stay sealed when the weather turns.
Low-E insulated impact glass from our manufacturer lines commonly cuts monthly cooling bills 20-30%.
Laminated impact glass shuts out up to 40% of outside noise - traffic, neighbors, weather.
Monitoring services run $30-90 a month. Laminated impact glass resists forced entry around the clock, with no subscription.
Tighter seals and insulated glass even out hot and cold rooms and stop the drafts at the frame.
A full impact package upgrades curb appeal, buyer confidence and appraised value in one project.