

Last updated November 18, 2026
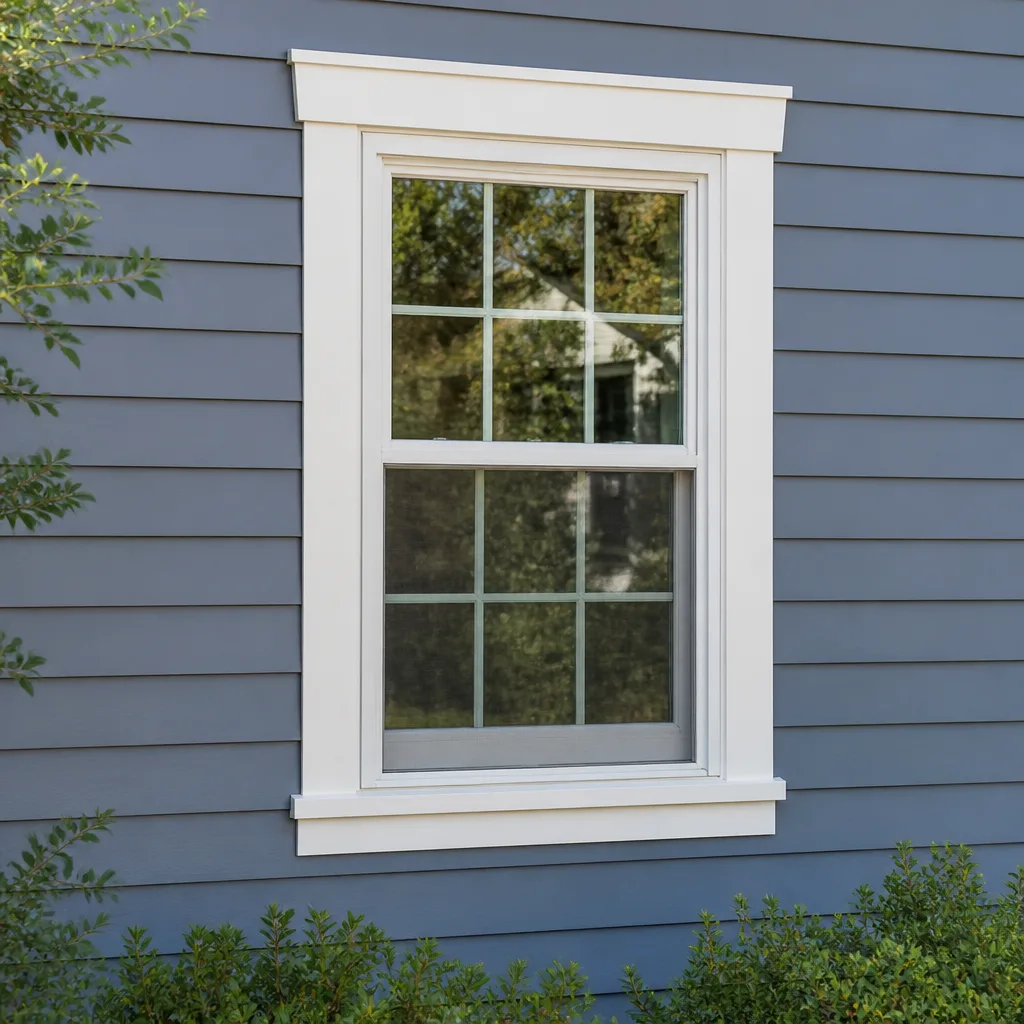 Single hung
 Double hung
 Horizontal roller
 Casement
 Bay & bow
 Sliding glass doors
 Entry doors
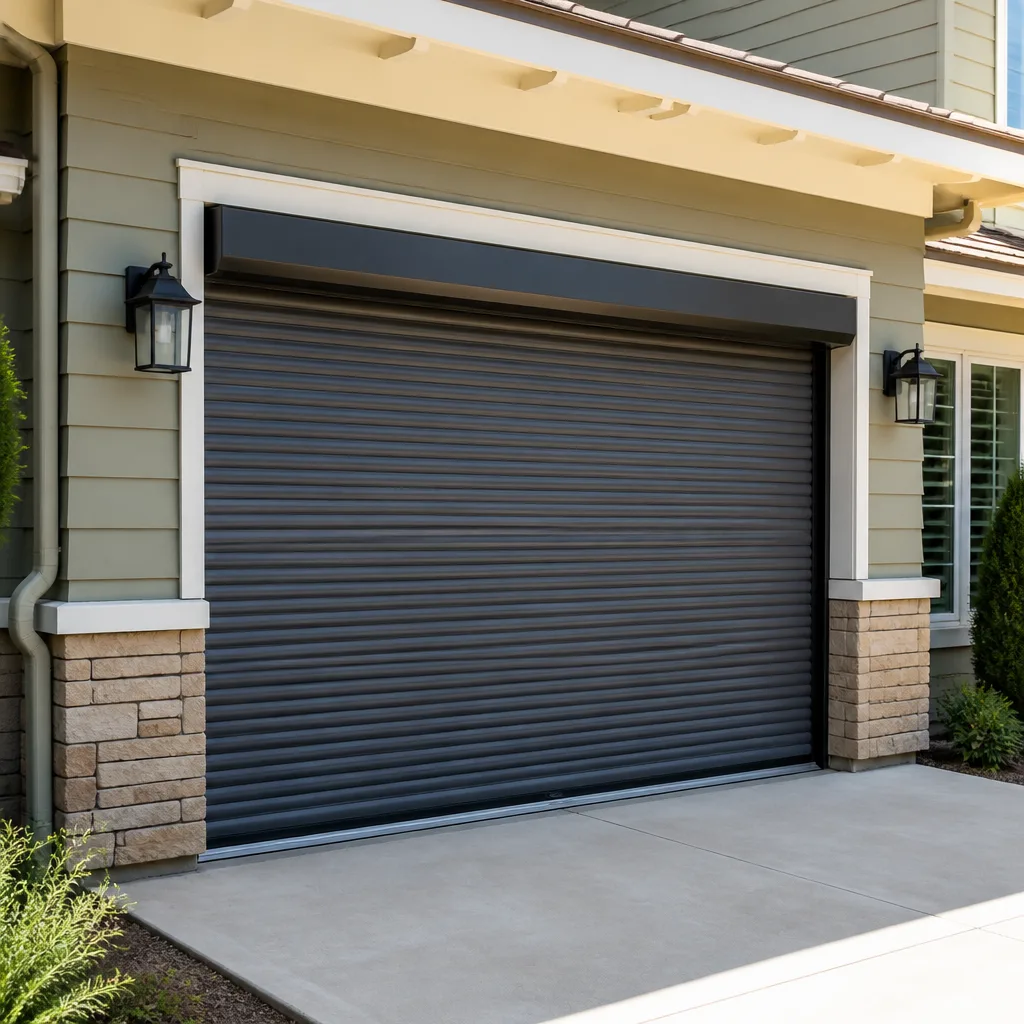
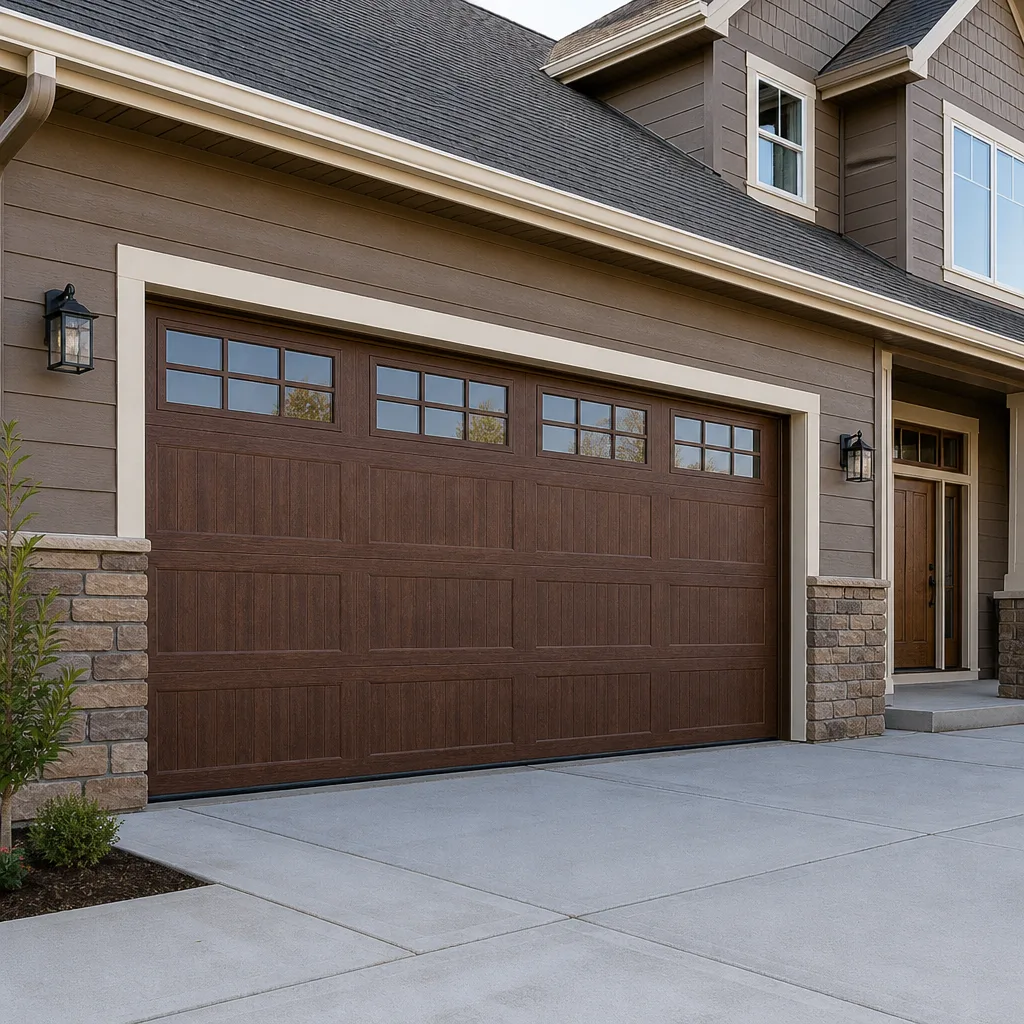 Impact garage doors
 PGT
 CGI
Free in-home measure and quote - PGT, CGI and CWS impact lines compared on your actual openings, style by style
Get your free estimateThe Complete Window Installation Guide for North Las Vegas Homeowners
New construction window installation in a stucco-clad North Las Vegas home involves at least five distinct layers of water management – building wrap, flashing tape, sill pan, backer rod, and exterior caulk – and skipping or reversing any one of them is undetectable until the wall cavity shows moisture damage, often years later. That hidden sequence is where installation and replacement quietly part ways, and it’s why two homes on the same block can have identical windows and wildly different outcomes. This guide follows that sequence in order, then covers the North Las Vegas permit and inspection path, how to pick frame material by which way a window faces, what rough opening tolerance really means in desert heat, and the exact questions to ask a contractor about their sill pan before you sign anything. If you read one section twice, make it the sill pan.
Quick Answer
Window installation in North Las Vegas succeeds or fails on waterproofing, not on the glass. The window unit is one piece of a five-layer water management system, and the layers must be installed in the right order – wrap first, then sill pan and flashing tape, then the window with its nailing fin, then backer rod and sealant – with the flashing visible to the inspector before stucco goes on. Get that sequence right and a window performs for twenty years; reverse a layer and the wall starts failing in three.
Styles & brands we work with
- Single hung
- Double hung
- Horizontal roller
- Casement
- Bay & bow
- Sliding glass doors
- Entry doors
- Impact garage doors
- PGT
- CGI
Table of Contents
- New Construction Installation vs. Replacement: Where the Methods Diverge
- The Five Layers of Water Management in a Stucco Wall
- The North Las Vegas Permit and Inspection Sequence
- Choosing Frame Material by Orientation
- Rough Opening Tolerance in Desert Heat
- Questions to Ask About the Sill Pan Detail
- The Installation Sequence, Step by Step
- Common Mistakes to Avoid
New Construction Installation vs. Replacement: Where the Methods Diverge
A new-construction installation and a window replacement share most of their steps. They frame, level, shim, seal, and finish the same way. The divergence happens at the most consequential point: the rough opening itself.
In a new-construction install, the window goes in before the exterior finish. The unit has a nailing fin around its perimeter, and that fin fastens directly to the sheathing. The building wrap and flashing tape lap over the fin in a shingle fashion, and only then does the stucco contractor apply lath and scratch coat. The window is integrated into the wall’s drainage plane. Water that gets behind the stucco hits the wrap and runs down and out, exactly as designed.
A replacement install works from the opposite direction. The stucco is already there. The old window comes out, the existing rough opening is exposed, and the new unit either uses a flush fin that sits against the finished stucco surface or a block-frame configuration that fits inside the opening with an interior trim to cover the gap. There’s no sheathing to nail to and no wrap to lap over. Water management shifts almost entirely to the sealant joint and the sill pan.
Here’s where North Las Vegas homeowners get into trouble. Contractors sometimes mix the two methods – nailing fin on a replacement, or a flush fin on a rough opening that was framed for new construction – because the window was on sale or the crew prefers one product. The result is a window that sheds water on paper but not in practice. In our experience walking through homes in Aliante and the older tracts off Craig Road, the tell is a flush fin installed over a rough opening that was never properly wrapped, with the sealant doing all the work of a system that should have five components.
If you’re weighing the two paths, our window replacement in North Las Vegas page explains when replacement makes more sense than a full tear-out, and our window installation in North Las Vegas page covers new-construction and new-opening work.
The two methods, side by side
- New construction: Nailing fin into sheathing, wrap and flashing lap over the fin, stucco applied afterward. Best water management. Requires the wall to be open.
- Replacement (flush fin): Fin seals against finished stucco. Faster, no stucco repair. Depends heavily on sealant and a properly built sill pan.
- Replacement (block frame): Unit fits inside the existing rough opening, interior trim covers the reveal. Common in older North Las Vegas homes with wood or aluminum original windows.
The Five Layers of Water Management in a Stucco Wall
Stucco is a reservoir cladding. It absorbs some water, holds it briefly, and releases it. That’s fine as long as the layers behind it do their jobs. In North Las Vegas, where the valley gets the occasional intense monsoon burst, those layers get tested hard and fast.
Here’s what each layer does, in the order they go on.
- Building wrap. The weather-resistive barrier over the sheathing. It’s the wall’s raincoat. It must be lapped correctly, taped at seams, and continuous around the opening.
- Sill pan. A sloped, watertight pan at the bottom of the rough opening. This is the component that catches any water that reaches the opening and directs it back out. It’s the one that fails most often.
- Flashing tape. Applied in shingle fashion: sill first, then jambs, then head. The head flashing laps over the jamb flashing, which laps over the sill flashing. Reverse that order and water finds the seam.
- Backer rod. A foam rod pushed into the gap between the window frame and the rough opening before caulk goes in. It controls the depth of the sealant joint and lets the caulk move with thermal expansion instead of tearing.
- Exterior caulk. The final seal at the exterior perimeter. It’s the visible line and the least important layer – but it’s the only one most homeowners ever see.
The counterintuitive part: the caulk is the weakest link of the five. A perfect caulk line over a missing sill pan will leak. A mediocre caulk line over a properly built sill pan will hold. That’s why the sill pan questions later in this guide matter more than the brand of sealant on the label.
For a broader look at how these layers interact with door openings too, our door installation in North Las Vegas guide follows the same sequence at the threshold, where water management is even less forgiving.
The North Las Vegas Permit and Inspection Sequence
New window installations in North Las Vegas require a building permit, and the inspection sequence matters because one stage has to happen before stucco goes on. Miss it and the wall gets closed up with work that can’t be verified.
Here’s the general path. Your contractor pulls the permit, and the sequence typically runs like this:
- Permit application and plan review. Submitted with window specifications, sizes, and product data. This is where the brand and model get locked in.
- Rough framing inspection. The framed openings are checked for size, header support, and structural details before anything covers them.
- Flashing and weather barrier inspection. This is the stage to watch. The building wrap, sill pan, and flashing tape must be visible to the inspector. No stucco, no lath – just the waterproofing layers exposed.
- Window installation. Units go in and fasten to the framed openings.
- Final inspection. Confirms everything is installed, sealed, and complete.
The point most homeowners miss: stage three happens before stage four, not after. If a crew installs the windows, then calls for the weather barrier inspection, the inspector can’t see the wrap and flashing under the window. The inspection fails, or it gets signed off on a technicality with no verification. Either outcome puts the wall’s performance in question.
Ask the contractor to tell you, in writing, when the weather barrier inspection is scheduled relative to the stucco application. If they can’t answer clearly, that’s your signal. In our experience with stucco homes across North Las Vegas, the permit and sequencing questions separate contractors who understand the wall assembly from contractors who install windows.
Why this matters in stucco specifically
Wood siding comes off with a pry bar if something needs redoing. Stucco doesn’t. Once the lath and scratch coat go on and cure, correcting a reversed flashing layer means cutting into the wall, patching, and re-finishing. The inspection stage is the moment to catch it, and that moment only exists once.
Choosing Frame Material by Orientation
A window facing west in the Las Vegas Valley takes a beating the north side never sees. Afternoon sun hits it for hours in summer, when surface temperatures on dark frames can climb high enough to soften ordinary vinyl compounds. The same window on a north wall that sees mostly indirect light is a different problem entirely.
This is why frame material should follow orientation, not a single brand or product line across the whole house. A few of the approaches we work with:
- West and south exposures: Look for a vinyl compound engineered for high heat, or step up to fiberglass, which holds its shape better under sustained solar load. We frequently recommend fiberglass or a heat-rated vinyl for these faces through brands like CGI or PGT, depending on what the rest of the home needs.
- North exposures: Standard vinyl performs well. Solar load is low, so there’s less reason to pay the fiberglass premium.
- East exposures: Morning sun is intense but brief. Standard vinyl or a mid-grade product usually holds up fine.
The curtain effect matters for glass, too. The interior side of a west-facing window gets hit by radiant heat stored in the glass and frame through the afternoon, which is why window coverings on west walls fade faster than on the north. Choosing a frame material that resists heat-related deflection helps the whole window stay square, and a square window seals better. For homeowners who haven’t shopped recently, the range of options in North Las Vegas can feel wide – our Lightwell Windows & Doors North Las Vegas home page breaks down how the brand lineup maps to typical home styles.
Products like ES Windows and CWS also have orientation-specific lines worth comparing. The key is to ask which product the contractor wants on each face of the house, and why. If the answer is the same product on all four sides, ask for the solar heat gain data on the west elevation. That conversation usually resolves the question quickly.
Rough Opening Tolerance in Desert Heat
The rough opening is the framed hole the window goes into. It’s always built a little larger than the window unit itself. The gap between them is called the rough opening tolerance, and the standard national guides spec it at a specific width for a reason: the window needs room for shims, sealant, and thermal movement.
In Las Vegas Valley conditions, that movement runs higher than the national guides assume. Exterior surfaces can swing dozens of degrees between night and afternoon in spring and fall. A vinyl frame expands and contracts with that swing. If the opening is shimmed too tightly, the frame can’t move, and it bows or cracks. If the opening is too loose, the shims can’t control the frame position and it goes out of square.
The practical answer is to shim for slight clearance and let the sealant joint at the exterior handle the movement, with backer rod controlling how much of that gap the caulk actually spans. A few things we check on North Las Vegas installs:
- Shims placed at the sill corners, in pairs, driven snug but not enough to deflect the frame.
- Clearance maintained around the full perimeter so the frame has room to move, especially on west-facing units.
- Backer rod sized for the actual gap, not chosen from whatever’s on the truck.
- Shims trimmed flush after the window is level and plumb, not left long to cut later.
Ask the contractor how they shim and what clearance they maintain. The answer tells you whether they install windows the same way on a valley west wall as they would on a shaded north wall in a milder climate. For a related look at how the same ideas apply to doors, our door installation guide follows the threshold version of this problem. If you’re replacing windows in an older North Las Vegas home where the original openings may already be out of square, our replacement page covers the retrofit path.
Questions to Ask About the Sill Pan Detail
The sill pan is the single component most responsible for water intrusion claims in stucco homes. It sits at the bottom of the rough opening, sloped to drain, and it catches any water that reaches the opening before it can get into the wall cavity. If it’s missing, undersized, or installed flat, water pools against the sill and works into the framing.
You won’t see it after the job is done. That’s why it needs to be in the written scope before work begins.
Ask these questions before you sign anything:
- Is a sill pan included, and is it a manufactured pan or site-built? Both can work; the important thing is that it’s specified.
- Is the pan sloped to drain outward? A flat pan holds water. It needs a slope.
- How does the pan integrate with the flashing tape at the jambs? The flashing should lap over the pan edge in the shingle sequence.
- Are the end dams sealed? The vertical ends of the pan need to be watertight, not just cut and folded.
- Does the written scope name the sill pan explicitly? If it’s not in the scope, it’s not in the job.
Any contractor who installs windows in stucco should be able to answer these in a sentence or two. If the answer is “the window has a fin, the fin seals it,” that’s not a sill pan. It’s a fin. In our experience, the homes that develop wall cavity moisture behind new windows are the ones where nobody asked these questions in the first place.
If you want a written scope that names the sill pan, the flashing sequence, and the inspection timing, our team at Lightwell Windows & Doors North Las Vegas puts all of it in writing before any work starts. Call (877) 317-4920 for a free estimate.
The Installation Sequence, Step by Step
Here’s the full sequence for a new-construction install in a stucco wall. We’re laying it out so you can recognize a properly built job when you see one, not so you can do it yourself. Exterior window work at height involves fall exposure and sealant detailing that’s easy to get wrong and hard to correct afterward.
- Open the wall and inspect the rough opening for size, square, and framing condition.
- Install the building wrap, lapping it correctly and taping the seams.
- Install the sill pan, sloped to drain, with sealed end dams.
- Apply sill flashing tape over the pan edge.
- Set the window unit in the opening, level and plumb, and fasten the nailing fin to the sheathing.
- Apply jamb flashing tape over the fin, then head flashing tape over the jamb flashing.
- Shim the frame, check operation, and trim shims flush.
- Install backer rod into the perimeter gap.
- Apply exterior sealant over the backer rod.
- Schedule the weather barrier inspection before stucco lath goes on.
- Stucco, finish, and final inspection.
For a round of interior finish related to a new install, our installation page covers trim and flashing details for full replacements, and the Lightwell Windows & Doors North Las Vegas home page gives an overview of the full lineup of eight brands we work with, including PGT, CGI, CWS, and ES Windows.
Common Mistakes to Avoid
- Skipping the sill pan because the window has a nailing fin. The fin seals the sides; the pan handles the sill. In our experience walking homes in North Las Vegas, this is the mistake that shows up as wall damage years later, not as a window problem.
- Reversing the flashing sequence. Head flashing should lap over the jamb tape, and jamb tape over the sill. Reverse it and water works into the seam.
- Calling for the weather barrier inspection after windows are already in. If the inspector can’t see the wrap and flashing, the stage is skipped. Schedule it before stucco goes on, not after.
- Choosing one window product for all four orientations. West-facing units in the valley need heat-rated vinyl or fiberglass; north-facing units don’t. Same product on all sides is a shortcut, not a specification.
- Shimming too tightly. In the valley’s thermal swing, a tightly shimmed frame can bow or crack. Slight clearance with proper backer rod and sealant is correct.
- Leaving the exterior caulk joint unsupported. Caulk over a gap with no backer rod spans too far and tears as the frame moves. Backer rod controls the joint.
- No written scope naming the sill pan, flashing, and inspection timing. If it’s not in writing, it’s not in the job. This is the mistake behind most of the others.
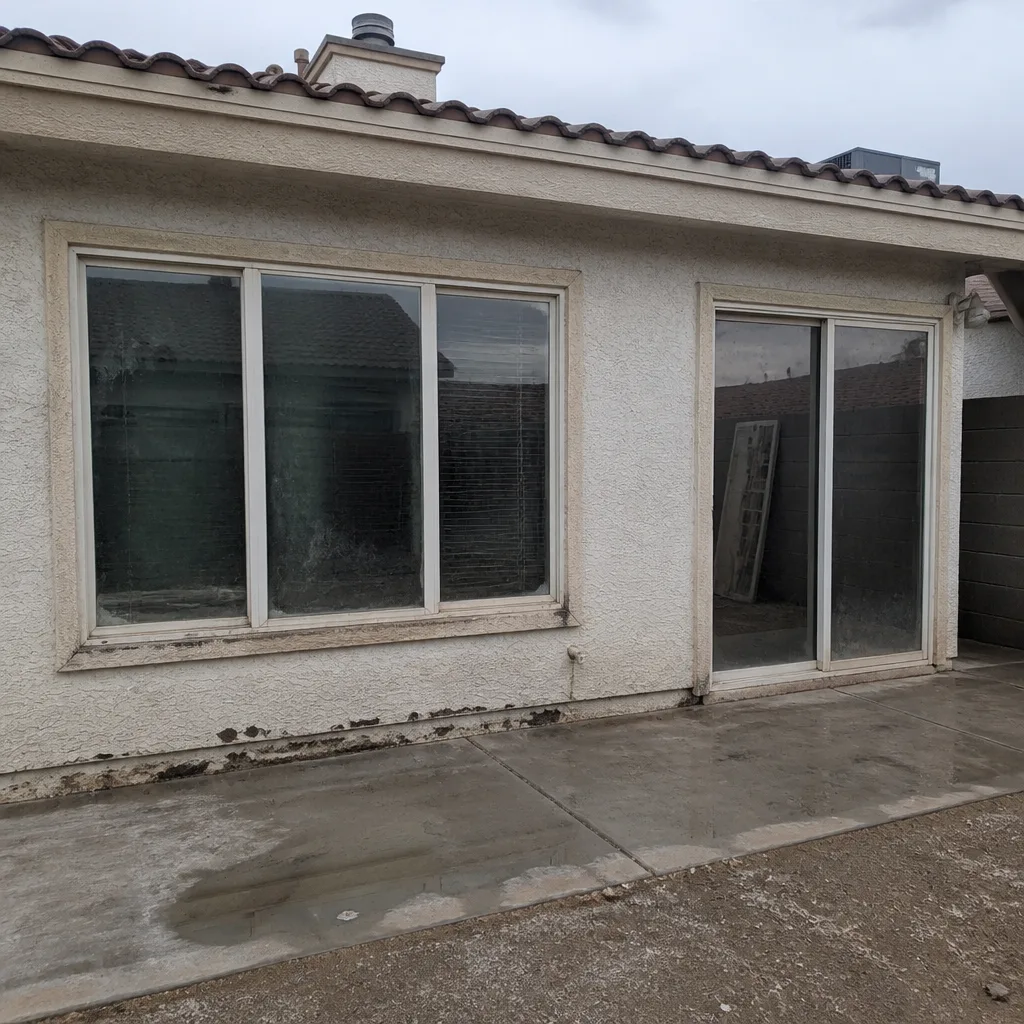
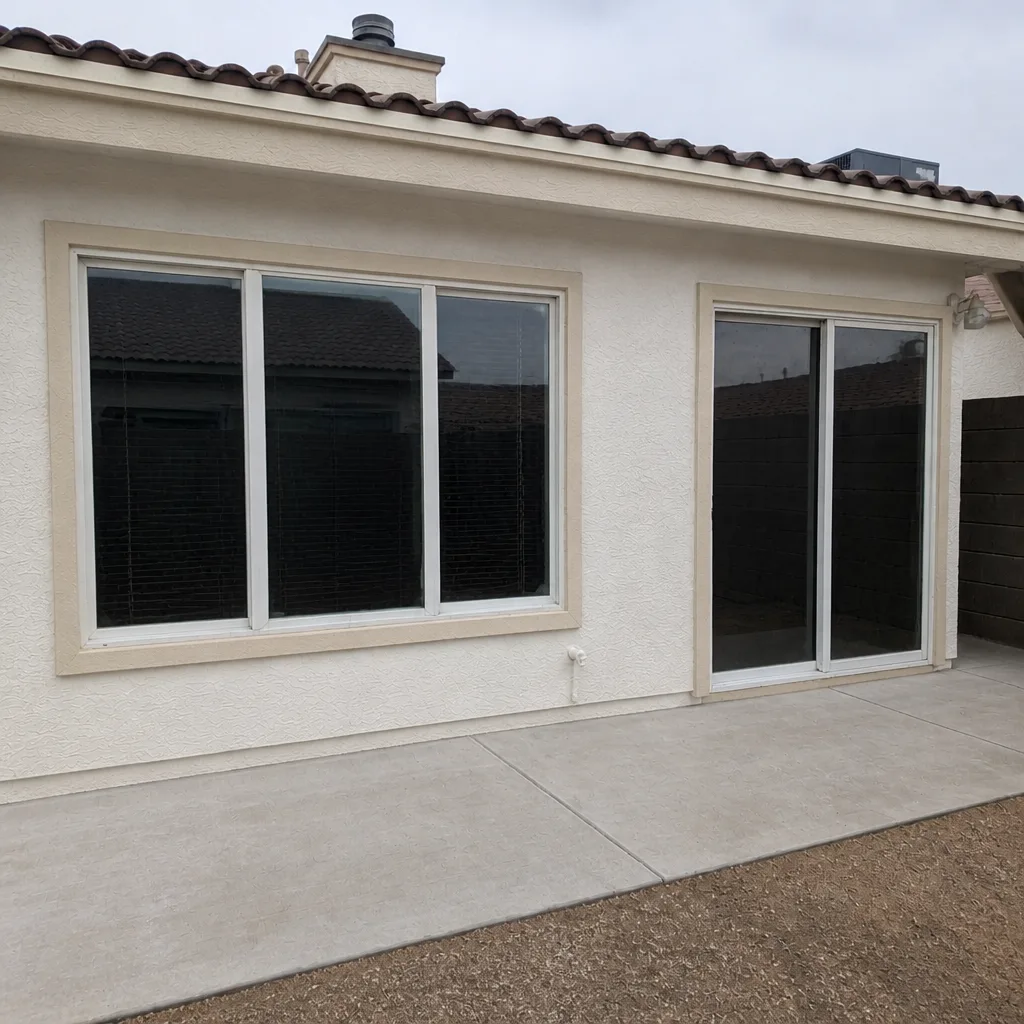
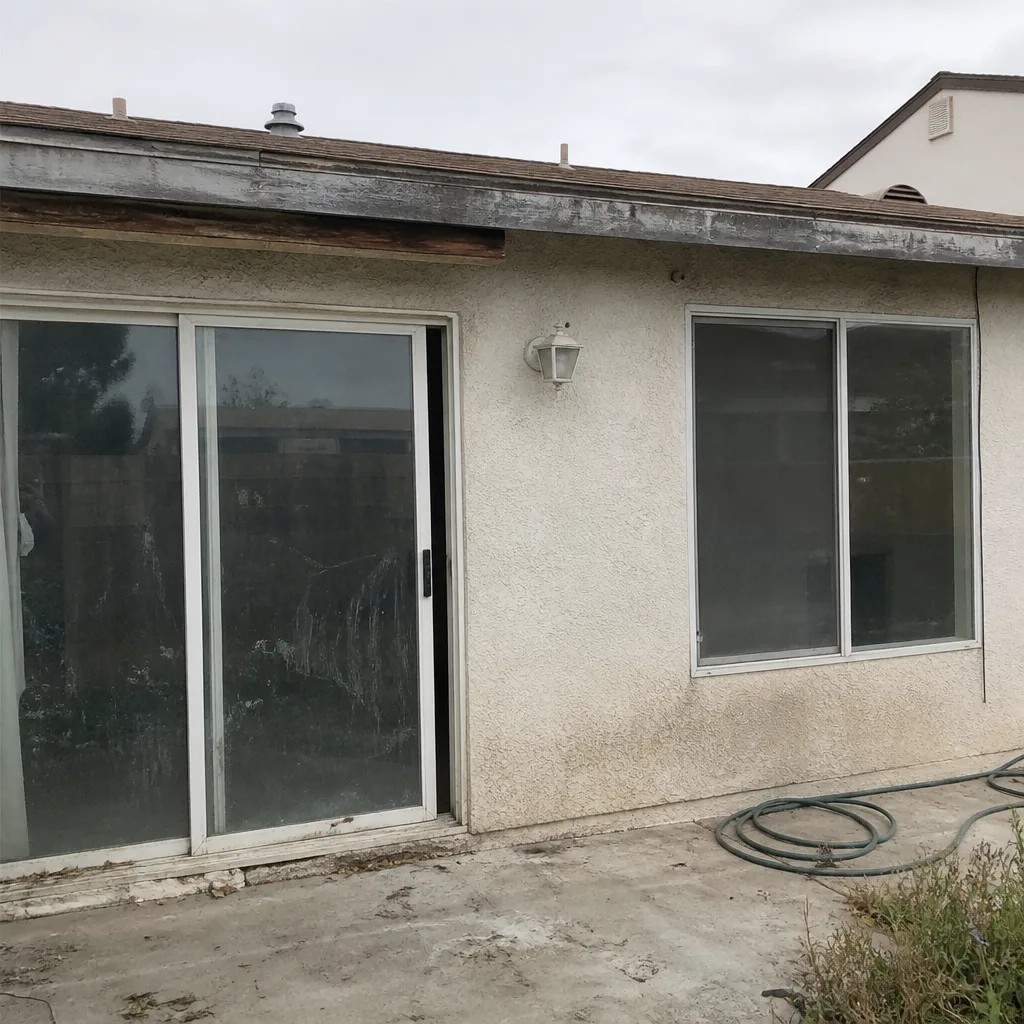
See the difference
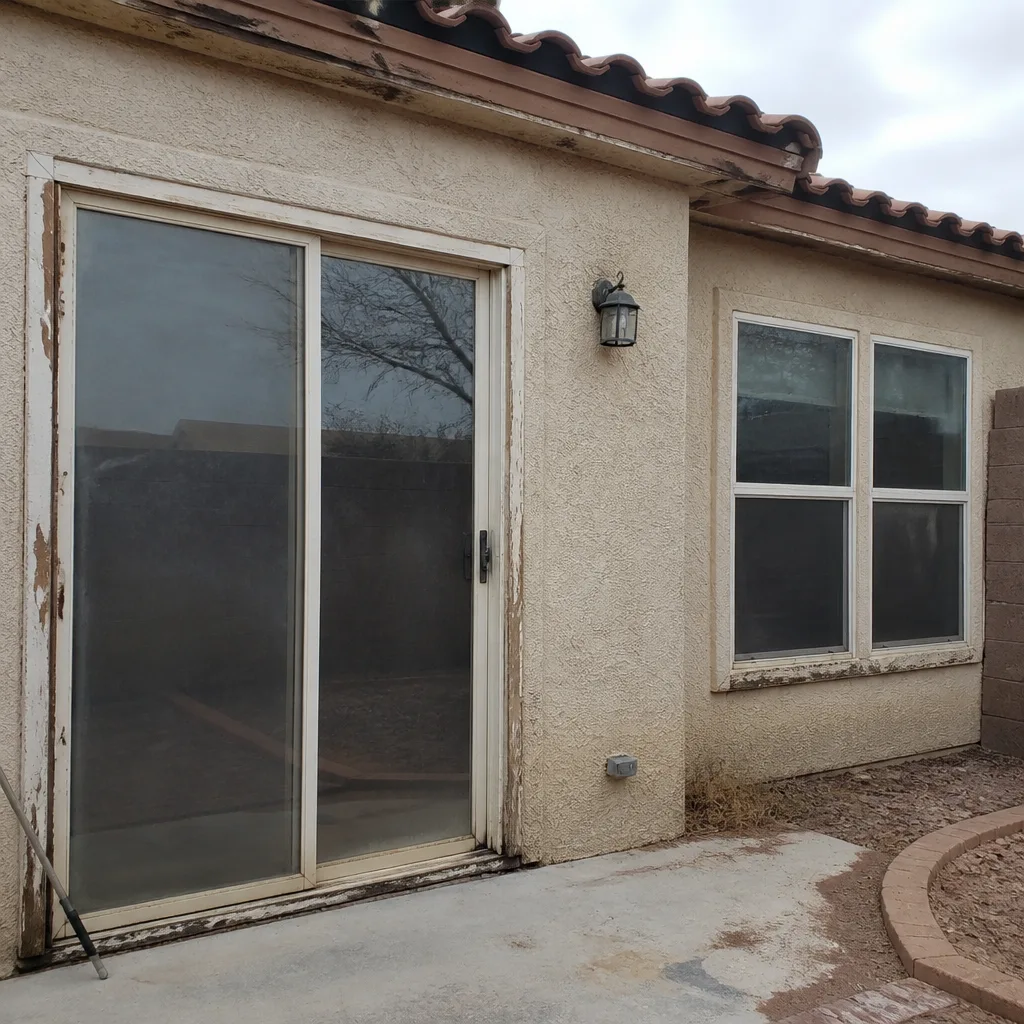 Before
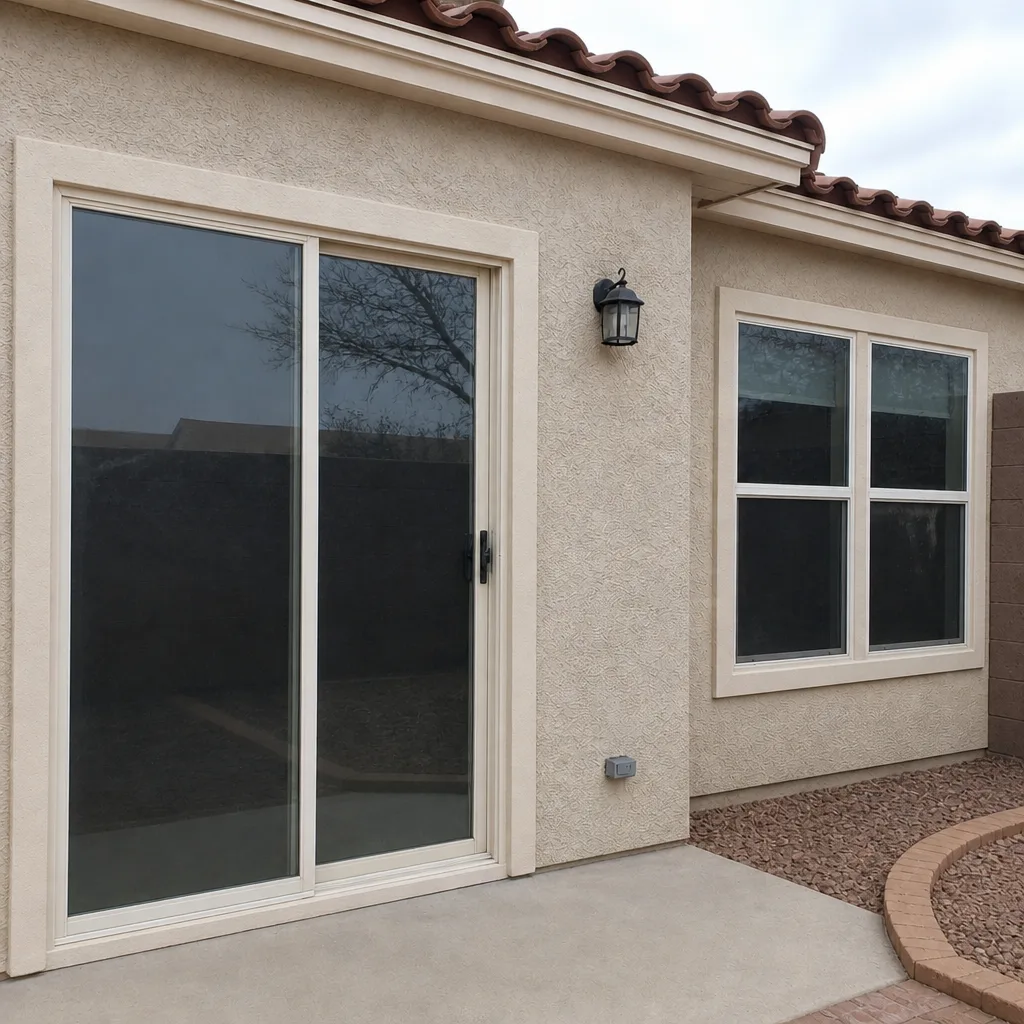 After
 Before
 After
 Before
 After
When to Call a Professional
Call a licensed contractor if the wall is already showing water staining around an existing window, if the rough opening isn’t square, if the home has stucco and the window needs to be replaced rather than repaired, or if you’re not certain whether a nailing-fin or flush-fin configuration is correct for your wall assembly. Those are decisions that determine the wall’s performance for twenty years and can’t be undone after stucco goes on. Window work at height also involves fall exposure and exterior detailing that’s genuinely difficult to get right without training. Our technicians have up to 16 years of experience, and every job is background-checked, uniformed, and covered by the 365-Day Done Right Promise – if the finished work isn’t right, we make it right. Lightwell Windows & Doors North Las Vegas offers free estimates in North Las Vegas – call (877) 317-4920.
Frequently Asked Questions
Most window installations in North Las Vegas run between $450 and $1,100 per opening for a standard replacement, and between $600 and $1,300 per opening for a new-construction install in a stucco wall where framing and waterproofing work is involved. The range depends on the frame material, the glass package, and whether the wall is open. West-facing units that need heat-rated vinyl or fiberglass tend to sit at the higher end. Call (877) 317-4920 for an exact quote – estimates are free.
Yes, new window installations in North Las Vegas require a building permit, and the weather barrier and flashing must be inspected before stucco is applied. Your contractor should pull the permit and be able to tell you when each inspection is scheduled relative to the stucco. Call (877) 317-4920 and we’ll walk you through the permit sequence for your home.
A sill pan is a sloped, watertight pan at the bottom of the rough opening that catches water and directs it back out, and it’s responsible for the majority of water intrusion claims in stucco homes. If it’s missing, flat, or not integrated with the flashing tape, water pools against the sill and works into the framing. It should be named in your written scope before work begins. Call (877) 317-4920 to review a written scope that names it.
Yes, replacement windows in stucco homes typically use a flush-fin or block-frame method that installs from the exterior without removing stucco, which keeps the stucco finish intact. The trade-off is that water management shifts more heavily onto the sealant joint and the sill pan, so those details matter even more than they do in a new-construction install. Call (877) 317-4920 to talk through which method fits your wall.
For a west-facing window in the Las Vegas Valley, fiberglass or a heat-rated vinyl compound holds up better than standard vinyl because afternoon solar load can soften ordinary compounds and cause the frame to deflect. North- and east-facing windows usually perform well with standard vinyl. Matching the product to the orientation, instead of using the same window on all four sides, is the recommendation we make most often. Call (877) 317-4920 for product recommendations by orientation.
Most window installations take one to three days per group of openings, with a full-home install running several days depending on how many units and how much stucco and trim work is involved. In a stucco home, add time for the weather barrier inspection before stucco goes on, because that stage has to happen in sequence. Call (877) 317-4920 to get a timeline for your specific project.
The Bottom Line
Window installation in North Las Vegas comes down to the wall, not the window. The five layers of water management – wrap, sill pan, flashing tape, backer rod, sealant – have to go on in the right order, and the weather barrier inspection has to happen before stucco covers them. Match the frame material to the orientation, understand the difference between a nailing-fin and a flush-fin method, and ask the sill pan questions before you sign anything. If you do that, the window performs the way it should. A light well is what brings daylight deep into a building – that’s what a well-installed window should do for your home.
Call (877) 317-4920 for a free estimate in North Las Vegas. We’ll put the price in writing before any work starts, name the sill pan and flashing in the scope, protect your floors and furniture with drop cloths, and send background-checked technicians who explain the price before they touch anything.
Written by the team at Lightwell Windows & Doors North Las Vegas.
Six Reasons Homeowners Choose Lightwell Windows & Doors North Las Vegas
Laminated glass and reinforced frames hold up to wind-driven rain, hail and flying debris, so your openings stay sealed when the weather turns.
Low-E insulated impact glass from our manufacturer lines commonly cuts monthly cooling bills 20-30%.
Laminated impact glass shuts out up to 40% of outside noise - traffic, neighbors, weather.
Monitoring services run $30-90 a month. Laminated impact glass resists forced entry around the clock, with no subscription.
Tighter seals and insulated glass even out hot and cold rooms and stop the drafts at the frame.
A full impact package upgrades curb appeal, buyer confidence and appraised value in one project.